Calling API and testing Subscription Keys
Let’s add another API, the Colors API.
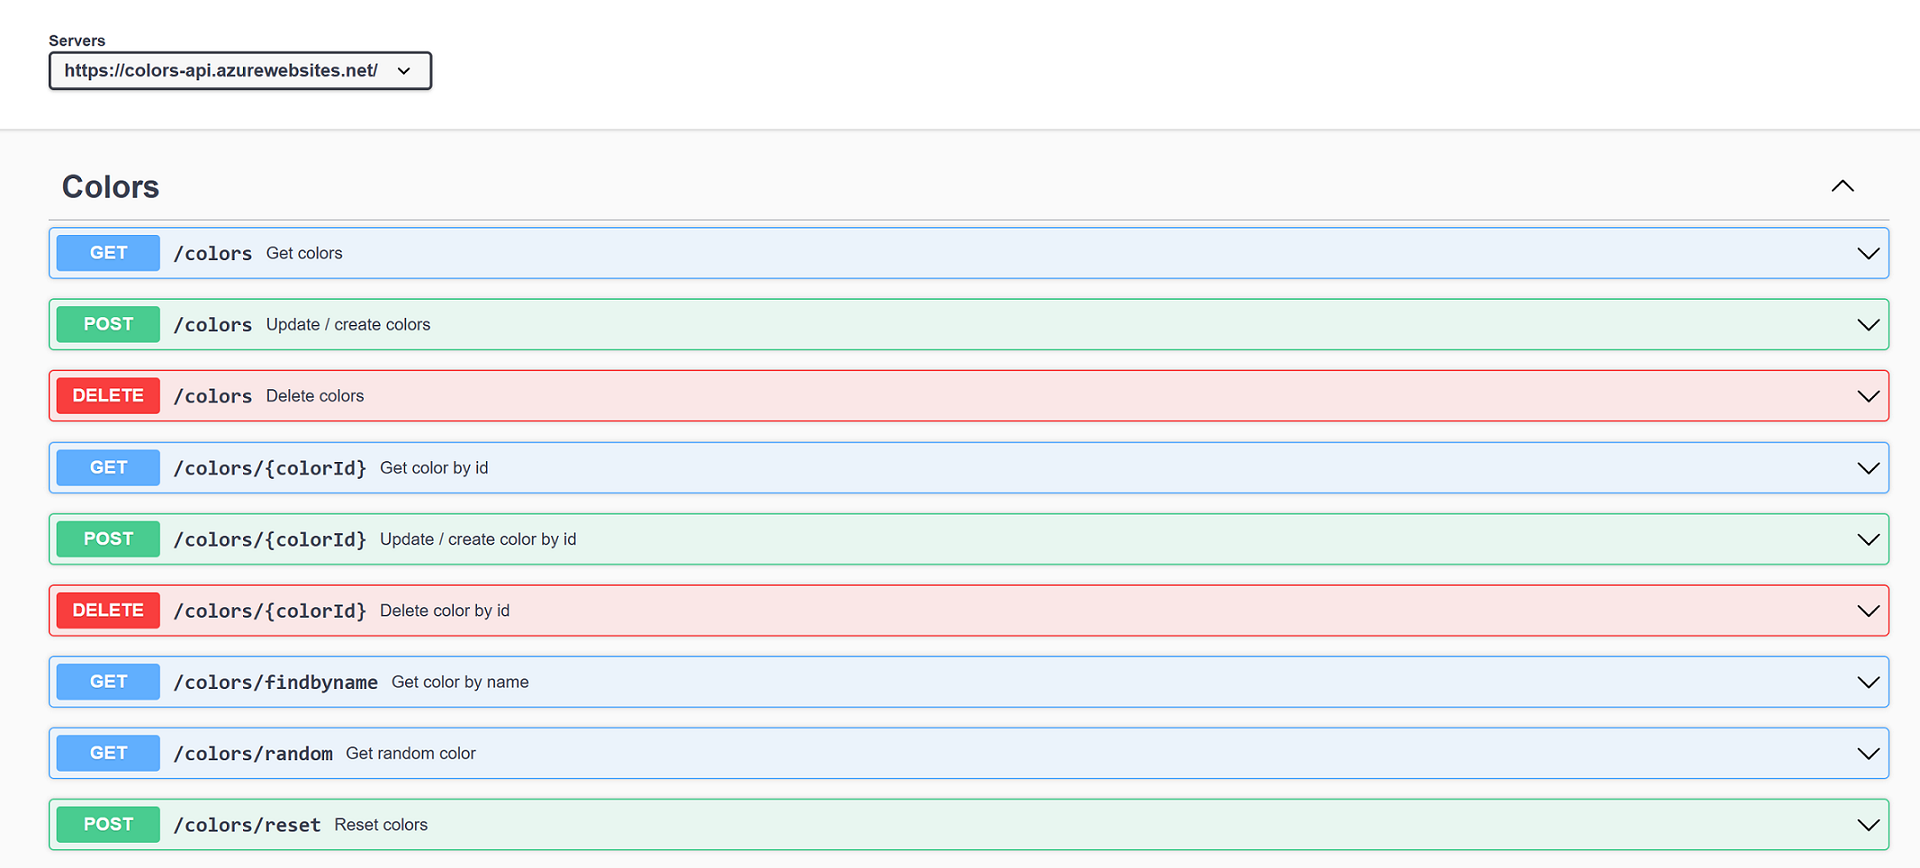
- Create a new API with OpenAPI specification and import swagger from https://colors-api.azurewebsites.net/swagger/v1/swagger.json.
-
This time we will choose to not provide API URL suffix. Without API URL suffix, there could be endpoint conflicts, you can always leverage rewrite-uri policy to convert a request URL form to the form expected by the backend web service.

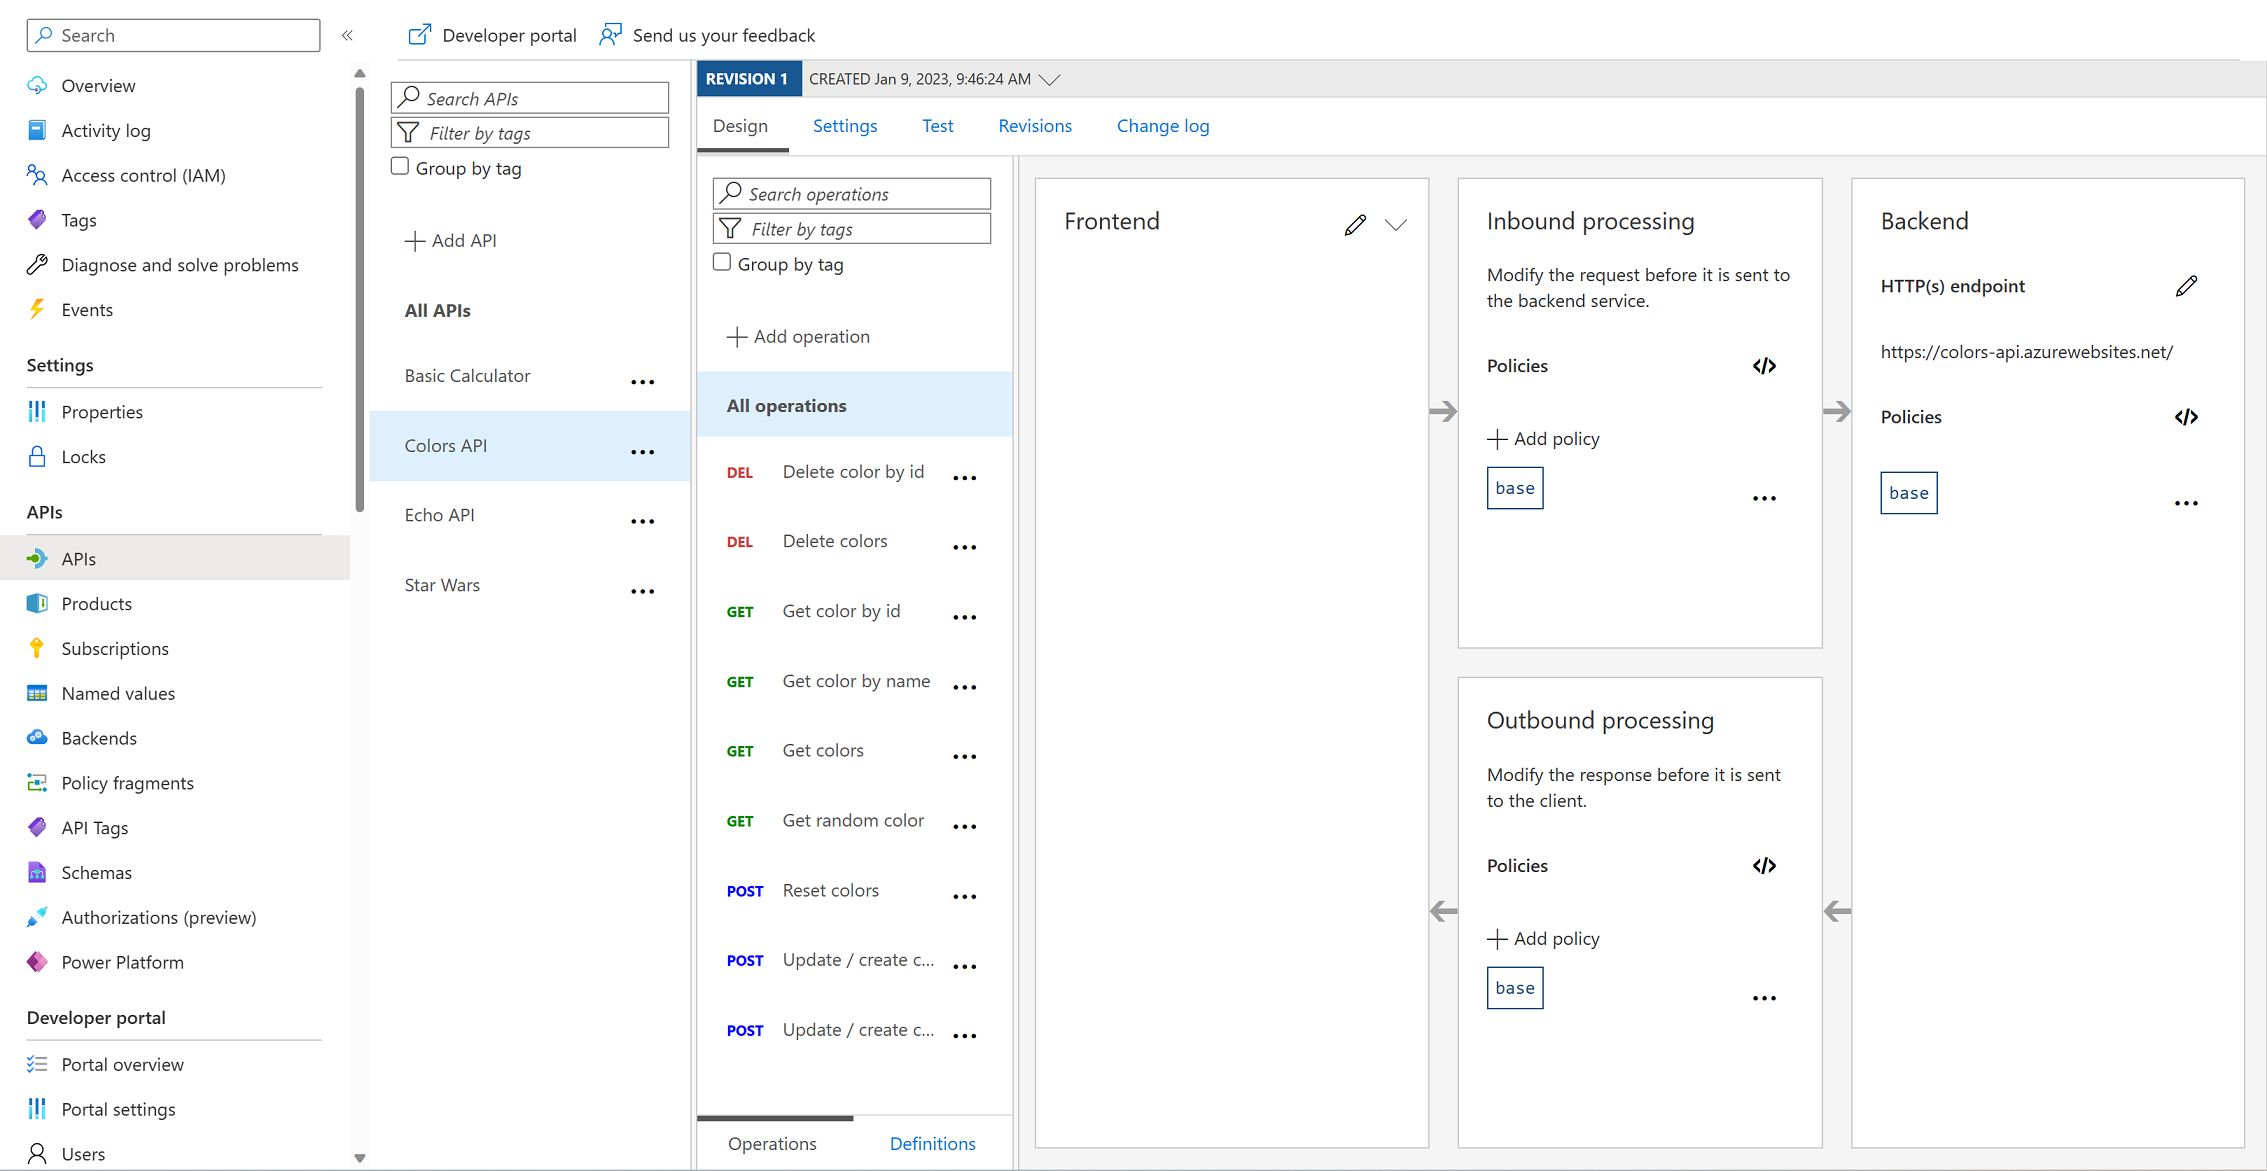
-
We can test the newly-added API from the Test tab. Note the successful
200response.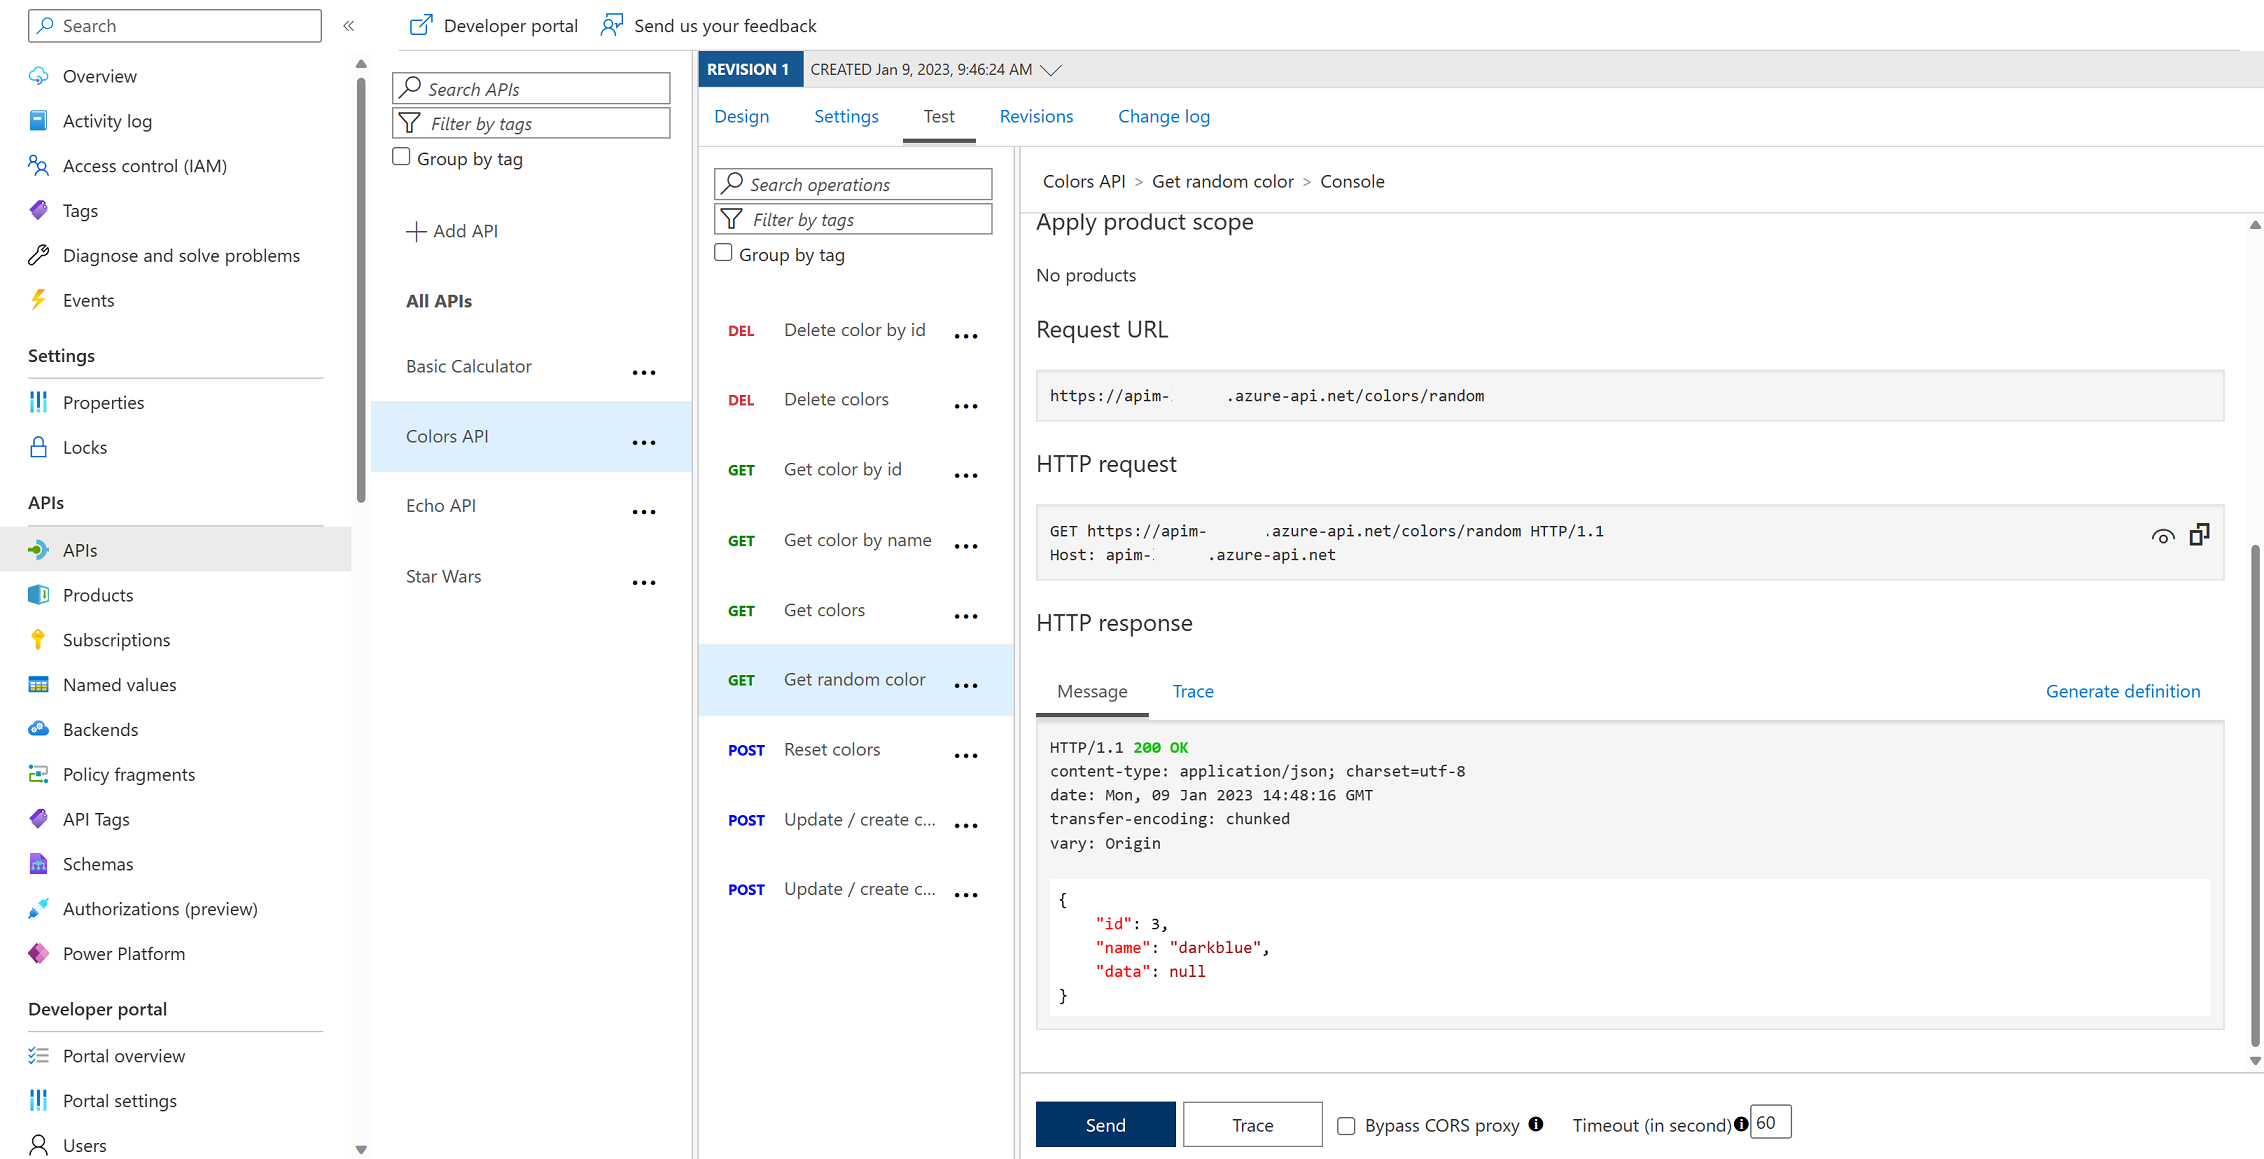
-
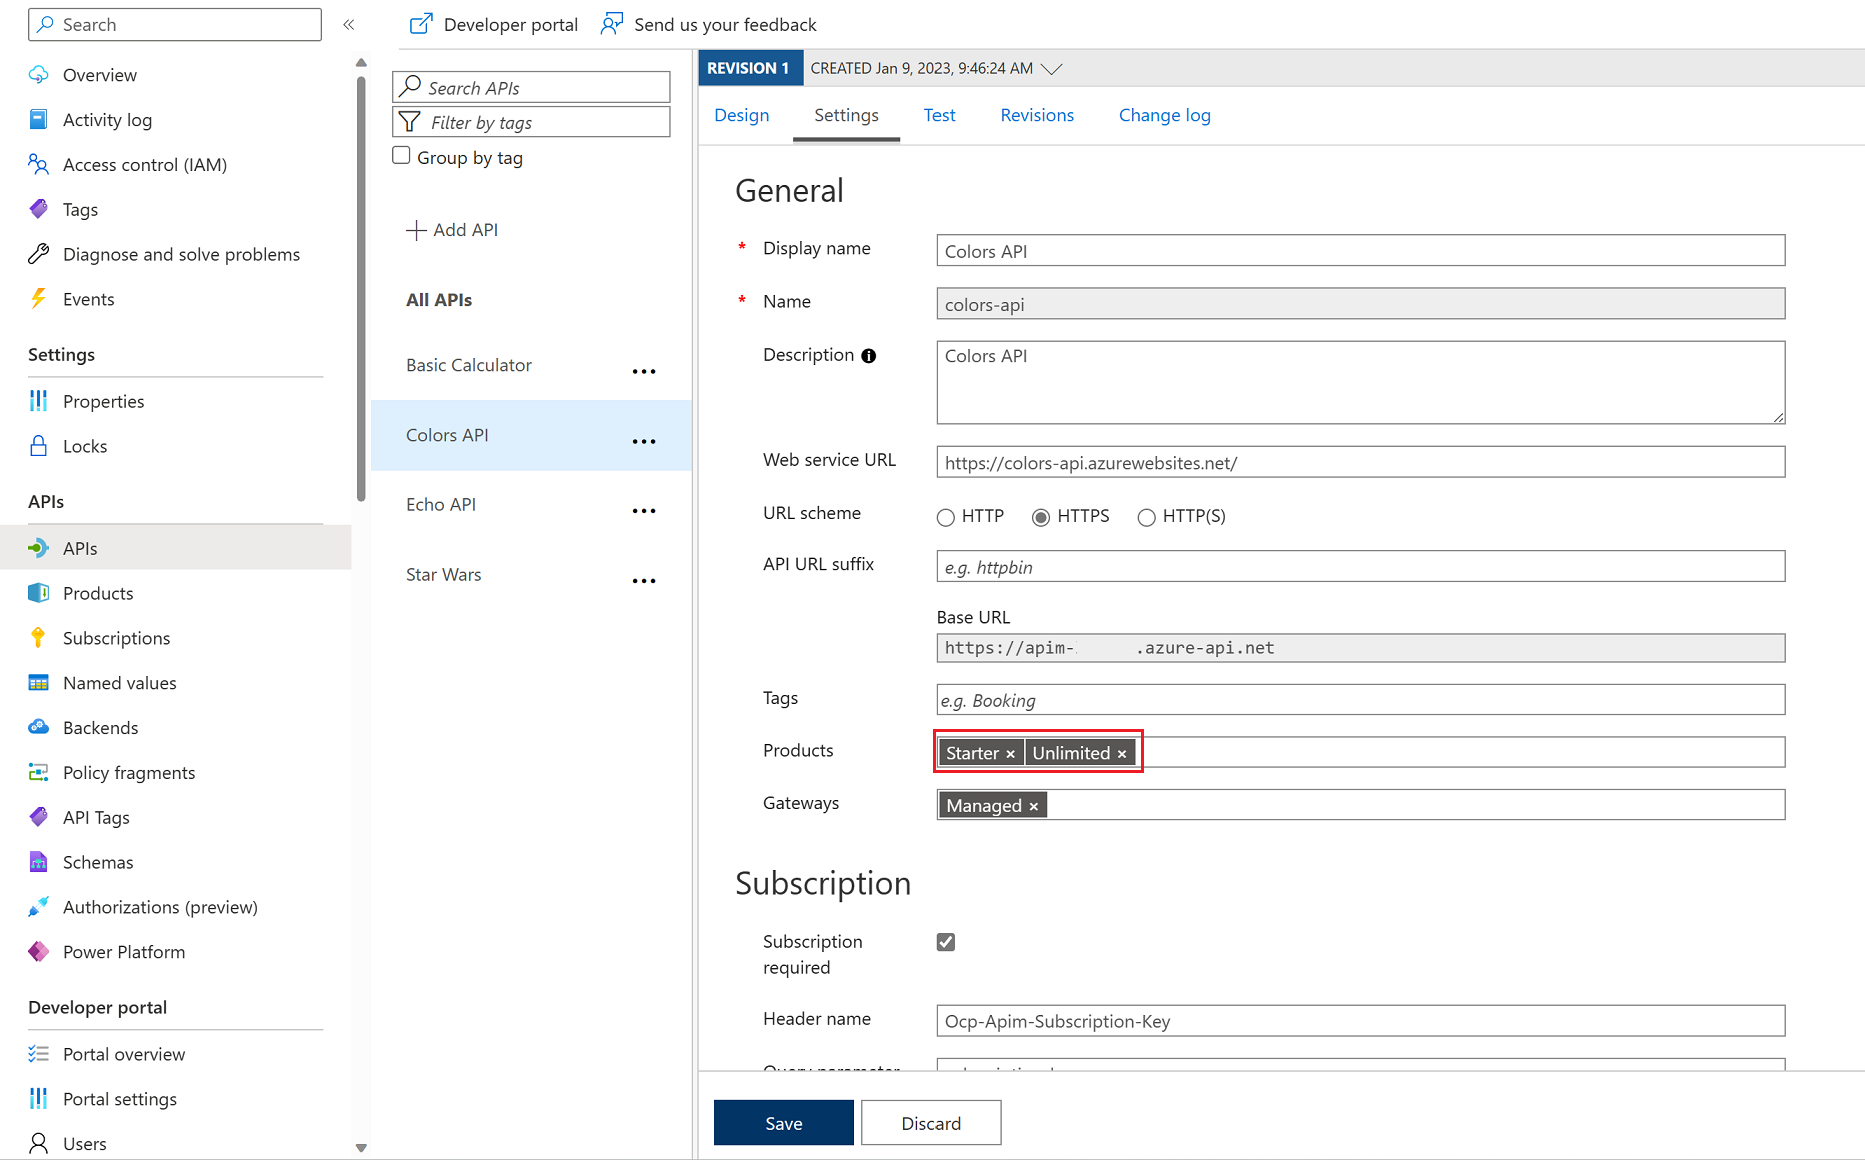
Products can be configured after the API is initially created as well. On the Settings tab, set Products to include Starter and Unlimited, then press Save.
- Switch to the Developer portal and look at the Colors API.
- Try the Get random color operation.
-
Notice the successful
200response and the returned random color.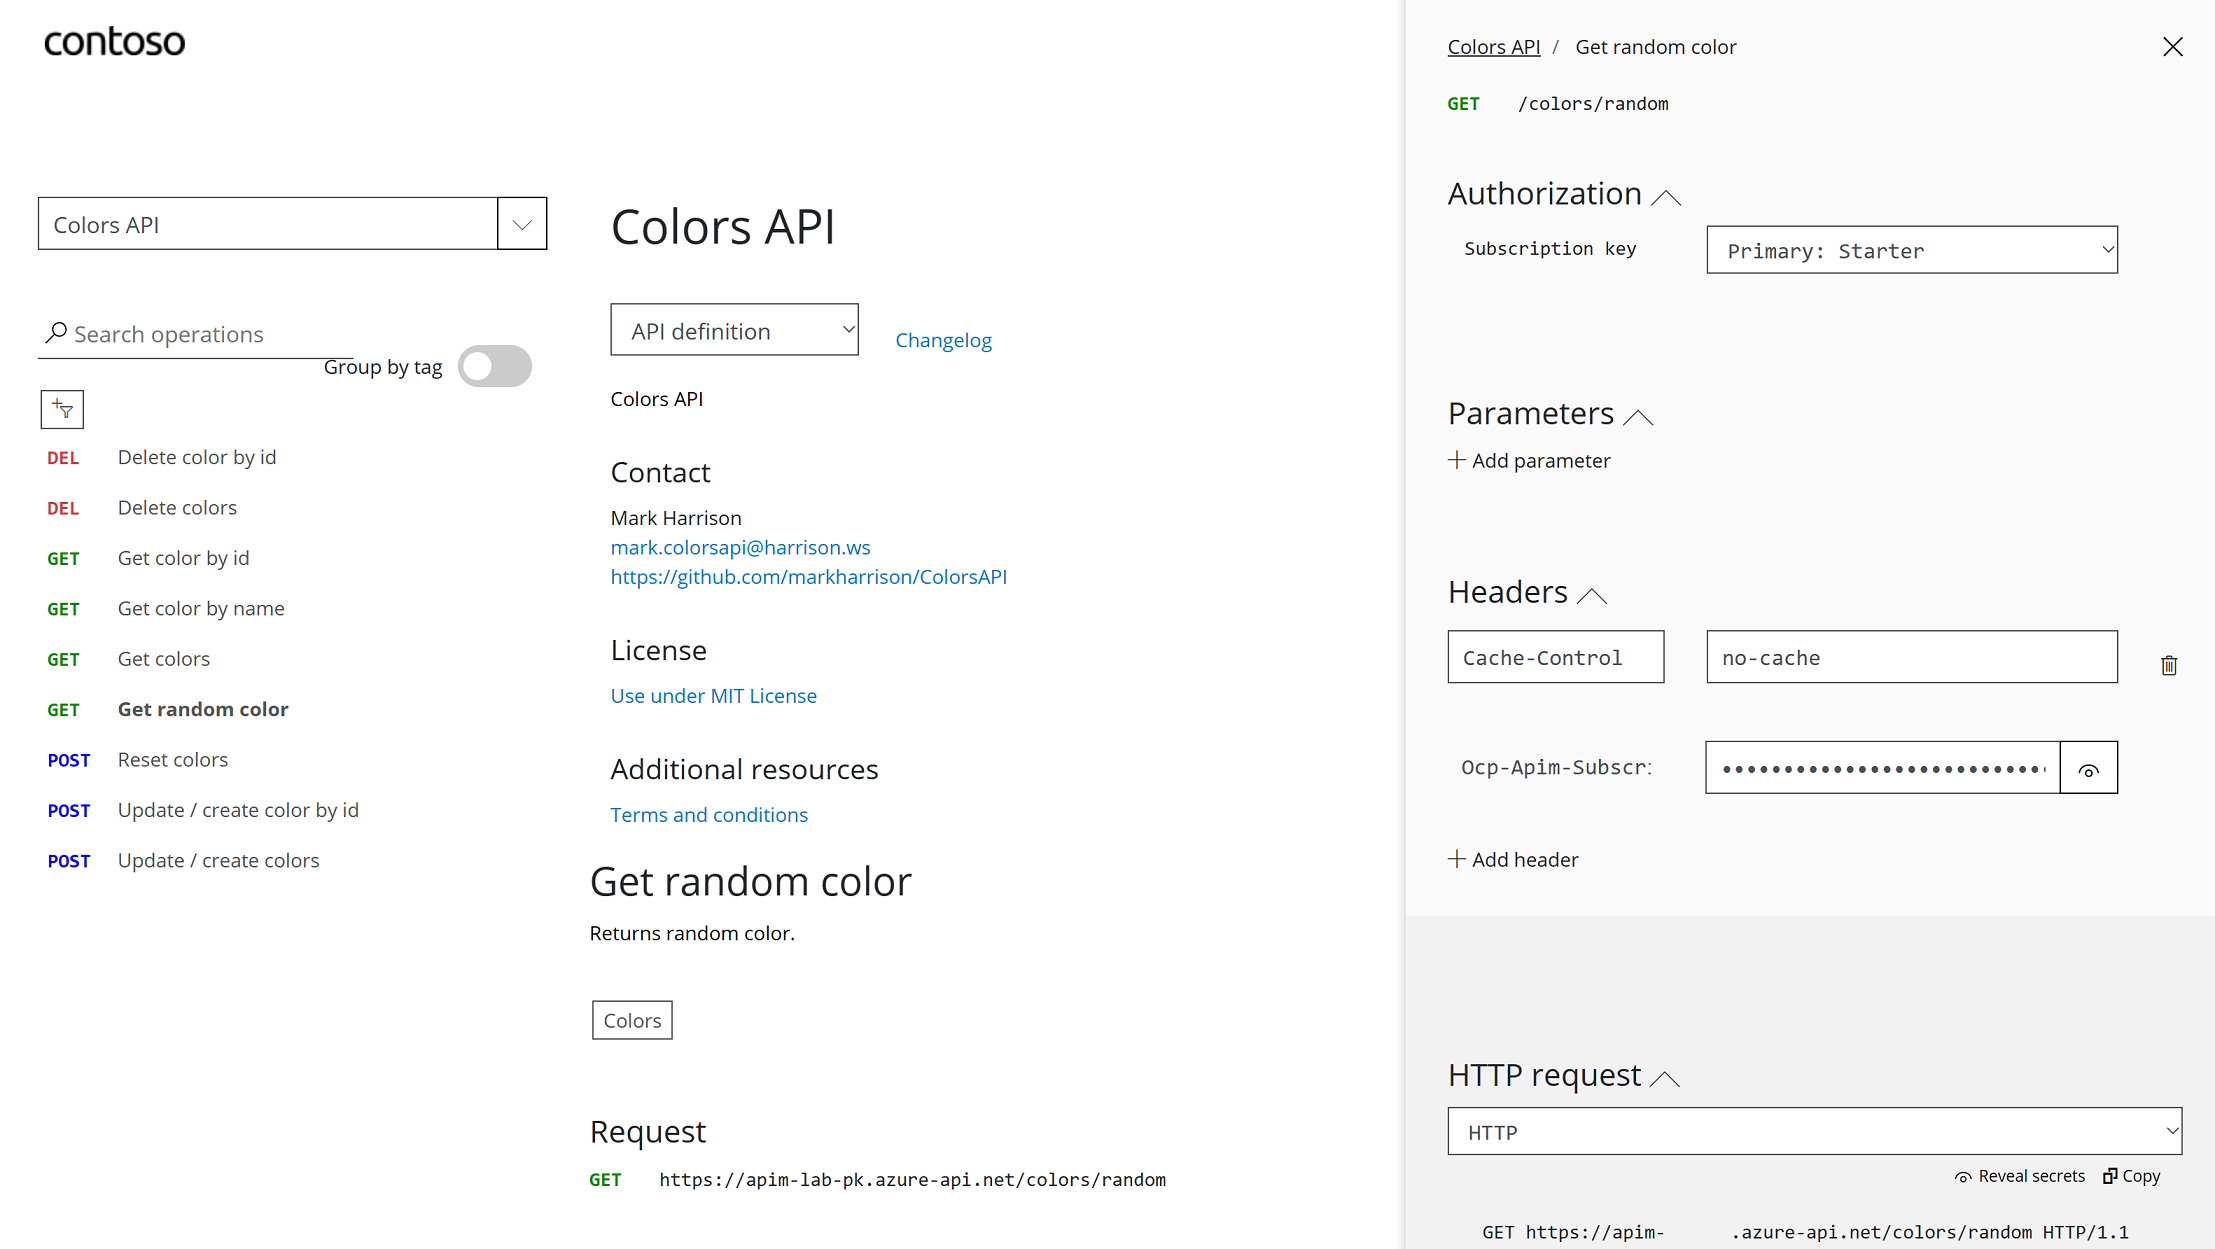

Rate limit
Azure API Management uses rate limiting to protect APIs from being overwhelmed and helps prevent exposure to DDoS attacks. As Azure API Management sits in between your API and their callers, it effectively governs access to your APIs.
We are going to use the Colors website to demonstrate how rate limiting is applied. The website displays 500 lights. Each light will randomly make a call to the Get random color API and then apply the returned color to the lights.
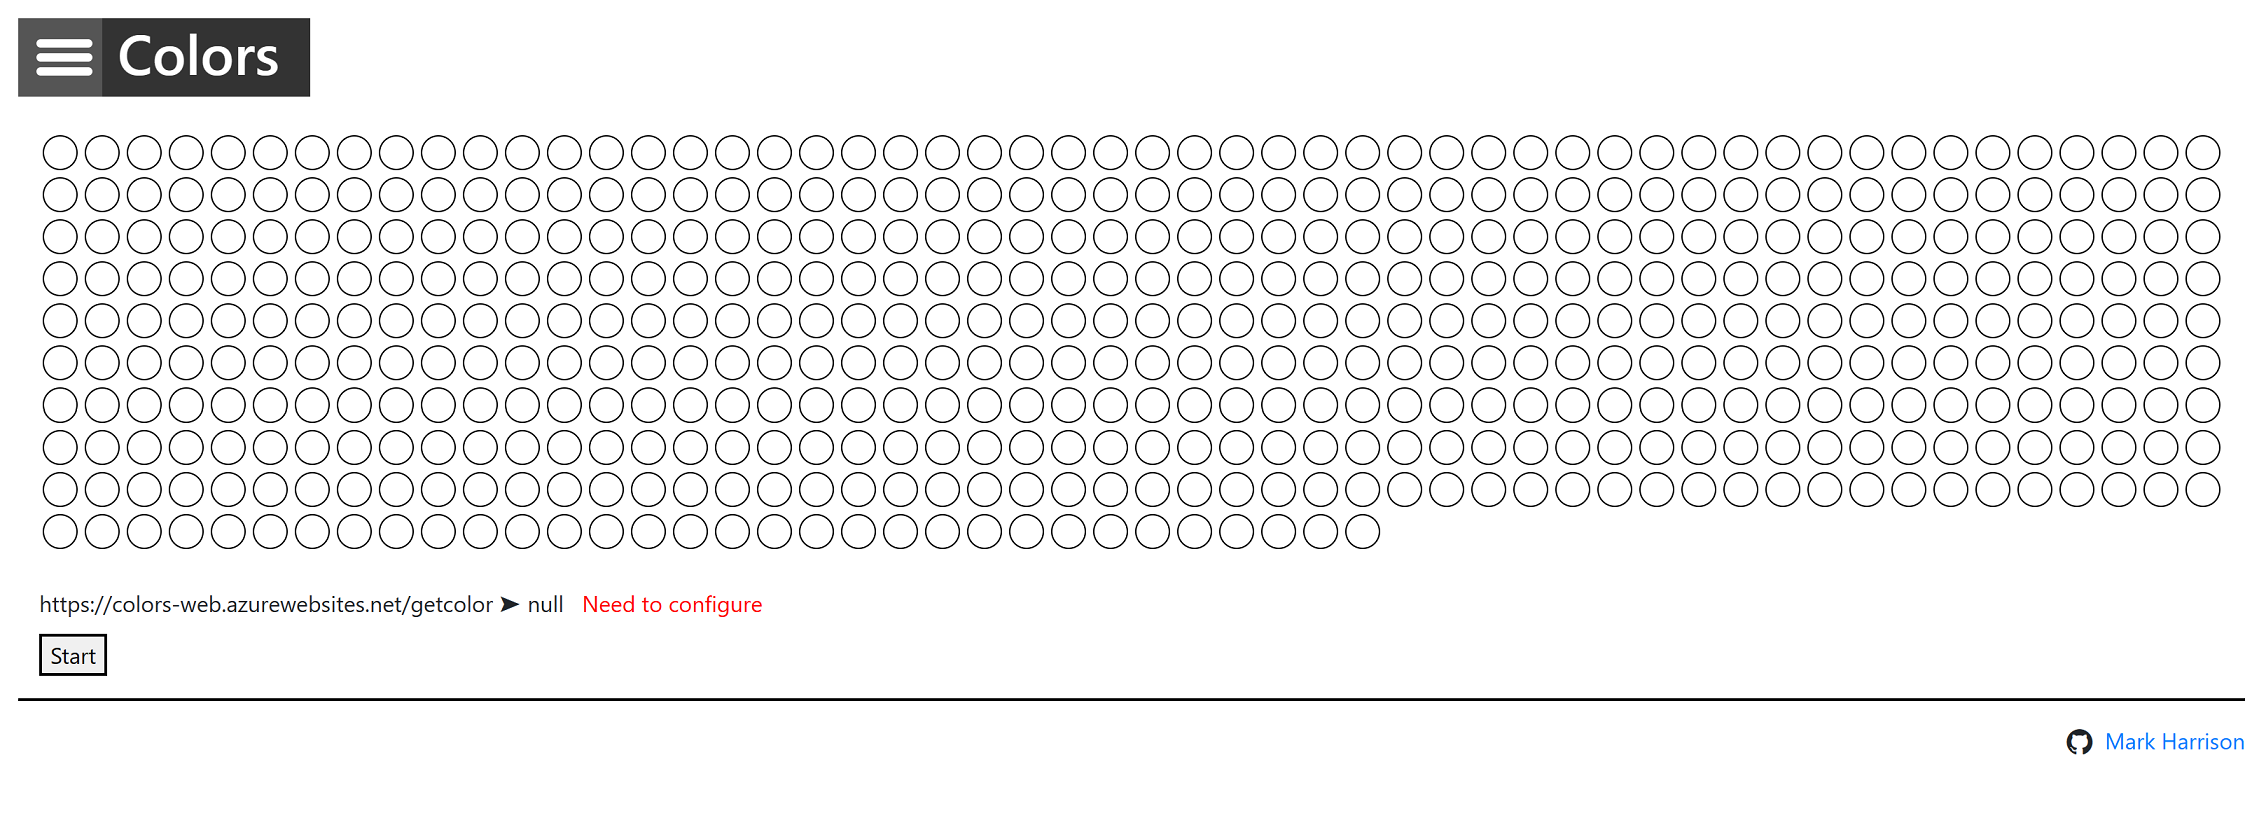
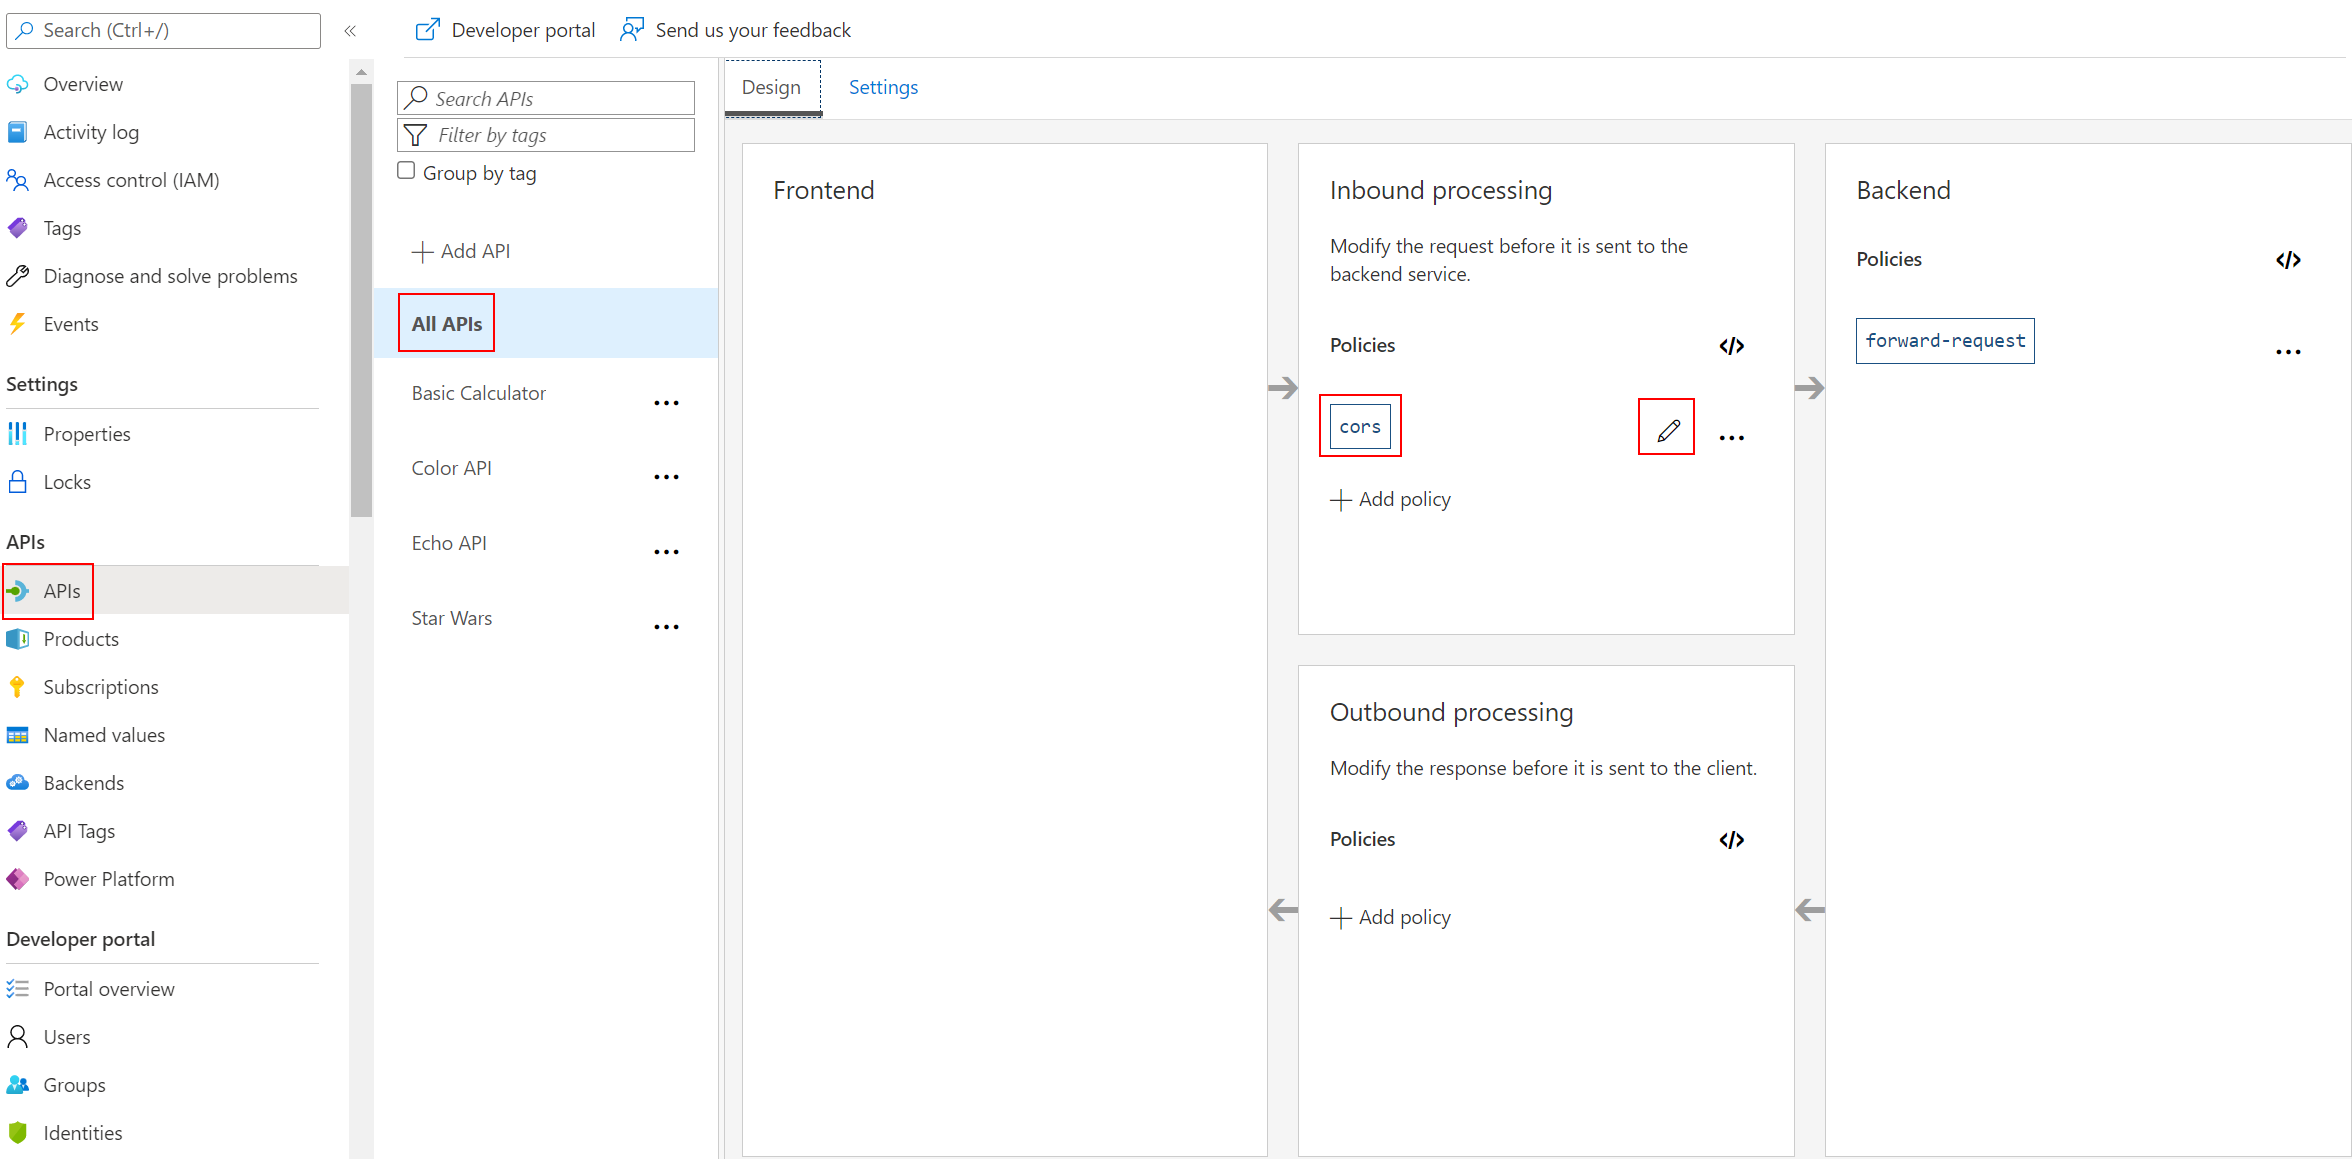
First, we need to enable CORS for the domain name of the frontend. To achieve this we have to do the following in APIM:
- On the sidemenu, click on
APIs, then select theAll APIsoption. - Inside the
Inbound processingarea you will see thecorspolicy, which we added in part 2 by pressing theEnable Corsbutton. -
Click on the pencil icon next to that policy to edit it.
-
Here we will see this form where we can add the domain name of our frontend
https://colors-web.azurewebsites.netor the*for all domains. Press Add allowed origin, enter the URL, then press Save.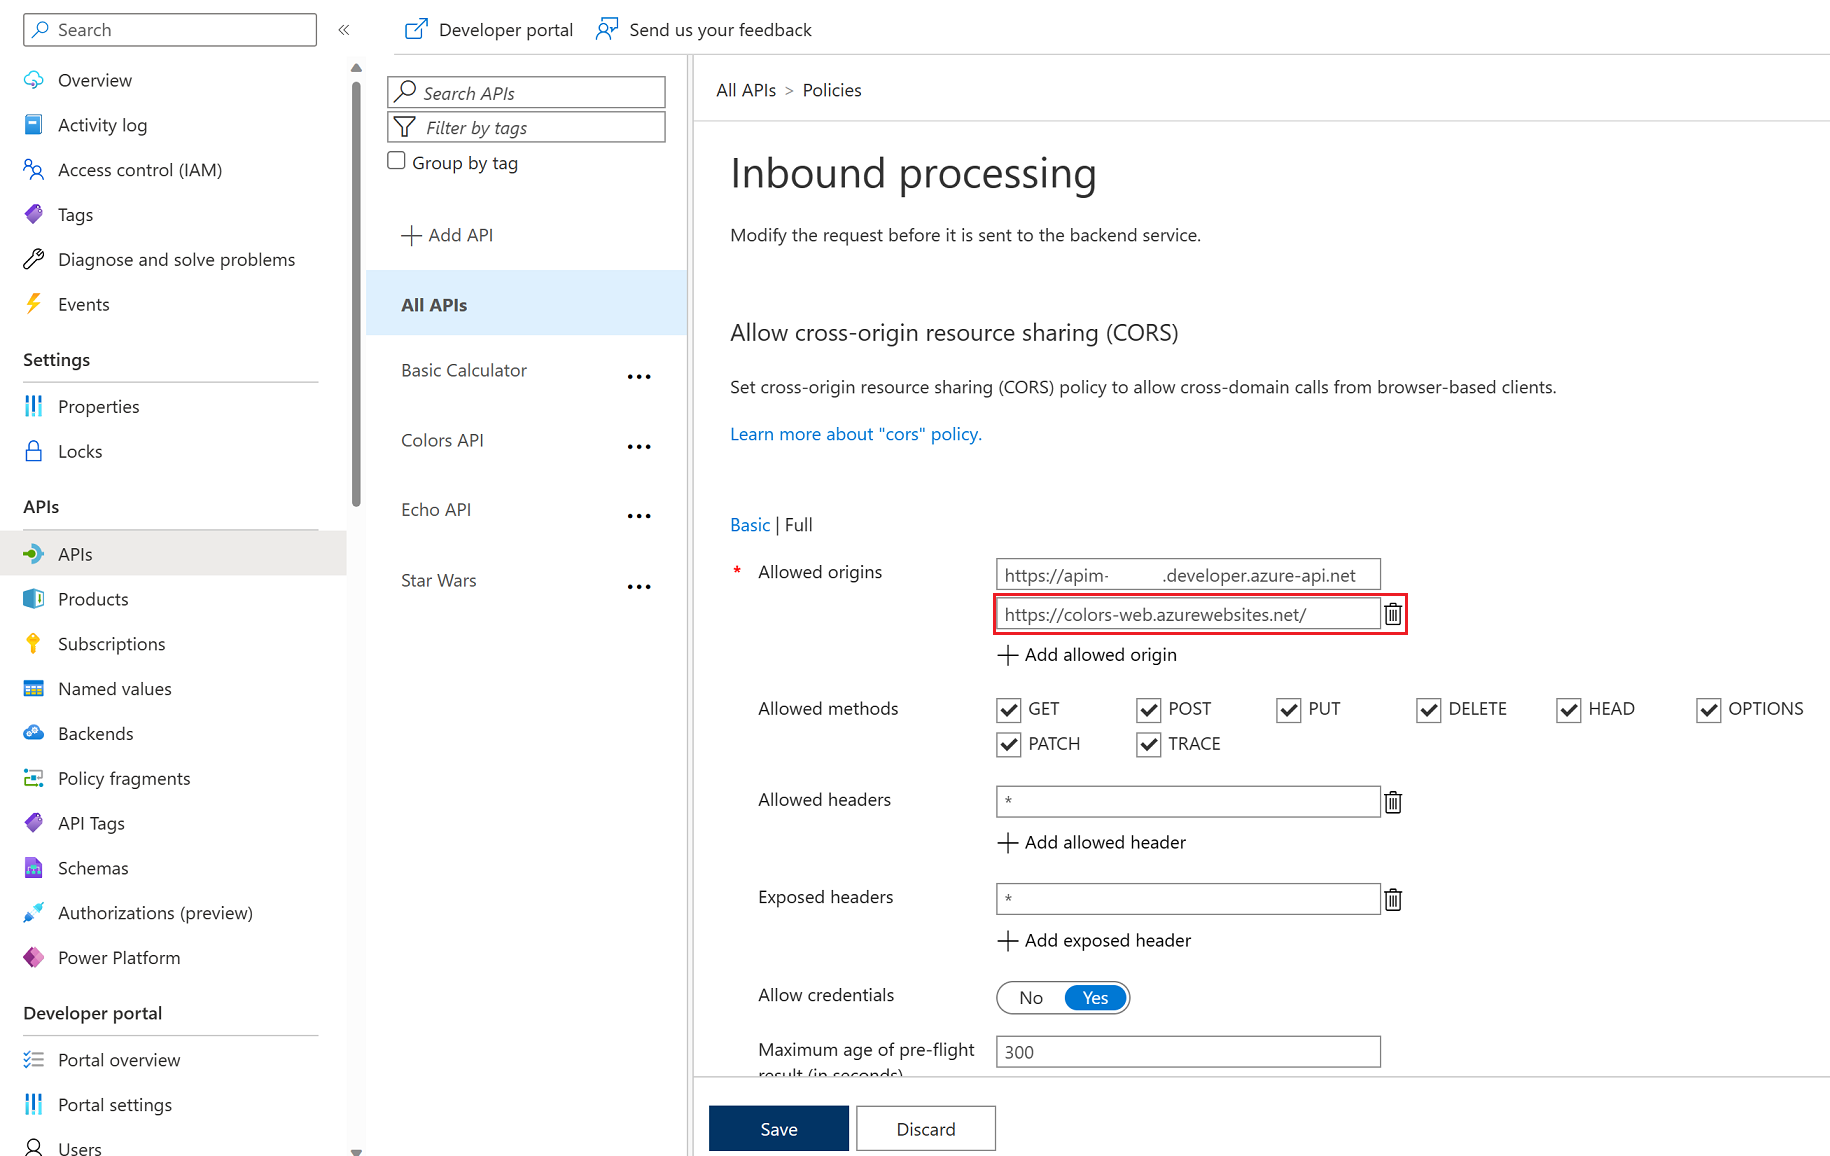
-
After enabling CORS in Azure API Management let’s go back to our frontend https://colors-web.azurewebsites.net and follow these steps:
- Click on the hamburger menu next to Colors in the top left corner.
- Click on Config.
- Replace the API URL according to this format: https://YOUR_APIM.azure-api.net/colors/random (e.g. https://apim-dev-we-hol-ms-01.azure-api.net/colors/random).
- After setting the API URL correctly, press the hamburger menu again and go to Home.
-
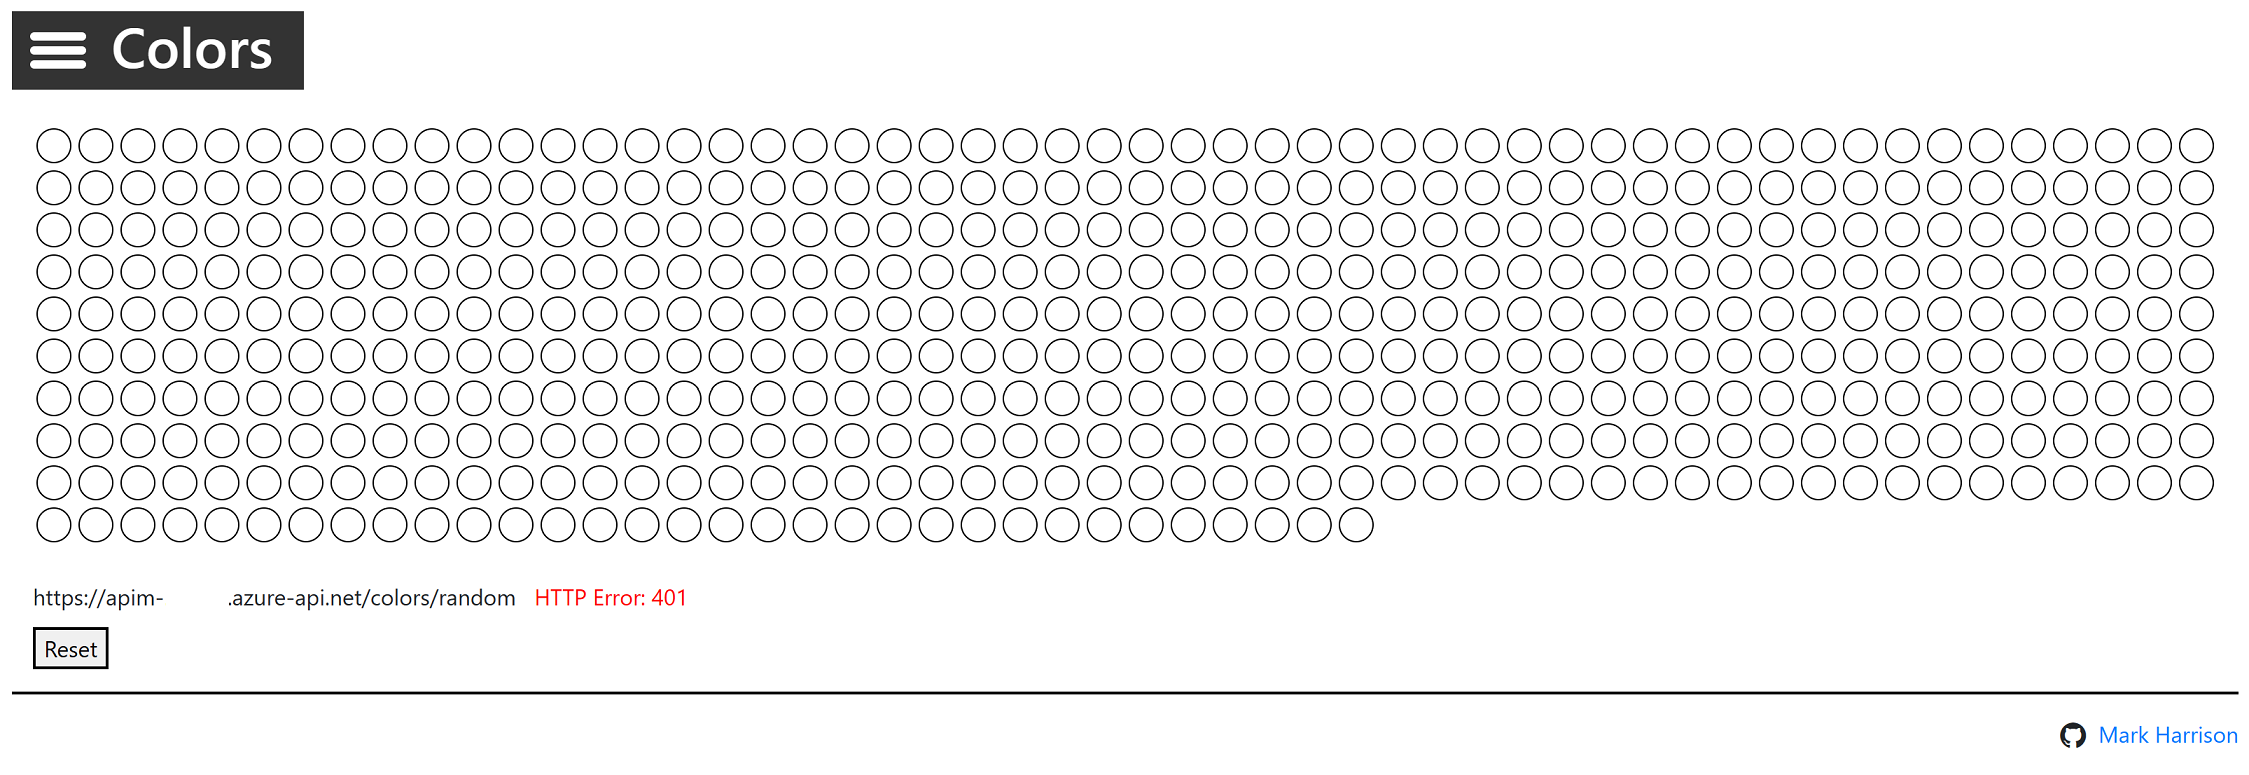
Press Start to see how the frontend is calling the api. You should see a 401 response, indicating an auth error. This happens as our API requires a subscription, but we have not yet entered a subscription key.
-
The subscription keys can be fetched from the Developer Portal. Open the main Developer Portal page, then click on Profile in the top menu.
- Prepare the url in a text editor: Concat the base url and the subscription key for the Starter and Unlimited, and update modify the url with your Azure API Management instance:
https://YOUR_APIM.azure-api.net/colors/random?key=STARTER_PRIMARY_KEY_HERE
https://YOUR_APIM.azure-api.net/colors/random?key=UNLIMITED_PRIMARY__KEY_HERE
- To see that Unlimited product has no rate limits:
- Configure the Colors website to use the Unlimited URL.
- Select Start.
-
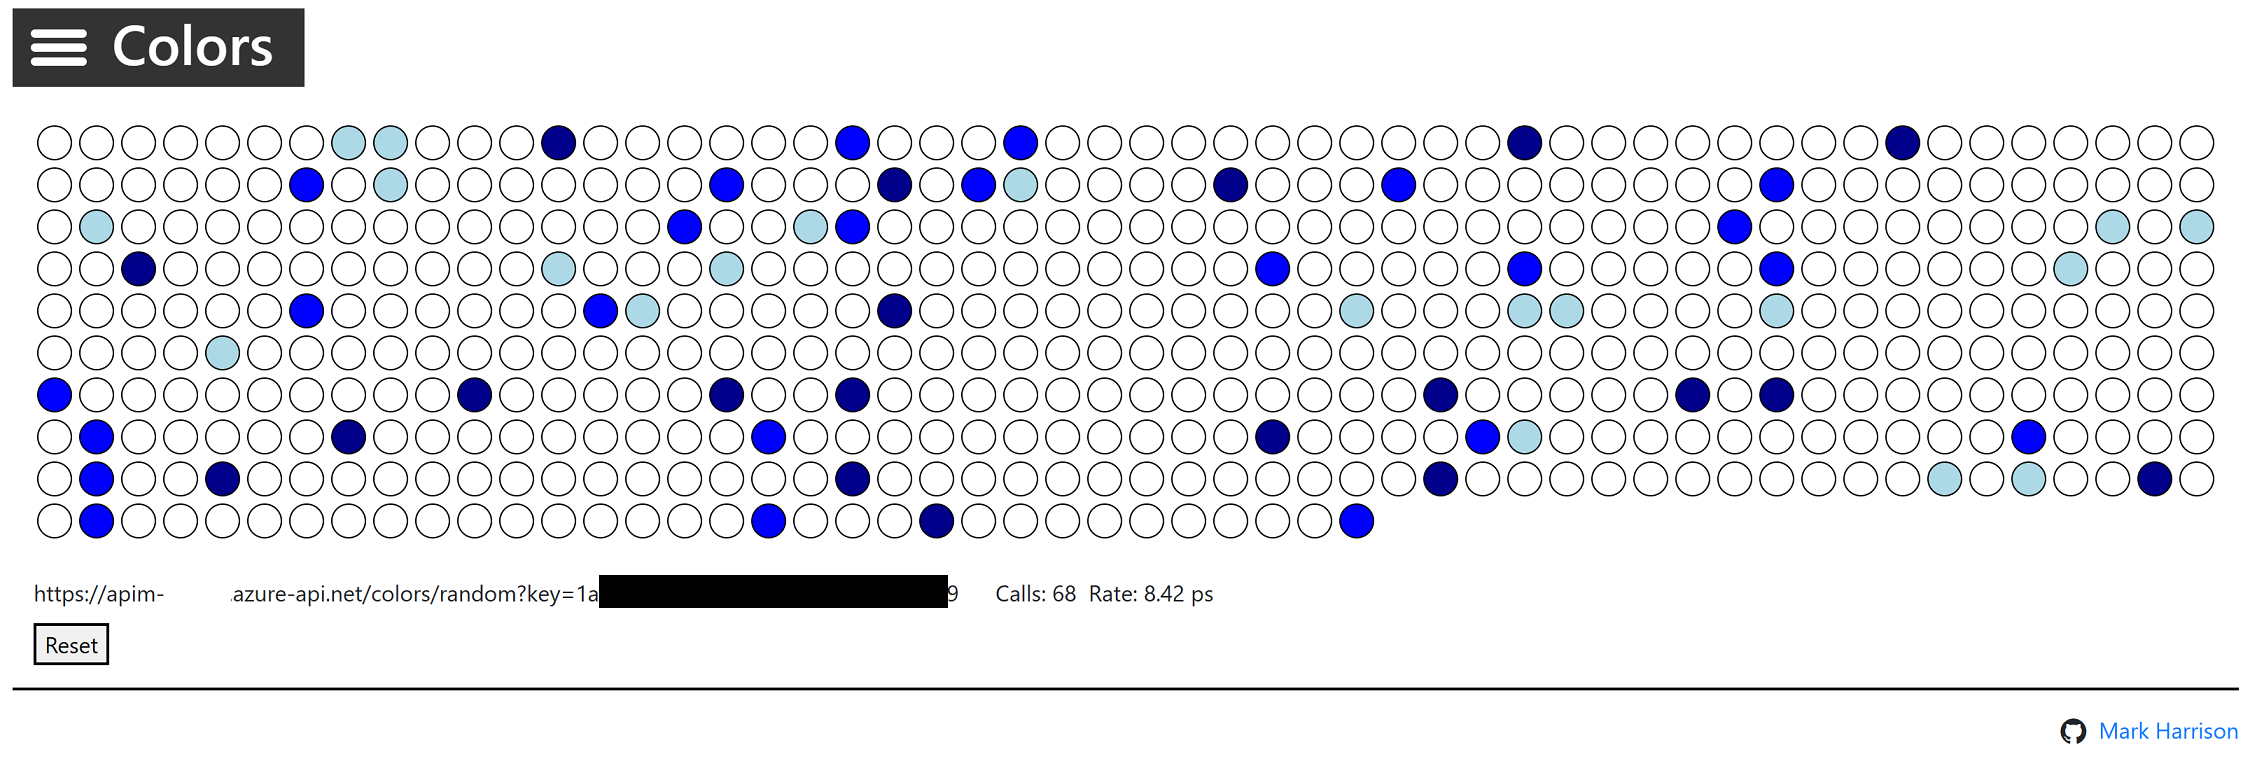
Notice there is no rate limit - every light is randomly and continuously updated.
- To see that Starter product is limited to 5 calls per minute:
- Configure the Colors website to use the Starter URL.
- Select Start.
-
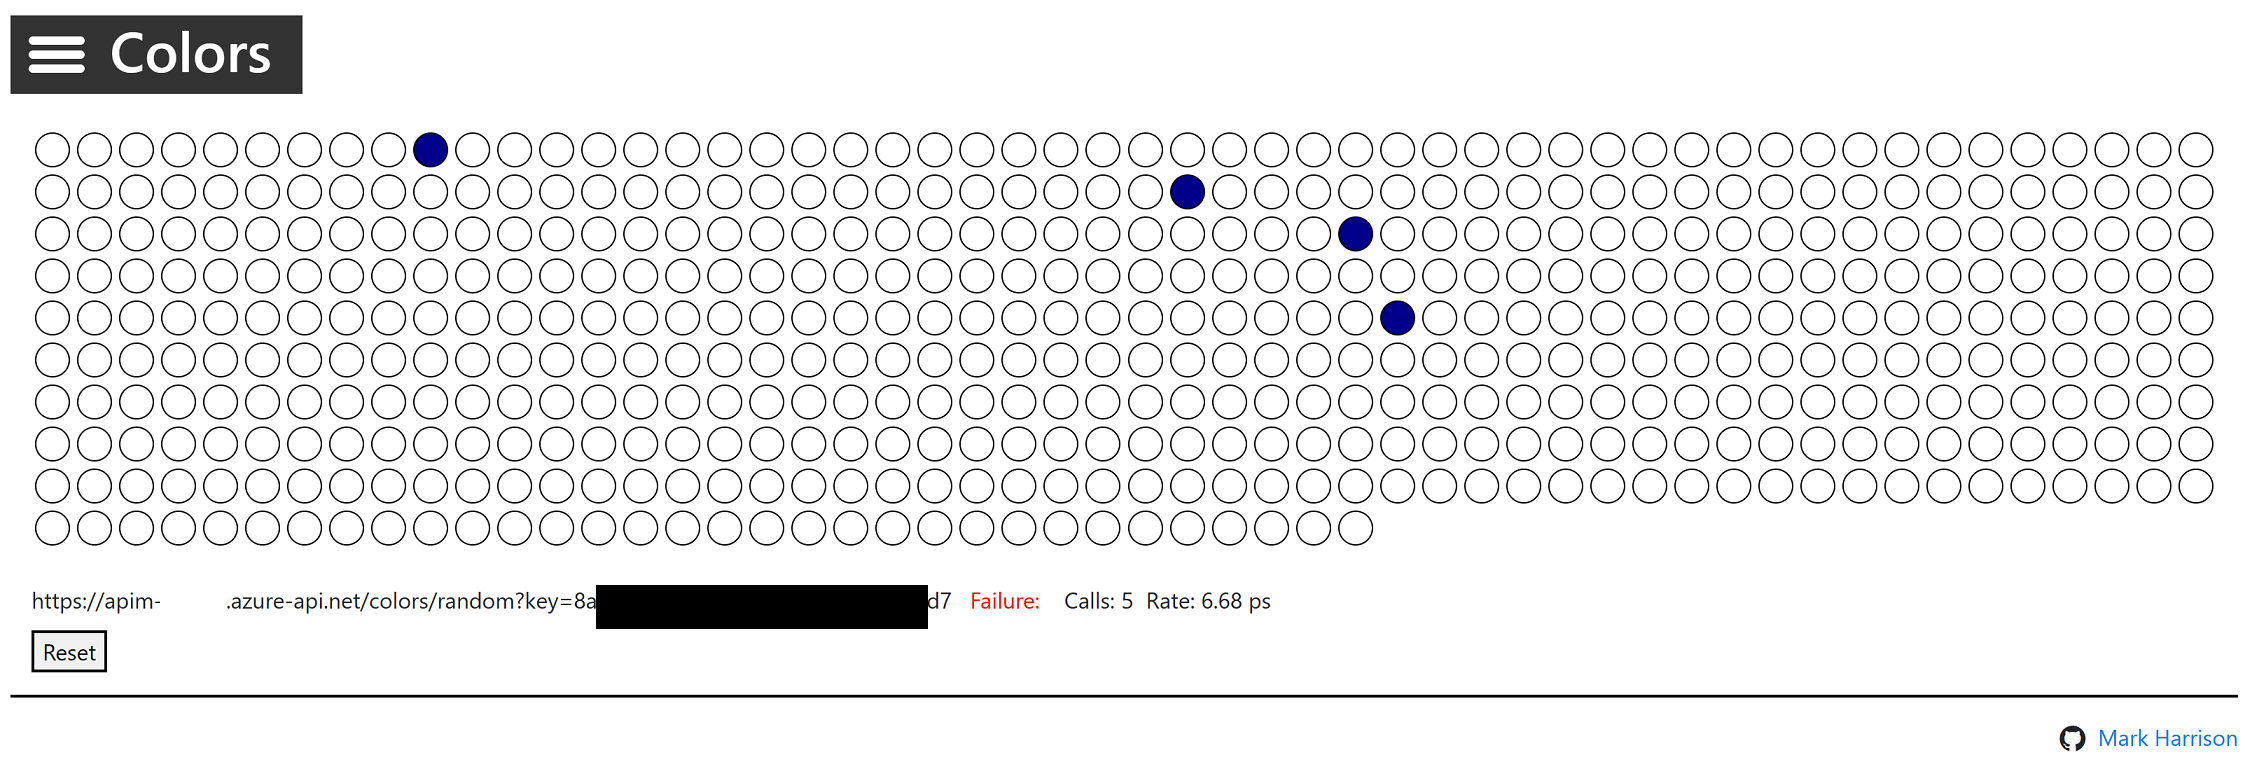
Notice that only 5 lights get colored.
-
Try the same Starter URL directly in your web browser and notice the error status / message returned:
