Training model using Azure Machine Learning and Jupyter Notebook VM
What you will do
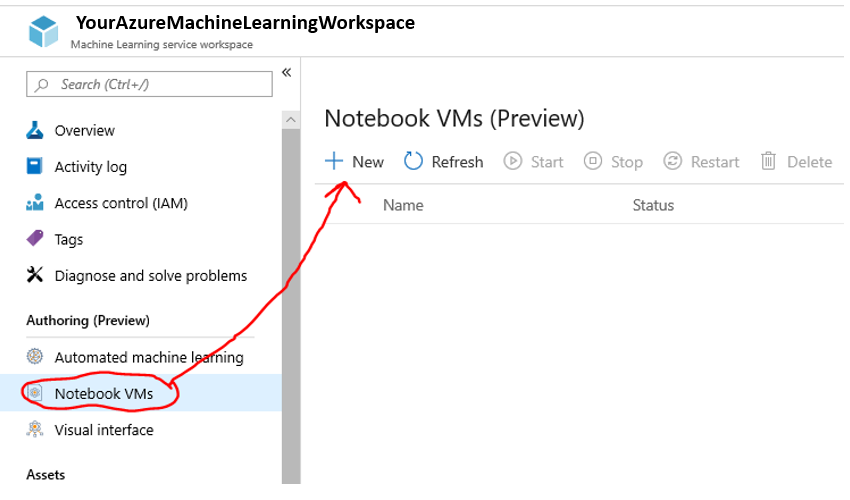
- Create a Notebook VM to your Azure Machine Learning Workspace
- Train a model using Azure Machine Learning and Notebook VM. Deploy the model to your Vision AI Dev Kit device
Pre-requisites
- Vision AI DevKit camera
- Azure Machine Learning workspace
Create Notebook VM
- Log in to Azure Portal and access Azure Machine Learning workspace
- Create a new Notebook VM
Clone example notebooks from GitHub
- Add an access token to your GitHub account (if not exist yet). This is needed for being able to clone a private GitHub. In this case the password when cloning a GitHub is your token.
- Open the Notebook VM
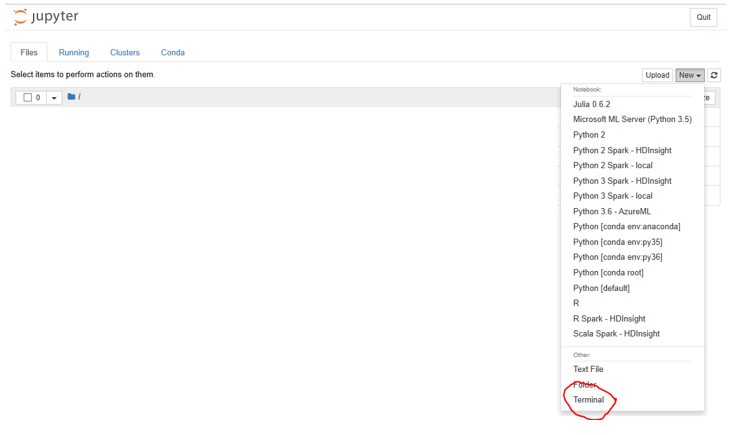
- Open “Terminal”
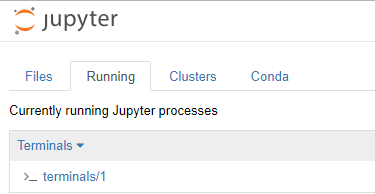
- Note that if you use Edge as your browser the terminal many not open directly. In that case you can access it from “Running” tab.
git clone --recursive https://github.com/microsoft/vision-ai-developer-kit
Prep your environment
- Change the aml_config/config.json file to match the subscription details for your Azure ML Workspace
- In case you want to use your own data go to the data folder and create a folder with your data, e.g. my_data.
- In the my_data folder, copy your data. Each folder name is the label of the images in that folder. For example, the soda_cans folder looks like this:
- soda_cans
- coke
- ice
- pepsi
- In the my_data folder, copy your data. Each folder name is the label of the images in that folder. For example, the soda_cans folder looks like this:
- IMPORTANT: You MUST upload more than 35 images per folder so there’s enough data for training.
Run the notebook
-
Open the 02-mobilenet-transfer-learning-final.ipynb notebook
-
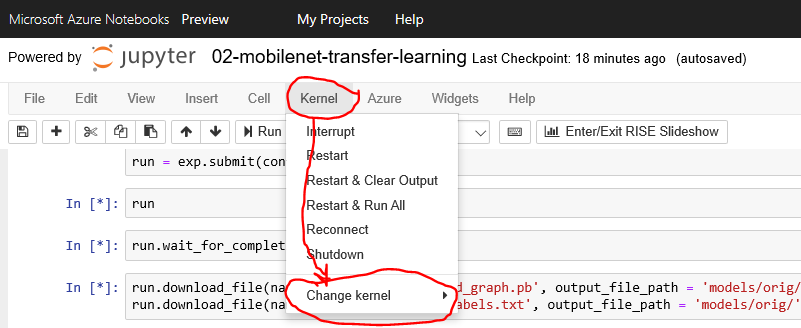
Set the Kernel to Python 3.6
- Run the notebook by running each cell individually
- In case you don’t want to run a cell you can change it to markdown
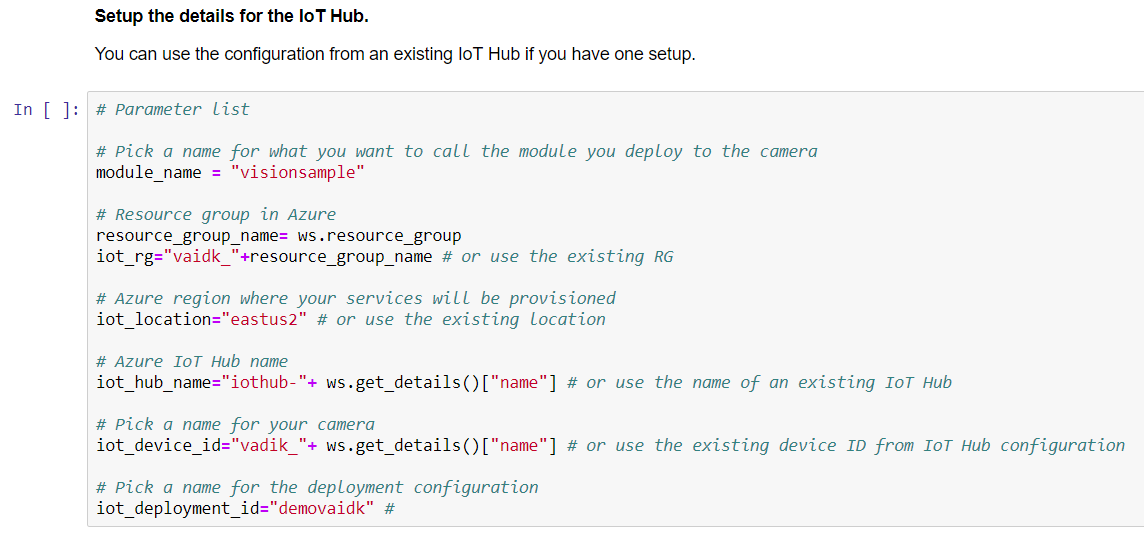
Configure your IoT Hub details
- Change the cell content to reflect your IoT Hub. Please note that you can use format:
- Iot_hub_name=”youriothub”
