Create and deploy a vision AI model with CustomVision.AI
What you will do
- Create a trained vision AI model using Azure Custom Vision Service.
- Containerize and deploy the model to the DevKit.
What you will need to create and train a model
- A valid Azure account. Create an account for free.
- A set of images for use in training the classifier model.
What you will need to containerize and deploy the model
- A configured Visual Studio (VS) Code installation. Instructions
- Clone or download the contents of Vision AI Developer Kit GitHub.
- Docker installation and Docker extension for VS Code. Note: Do not login to Docker at this time.
Build a custom vision classifier
-
Using a browser, login to the Azure Custom Vision Service (Preview) at https://www.customvision.ai.
-
Create Custom Vision Training and Prediction resources in the in the Azure portal.
-
Follow these instructions for How to build a classifier with Custom Vision, using these recommended settings when creating a new project:
- Project Type - [Classification]
- Classification Type - [Multiclass (Single tag per image)]
- Domain - [General(compact)]
- ** Basic Platforms + Vision AI Dev Kit
Export the trained vision model
-
Download the trained models using the Export button in the Performance tab of the customvision.ai portal.

-
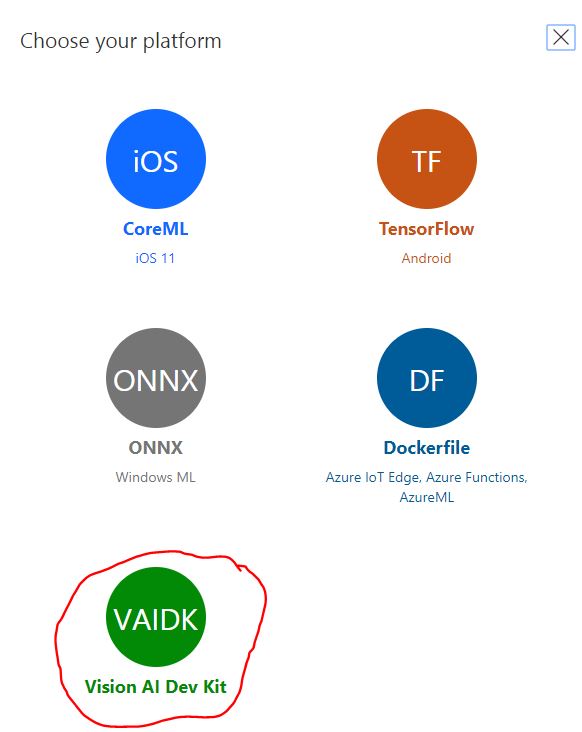
Select Vision AI Dev Kit platform
-
Export will provide you with model.dlc and labels.txt files that are needed for containerization and deployment.
Containerize and deploy your model
Build a Local Container Image
The modules\VisionSampleModule folder include:
- \app: source code used to detect objects by a deep learning model.
- \model: a deep learning model’s dlc file, its related labels.txt file and va-snpe-engine-library_config.json. The default model.dlc is a classfication model trained by Azure Custom Vision Service to detect “fork” and “scissors” two classes.
- Dockerfile.arm32v7 file: instructions used to build this module image.
- module.json file: config file for this module.
-
Overwrite deployment.template.json’s content by 01-visionsample-deployment.template.json file. It only includes one module: VisionSampleModule.
-
Update the .env file with the values for your container image name and container registry. Refer to Create a container registry for more detail about ACR settings.
MODULE_NAME="Your container image name" REGISTRY_NAME="Your ACR name" REGISTRY_USER_NAME="Your ACR username" REGISTRY_PASSWORD="Your ACR password" -
Sign in Azure Container Registry by entering the following command in the Visual Studio Code integrated terminal (replace
, , and to your container registry values set in the **.env** file): docker login -u <REGISTRY_USER_NAME> -p <REGISTRY_PASSWORD> <REGISTRY_NAME>.azurecr.io -
Copy DLC file and its related labels.txt and va-snpe-engine-library_config.json to modules\VisionSampleModule\model folder.
-
Open modules\VisionSampleModule\module.json file and change version setting in tag property for creating a new version of the module image.
- Right-clicking on deployment.template.json file and select [Build and Push IoT Edge Solution] command to generate a new deployment.json file in config folder, build a module image, and push the image to the specified ACR repository.
Note: Some red warnings “/usr/bin/find: ‘/proc/XXX’: No such file or directory” and “debconf: delaying package configuration, since apt-utils is not installed” displayed during the building process can be ignored.
- Right-clicking on config/deployment.json file, select [Create Deployment for Single Device], and choose the targeted IoT Edge device to deploy the container Image.
