Migrating your Docker Compose applications to the Sidecar feature
As we continue to enhance the developer experience on Azure App Service, we’re announcing the retirement of the Docker Compose feature on March 31, 2027. If you’re currently using Docker Compose to deploy and manage multi-container applications on App Service, now is the time to start planning your transition to the new Sidecar feature.
Sidecar is now generally available (read the announcement) and offers a more modern, intuitive way to build and manage multi-container apps on Azure App Service. With Sidecar, you get a simplified configuration model, deeper integration with the Azure ecosystem, and enhanced observability and control through the Azure portal.
Compared to Docker Compose, Sidecar provides several key benefits:
- Simplified configuration for deploying and managing multi-container applications.
- Full Azure portal integration, allowing you to monitor, manage, and view logs for each container individually.
- Native integration with Azure App Service features such as VNet and Managed Identity, enabling more secure and flexible architectures.
In this guide, we’ll walk you through everything you need to know to successfully migrate from Docker Compose to Sidecar—ensuring your applications remain reliable, secure, and supported well into the future.
Migration Process: Moving from Docker Compose to Sidecar
🛠 Recommendation: We strongly encourage you to use deployment slots during migration. This allows you to test your Sidecar configuration safely in a staging environment before swapping it into production. If you’re on a pricing tier below Standard, you can temporarily upgrade to Standard, perform the migration using slots, and then downgrade after you’re done.
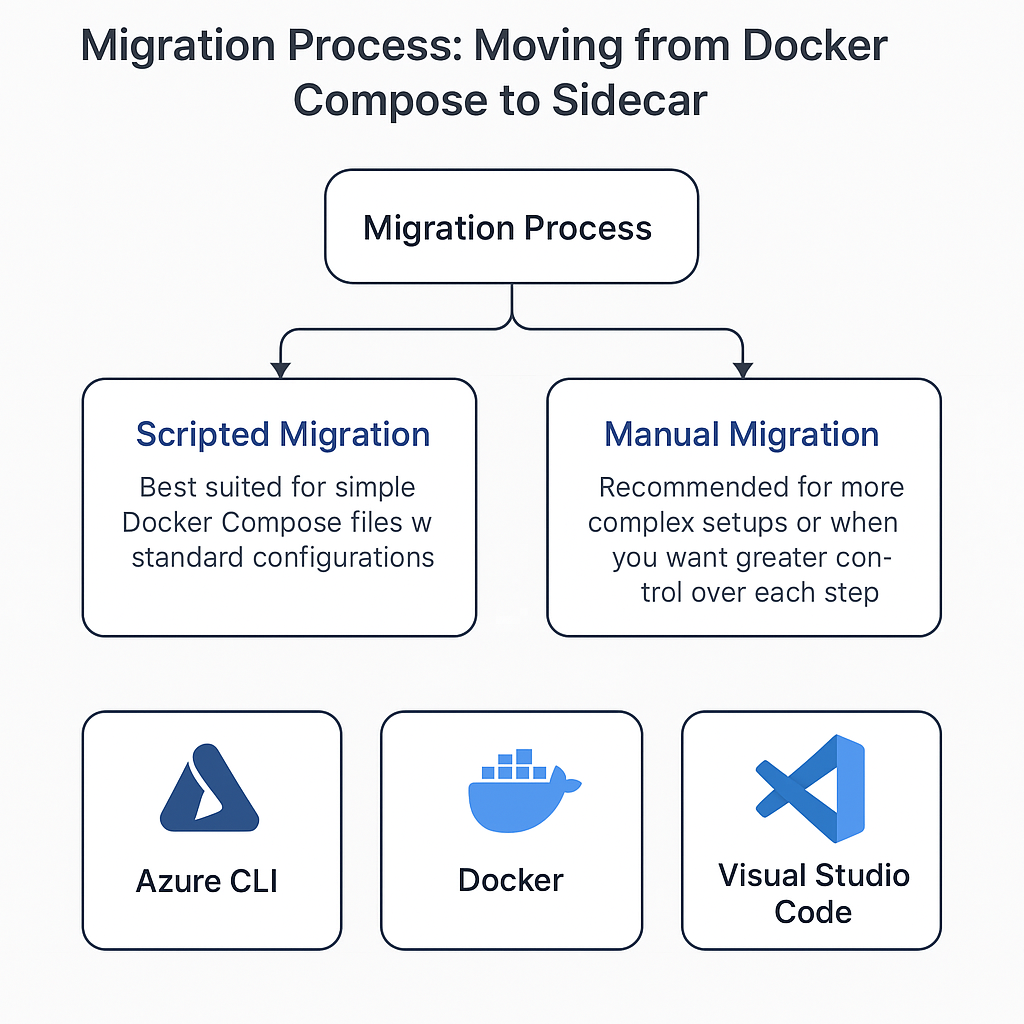
1. Script-Based Migration (Recommended for Simple Setups)
If your Docker Compose file follows standard configurations and doesn’t include any unsupported fields, you can automate the migration using our provided script.
⚠️ Important: Before running the script, ensure you take a backup of your site from the Azure portal. This ensures you can safely roll back if anything goes wrong.
🔗 Get the Migration Script
You can find the PowerShell script in our GitHub repository:
👉 Download the script from GitHub
▶️ Running the Script
-
Save the script as
update-webapp.ps1on your machine. -
Run it from PowerShell, passing the required parameters:
./update-webapp.ps1 `
  -subscriptionId "<subscriptionId>" `
  -webAppName "<webAppName>" `
  -resourceGroup "<resourceGroup>" `
  -registryUrl "<registryUrl>" `
  -base64DockerCompose "<base64DockerCompose>" `
  -mainServiceName "<mainServiceName>" `
  -targetPort "<targetPort>"
💡 If your container registry requires authentication, also set:
dockerRegistryServerUsernamedockerRegistryServerPassword
(If not set, the script will prompt you to enter them interactively.)
🧩 Parameters Explained
| Parameter | Description |
|---|---|
subscriptionId |
Azure Subscription ID |
webAppName |
Name of your App Service app |
resourceGroup |
Resource group containing your app |
registryUrl |
URL of your container registry (e.g., myregistry.azurecr.io) |
base64DockerCompose |
The base64-encoded version of your docker-compose.yml |
mainServiceName |
Name of the primary service to run the app |
targetPort |
Port on which the main service listens |
2. Manual Migration
a. Prerequisites
Make sure the following tools are installed and ready:
- Azure CLI
- Docker – installed and running
- Visual Studio Code or any text editor for editing config files
b. Sign In to Azure and Set Your Subscription
az login
az account set --subscription <your-subscription-id>
c. Gather Required Details
Run the following commands to get key info:
az account show --query id --output tsv
az webapp list --query "[].{name:name}" --output tsv
az group list --query "[].{name:name}" --output tsv
az acr list --query "[].{name:name}" --output tsv
These will help you identify your subscription ID, app name, resource group, and Azure Container Registry (ACR).
d. Create a Deployment Slot
az webapp deployment slot create --name <webapp-name> --resource-group <resource-group> --slot <slot-name>
This slot is where you’ll configure and validate the Sidecar-based setup before going live.
e. Decode the Existing Docker Compose Configuration
Retrieve the encoded Docker Compose value:
az webapp config show --name <webapp-name> --resource-group <resource-group> --query linuxFxVersion
You’ll see a value like:
"COMPOSE|<base64value>"
Copy the base64 part and decode it in PowerShell:
[System.Text.Encoding]::UTF8.GetString([System.Convert]::FromBase64String("<base64value>"))
This will reveal your original docker-compose.yml content, including service names, images, ports, and environment variables.
f. Define Your Sidecar Containers
Use the following pattern to create each container defined in your Compose file:
az rest --method PUT \
  --url https://management.azure.com/subscriptions/<subscription-id>/resourceGroups/<resource-group>/providers/Microsoft.Web/sites/<webapp-name>/sitecontainers/<container-name>?api-version=2023-12-01 \
  --body "{\"name\":\"<container-name>\", \"properties\":{\"image\":\"<image-name>\", \"isMain\": <true/false>, \"targetPort\": <port>}}"
✅ Example: Single service
services:
  my-service:
    image: myregistry.azurecr.io/my-service:latest
az rest --method PUT --url https://management.azure.com/.../sitecontainers/my-service?... --body "{\"name\":\"my-service\", \"properties\":{\"image\":\"myregistry.azurecr.io/my-service:latest\", \"isMain\": true, \"targetPort\": 80}}"
✅ Example: Multiple services
services:
  backend:
    image: myregistry.azurecr.io/myapp/backend:latest
    ports:
      - "3000:3000"
  frontend:
    image: myregistry.azurecr.io/myapp/frontend:latest
    ports:
      - "3001:3001"
# Backend
az rest --method PUT --url .../sitecontainers/backend?... --body "{\"name\":\"backend\", \"properties\":{\"image\":\"myregistry.azurecr.io/myapp/backend:latest\", \"isMain\": true, \"targetPort\": 3000}}"

# Frontend
az rest --method PUT --url .../sitecontainers/frontend?... --body "{\"name\":\"frontend\", \"properties\":{\"image\":\"myregistry.azurecr.io/myapp/frontend:latest\", \"isMain\": false, \"targetPort\": 3001}}"
Repeat for all containers defined in your Compose file.
g. Switch to Sidecar Mode
Now update your web app to use the Sidecar configuration:
az webapp config set --name <webapp-name> --resource-group <resource-group> --linux-fx-version "sitecontainers"
h. Restart the Deployment Slot
az webapp restart --name <webapp-name> --resource-group <resource-group> --slot <slot-name>
This restarts the app to apply your new configuration.
i. Validate and Swap to Production
Once you’ve verified that the slot is running correctly and the Sidecar setup works as expected:
az webapp deployment slot swap --name <webapp-name> --resource-group <resource-group> --slot <slot-name> --target-slot production
This brings your new configuration live without downtime.
Mapping Docker Compose Attributes to Sidecar Configuration
When migrating from Docker Compose to Sidecar, it’s important to understand how your existing Compose file maps to the Sidecar configuration model in Azure App Service. Below is a reference table showing how commonly used fields are translated.
✅ Supported Attribute Mapping
| Docker Compose Field | Sidecar Configuration Field |
|---|---|
command, entrypoint |
startUpCommand |
environment |
environmentVariables |
image |
image |
ports |
targetPort |
volumes |
volumeMounts |
These fields are directly supported and should work seamlessly when configuring your containers with Sidecar.
🚫 Unsupported or Ignored Fields
Some Docker Compose fields are either not supported or were previously ignored even in the Docker Compose experience on App Service. These should be removed or reworked in your Sidecar configuration:
| Docker Compose Field | Status | Notes |
|---|---|---|
build |
❌ Not allowed | You must pre-build and push images to a container registry. |
depends_on |
⚠️ Ignored | No container startup ordering is guaranteed. |
networks |
⚠️ Ignored | Network mode is handled internally by App Service. |
secrets |
⚠️ Ignored | Use App Settings or Key Vault integration instead. |
ports other than 80/8080 |
⚠️ Ignored | App Service only supports ports 80 and 8080 for container traffic. |
volumes using {WEBAPP_STORAGE_HOME} or {WEBSITES_ENABLE_APP_SERVICE_STORAGE} |
❌ Not supported | Sidecar currently does not support mounting persistent Azure storage via these environment variables. |
ℹ️ If your Compose file includes these unsupported options, you’ll need to revise or remove them before transitioning to Sidecar.
Here’s your Migration Limitations and Considerations section, rewritten for clarity and formatted into a clean comparison table. I’ve included a summary introduction as well:
Migration Limitations and Considerations
Before migrating from Docker Compose to the Sidecar feature, it’s important to understand a few key behavioral differences and current limitations. While Sidecar enables a more native and integrated experience on Azure App Service, there are some considerations around storage, networking, logging, and feature availability.
🔄 Feature Comparison
| Aspect | Docker Compose | Sidecar Containers |
|---|---|---|
| Storage | Volumes are defined in the docker-compose.yml file and shared between containers. |
Storage configuration is container-specific. Persistent storage options are more limited; shared volumes must be handled differently or avoided. |
| Networking | Uses a default virtual network. Containers communicate using service names as hostnames. | All containers run in the same network namespace and communicate over localhost. ⚠️ Warning: Containers exposing the same port will cause conflicts. |
| Logging & Monitoring | Custom logging drivers and external tools (e.g., ELK, Prometheus, Grafana) are typically used. | Integrated with Azure Monitor and Azure Log Analytics. You may need to adjust container output or monitoring strategy for compatibility. |
⚠️ Migration Limitations
| Scenario | Docker Compose | Sidecar |
|---|---|---|
| ASE (App Service Environment) | Supported | ❌ Not yet supported – support coming soon |
| National Clouds (e.g., Azure Government, China) | Supported | ❌ Not yet supported – support planned |
💡 We recommend evaluating each of these areas during your planning phase to ensure a smooth transition.
Here’s your Frequently Asked Questions (FAQ) section, rewritten for clarity and polish while keeping it informative and approachable:
Frequently Asked Questions
🧩 How does scaling work with Sidecar containers?
Sidecar containers are tightly coupled with the main application container—they run as part of the same container unit. This means they start, stop, and scale together with the main container. When your app scales out or in, all associated sidecar containers follow the same lifecycle automatically.
🔐 Can I use private container registries?
Yes, you can. Azure App Service supports private container registries such as Azure Container Registry (ACR) and Docker Hub. Just configure the appropriate authentication credentials using the Azure Portal or Azure CLI.
🛠 How do I debug Sidecar container issues?
You can use Azure Monitor and Azure Log Analytics to collect and analyze logs. Additionally, the Diagnose & Solve blade in the Azure Portal provides access to container logs, metrics, and troubleshooting tools to help you quickly identify and resolve issues.
🌐 How does networking between the main app and Sidecar containers work?
All containers in a Sidecar configuration share the same network namespace, so they can communicate with each other over localhost. For example, if your main app is running on localhost:3000, a sidecar can reach it at that address. Just ensure that each container listens on a unique port to avoid conflicts.
Conclusion
Migrating from Docker Compose to the Sidecar feature in Azure App Service is a strategic step toward a more modern, integrated, and manageable deployment experience. By transitioning early, you can take full advantage of Sidecar’s seamless integration with Azure services, enhanced observability, and simplified configuration—ensuring your applications remain secure, scalable, and future-ready well ahead of the Docker Compose retirement on March 31, 2027.
📚 Learn More
- Tutorial: Deploy multi-container apps using Sidecar (with custom containers)
- Tutorial: Add sidecars to App Service (Portal experience)
- Deep dive: Sidecar extensibility and real-world use cases
Getting Help
Need assistance with your migration or have questions about the Sidecar feature?
-
💬 Ask the Community
Connect with Azure App Service experts and other developers on Microsoft Q&A. Browse existing answers or post your own questions. -
🛠 Get Technical Support
If you have an Azure support plan and require more in-depth help, you can create a support request through the Azure Portal.
We’re here to help ensure your migration is smooth and successful!