Getting Started with .NET Aspire (Preview) on Azure App Service
We’re laying the groundwork to bring .NET Aspire to Azure App Service. While this is just the beginning, we wanted to give you an early preview of how to set up a basic Aspire application on App Service.
In this first walkthrough, we’ll use the Aspire Starter template, which includes a simple frontend application that calls an API backend. Both of these will be deployed as container-based applications on Azure App Service.
This is an early step, and we’ll be adding more capabilities in the coming weeks—including support for integrating additional services and enabling the Aspire Dashboard experience on Azure. Stay tuned for further updates.
Prerequisites
Before you begin, make sure you have the required tools and environment set up.
You can find the latest list of prerequisites here: .NET Aspire - Prerequisites
In addition, you’ll need the Azure Developer CLI (azd) to provision and deploy resources to Azure. You can install it by following the instructions here: Install Azure Developer CLI
Make sure all these tools are installed and configured before continuing.
Preparing Your Environment
Create a New Aspire Starter Project
You can scaffold a starter Aspire application using the following command:
dotnet new aspire-starter
This creates a .slnx solution file and at least two project folders.
Build and Run the Application
Once your project is ready, you can build and run it locally to verify everything works as expected.
First, restore dependencies and build the solution:
dotnet restore
dotnet build
Then, start the application by running the AppHost project:
dotnet run --project "<YourProjectName>.AppHost"
Make sure you have Docker Desktop, Podman, or another compatible container runtime running on your machine. This will start both the frontend and API services locally. You now have your Aspire application up and running, ready for deployment to Azure in the next steps.
Add Azure App Service Support to Your Project
Now that you have the basic Aspire project running locally, let’s add support to target Azure App Service.
Add Required NuGet Packages
Open the solution in Visual Studio or your preferred IDE and locate the AppHost project. You’ll need to add the following NuGet packages to enable Azure resource integration:
-
Open the Package Manager Console in Visual Studio.
-
Navigate to the AppHost project directory by running:
cd <YourProjectName>.AppHost -
Add the required packages:
dotnet add package --prerelease Aspire.Hosting.Azure.AppService
Configure the AppHost for Azure App Service
Open AppHost.cs and locate the following line:
var builder = DistributedApplication.CreateBuilder(args);
Right after that, add:
builder.AddAzureAppServiceEnvironment("appsvc");
Next, locate the API service registration, which looks like this:
var apiService = builder.AddProject<Projects.<YourApiProject>>("apiservice")
    .WithHttpHealthCheck("/health");
Update it to include external HTTP endpoints:
var apiService = builder.AddProject<Projects.<YourApiProject>>("apiservice")
    .WithHttpHealthCheck("/health")
    .WithExternalHttpEndpoints();
You can now build the project to ensure everything compiles correctly.
Initialize Azure Deployment with azd
Open a terminal or command prompt, navigate to the AppHost project directory, and run:
azd init
This will prompt you for a unique environment name, which will be used to create an Azure resource group for your deployment.
Once initialization is complete, authenticate with your Azure account:
azd auth login
Follow the prompts to select your Azure subscription and resource location.
Provision and Deploy with azd up
Finally, deploy your application and provision Azure resources by running:
azd up
This command will:
- Create the required Azure Resource Group.
- Provision an App Service Plan to host your API and frontend apps.
- Create an Azure Container Registry.
- Deploy both the frontend and API services to Azure App Service.
Once completed, you’ll have your .NET Aspire application running in Azure.
Explore Your Deployed Application
Once the deployment completes, you can explore the resources created in your Azure subscription:
- Go to the Azure Portal.
- Search for and open the Resource Group that matches the environment name you provided during
azd init.
You will see multiple Azure resources in this group, including:
- App Service Plan
- Two App Service apps (frontend and API backend)
- Container Registry
- Supporting resources like Managed Identity
View the Frontend Application
Locate the App Service resource that starts with webfrontend-. Open it and navigate to the Browse option in the App Service blade.
You should see the default Aspire Starter app running in Azure App Service.
Test the API Endpoint
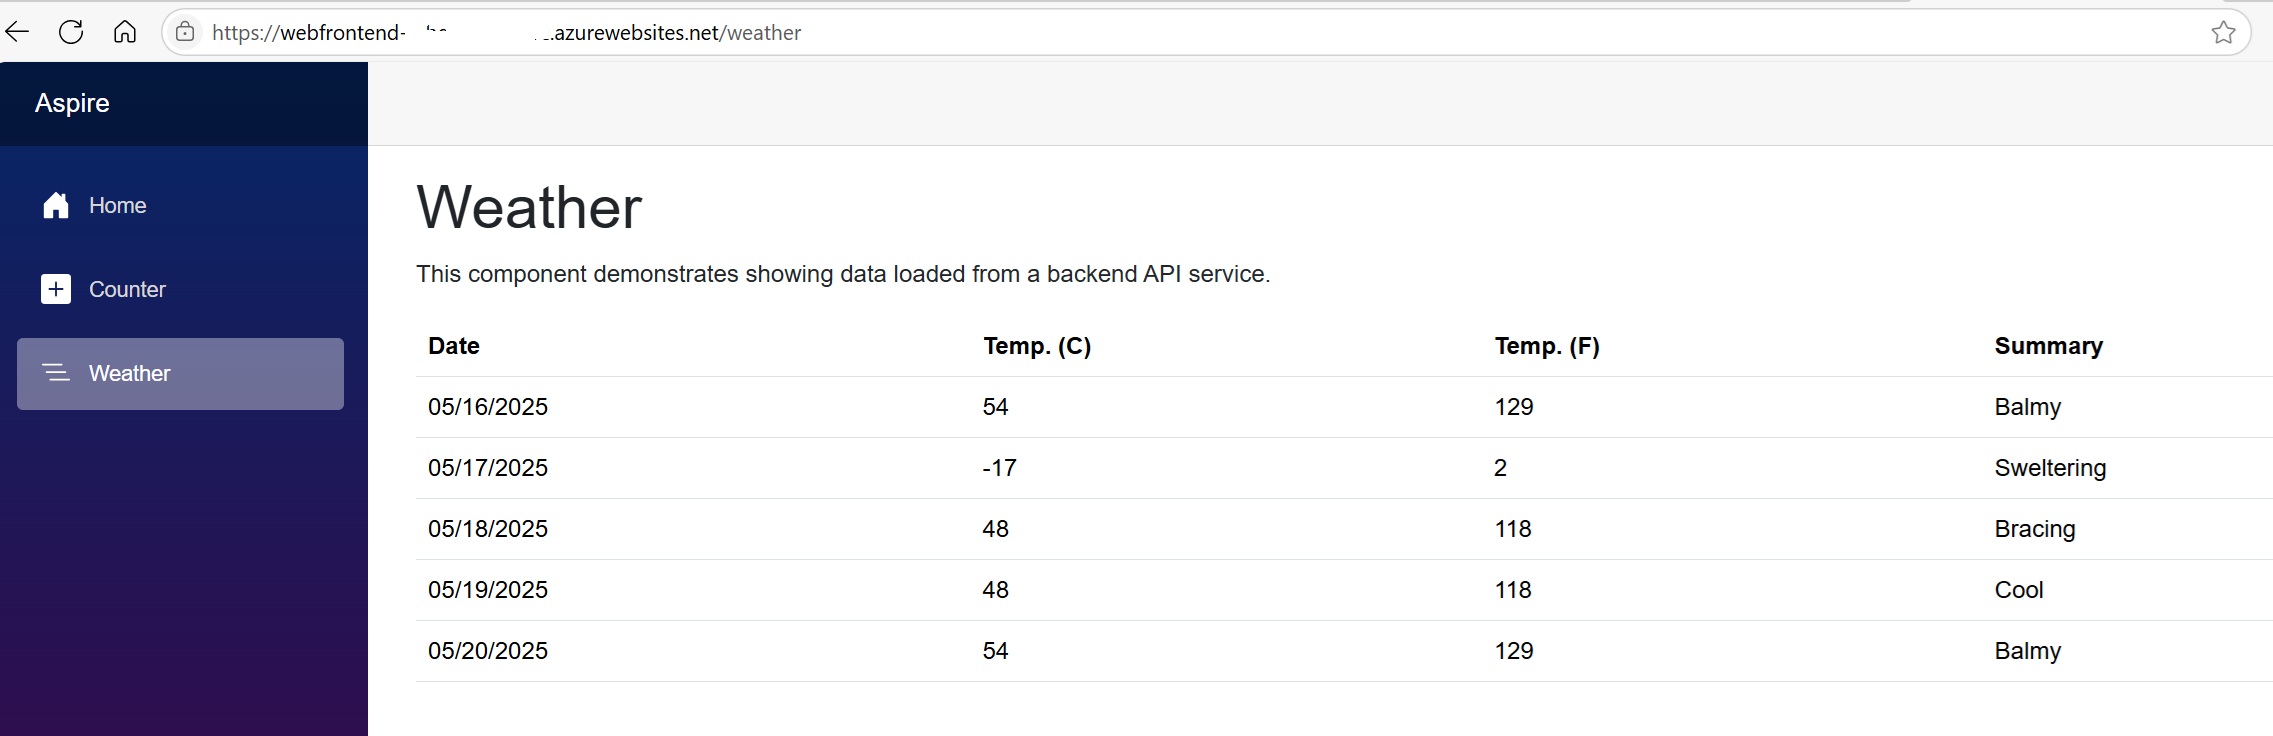
You can also directly call the API backend by navigating to:
https://<webfrontend-app-name>.azurewebsites.net/weather
This should return a list of dates with the weather forecast.
Current Limitations (Preview)
As this is an early preview, there are some important limitations to be aware of:
- Supports .NET projects only (added via
AddProject(...)). - Each project must expose a single public HTTP endpoint.
- Projects are packaged as containers and published to Azure Container Registry.
- Containers defined within the AppHost are not supported for deployment.
- Deployments to existing App Service Plans are not supported; a new plan is provisioned by
azd up. - The Aspire Dashboard is not yet supported on Azure App Service.
We’re actively working to expand these capabilities and will share updates as they become available.
What’s Next
This is just the beginning of our journey to enable .NET Aspire on Azure App Service. In this post, we walked through the early steps to deploy a basic Aspire application with a frontend and API backend running as container-based apps on App Service.
We’re actively working on adding more features, including deeper service integrations, improved deployment experiences, and support for the Aspire Dashboard. Stay tuned—there’s a lot more coming soon.