Initial Cluster Configuration Steps
After the cluster is created, complete the setup by adding nodes, specifying the backend storage system to use, setting up your file namespace, enabling SMB access if needed, and other tasks.
This section walks you through the steps to bring your cluster from a newly created basic form to a fully functional system ready to serve data.
Setup Tasks
Steps to take when configuring a fresh cluster include the following:
Add cluster nodes
Three nodes is the minimum; many production clusters have more, up to a maximum of 24 nodes.
Read Adding Nodes to the Cluster for details about adding nodes and configuring High Availability.
Customize node settings
Read Customizing Node Settings to learn how to set node names and how to configure IP addresses for node IPMI ports. These settings can be made individually per node, or cluster-wide.
Specify backend storage
Add core filer definitions for each backend storage system that the cluster will use. Read Adding Backend Storage to learn more.
Set up the client-facing filesystem
The Global Namespace (GNS) feature lets you map core filer storage destinations to virtual paths, giving clients a consistent and accessible filesystem structure even if you switch storage media. This feature also allows you to emulate hierarchical storage while using cloud-based object stores.
Read Configuring VServers and Global Namespace for details.
This step includes:
- Creating vservers
- Setting up junctions between the client network view and backend storage
- Defining which client IP addresses are served by each vserver
Note
Significant planning is recommended before starting to set up the cluster’s GNS. Read the Using a Global Namespace and Creating and Working with VServers sections in the Cluster Configuration Guide for help.
Adjust network settings
There are several network-related settings that should be verified or customized for a new cluster.
Read Additional Network Settings for details about these items:
- Verifying DNS and NTP configuration
- Configuring directory services
- Setting up VLANs
- Configuring proxy servers
- Adding IP addresses to the cluster network
- Storing encryption certificates
Configure SMB
If you want to allow SMB access to your cluster, you must configure SMB and turn it on. SMB (sometimes called CIFS) is typically used to support Microsoft Windows clients.
Planning for and configuring SMB involves more than clicking a few buttons in the Avere Control Panel. Depending on your system’s requirements, SMB can influence how you define core filers, how many vservers you create, how you configure your junctions and namespace, access permissions, and other settings.
Read Configuring SMB Access in the Cluster Configuration Guide for more complete information.
When you are ready to activate SMB for your Avere cluster, use the CIFS and CIFS Shares settings pages in the VServer section of the Avere Control Panel. Refer to the Cluster Configuration Guide for details.
Install additional licenses
If you plan to use optional features, including Local Directories, FlashCloudTM, FlashMove®, or FlashMirror®, you must install additional feature licenses.
- Local Directories is an optional cache organization strategy. It requires some advance planning before implementation. Contact Avere Global Services to discuss its advantages and to obtain a free license.
- FlashCloud enables your cluster to use cloud object storage as a backend core filer.
- FlashMove and FlashMirror give your cluster sophisticated data migration and replication capabilities.
Installing feature licenses is covered in an appendix of the Cluster Configuration Guide.
Learn more about FlashMove and FlashMirror in the Avere OS Data Management Guide.
Set up support monitoring
When establishing a new cluster, you should customize the name used to identify your cluster in case a system memory file needs to be sent to Avere Global Services for debugging. You also can configure what statistics are monitored, and enable the proactive support system that automatically uploads status reports to Avere Global Services for remote troubleshooting.
Read Customizing Support and Monitoring Settings for the Avere Cluster to learn more.
Logging In to the Avere Control Panel
These cluster setup steps involve changing settings in the Avere Control Panel web interface. (A command-line XML-RPC interface also is available, but it is recommended for experienced Avere cluster administrators only; contact Avere Global Services to learn more.)
Use a web browser to connect to the cluster’s management address. A link shows on the cluster status screen while the cluster is being created.
Log in to the web interface with the username admin and the password that you set when creating the cluster.
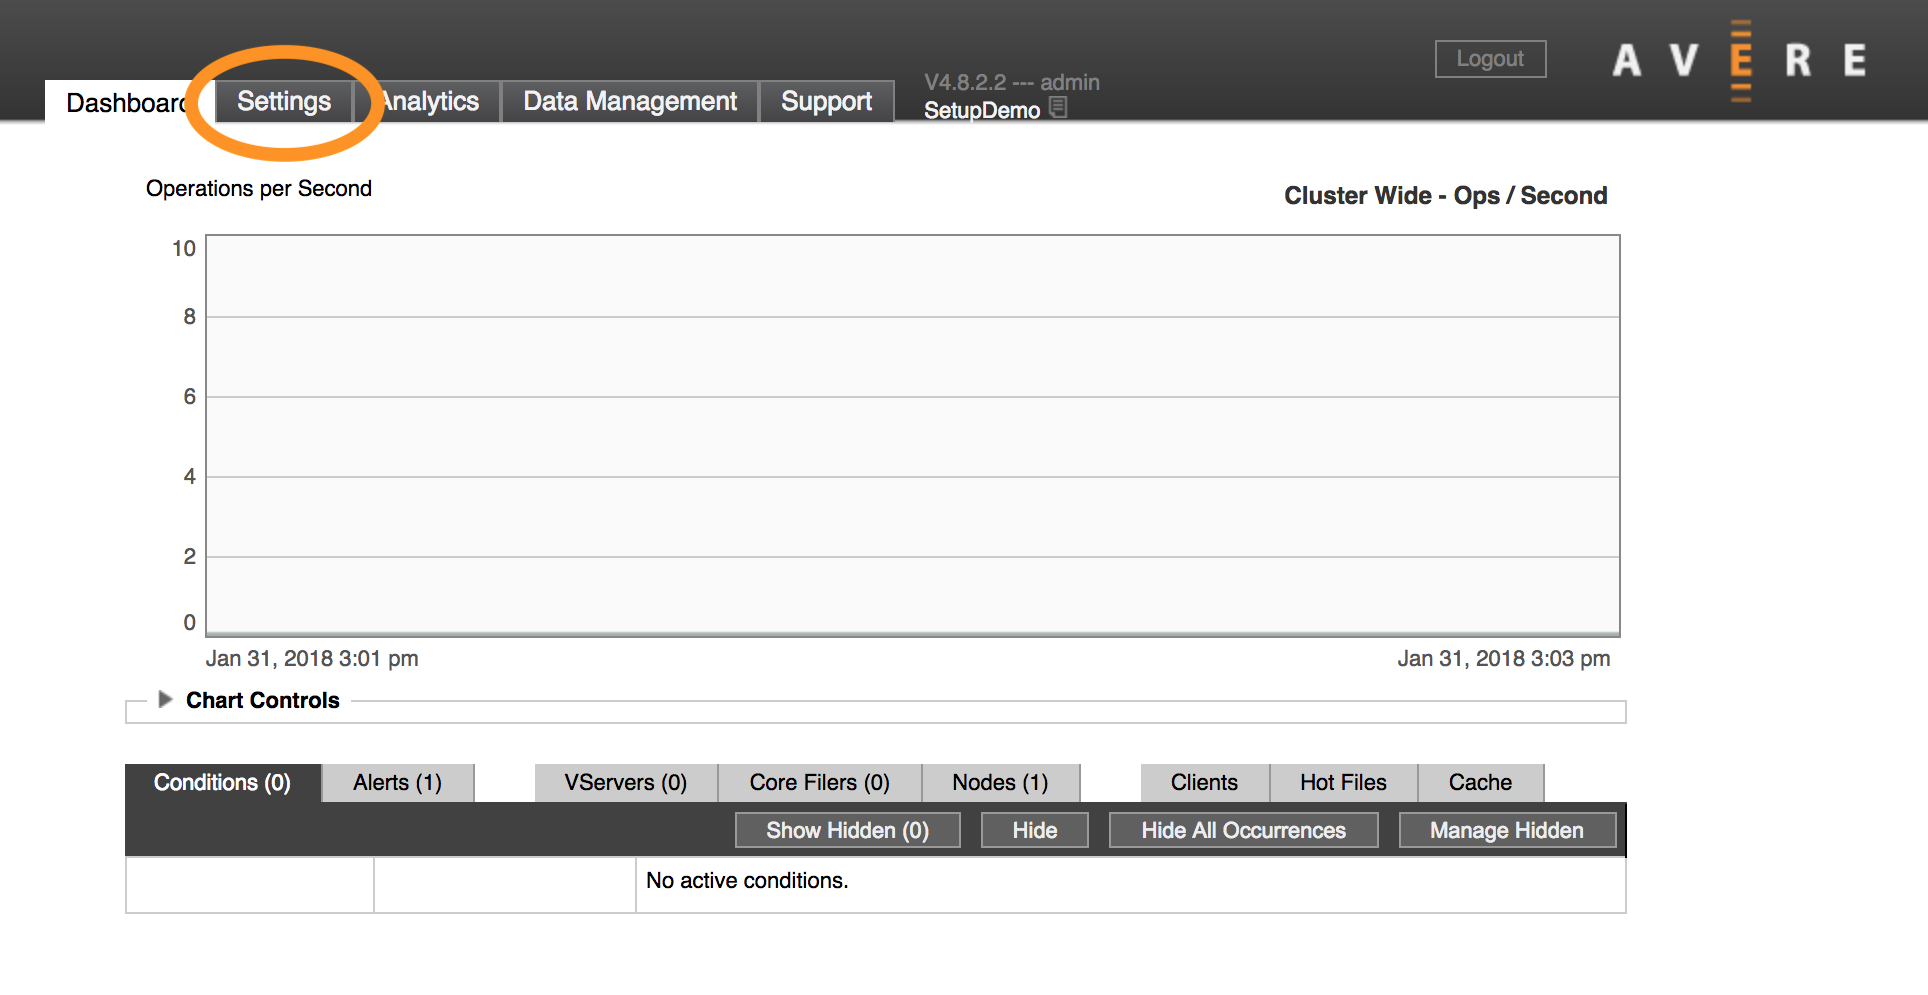
The Avere Control Panel opens and shows the Dashboard page. As the cluster creation completes, any warning messages should clear from the display.
Click the Settings tab to configure the cluster.
Within the Settings tab, a menu of configuration pages appears at the left side of the window. They are organized by category. Click the + or - control at the top of the category name to expand or hide the contents of the category.
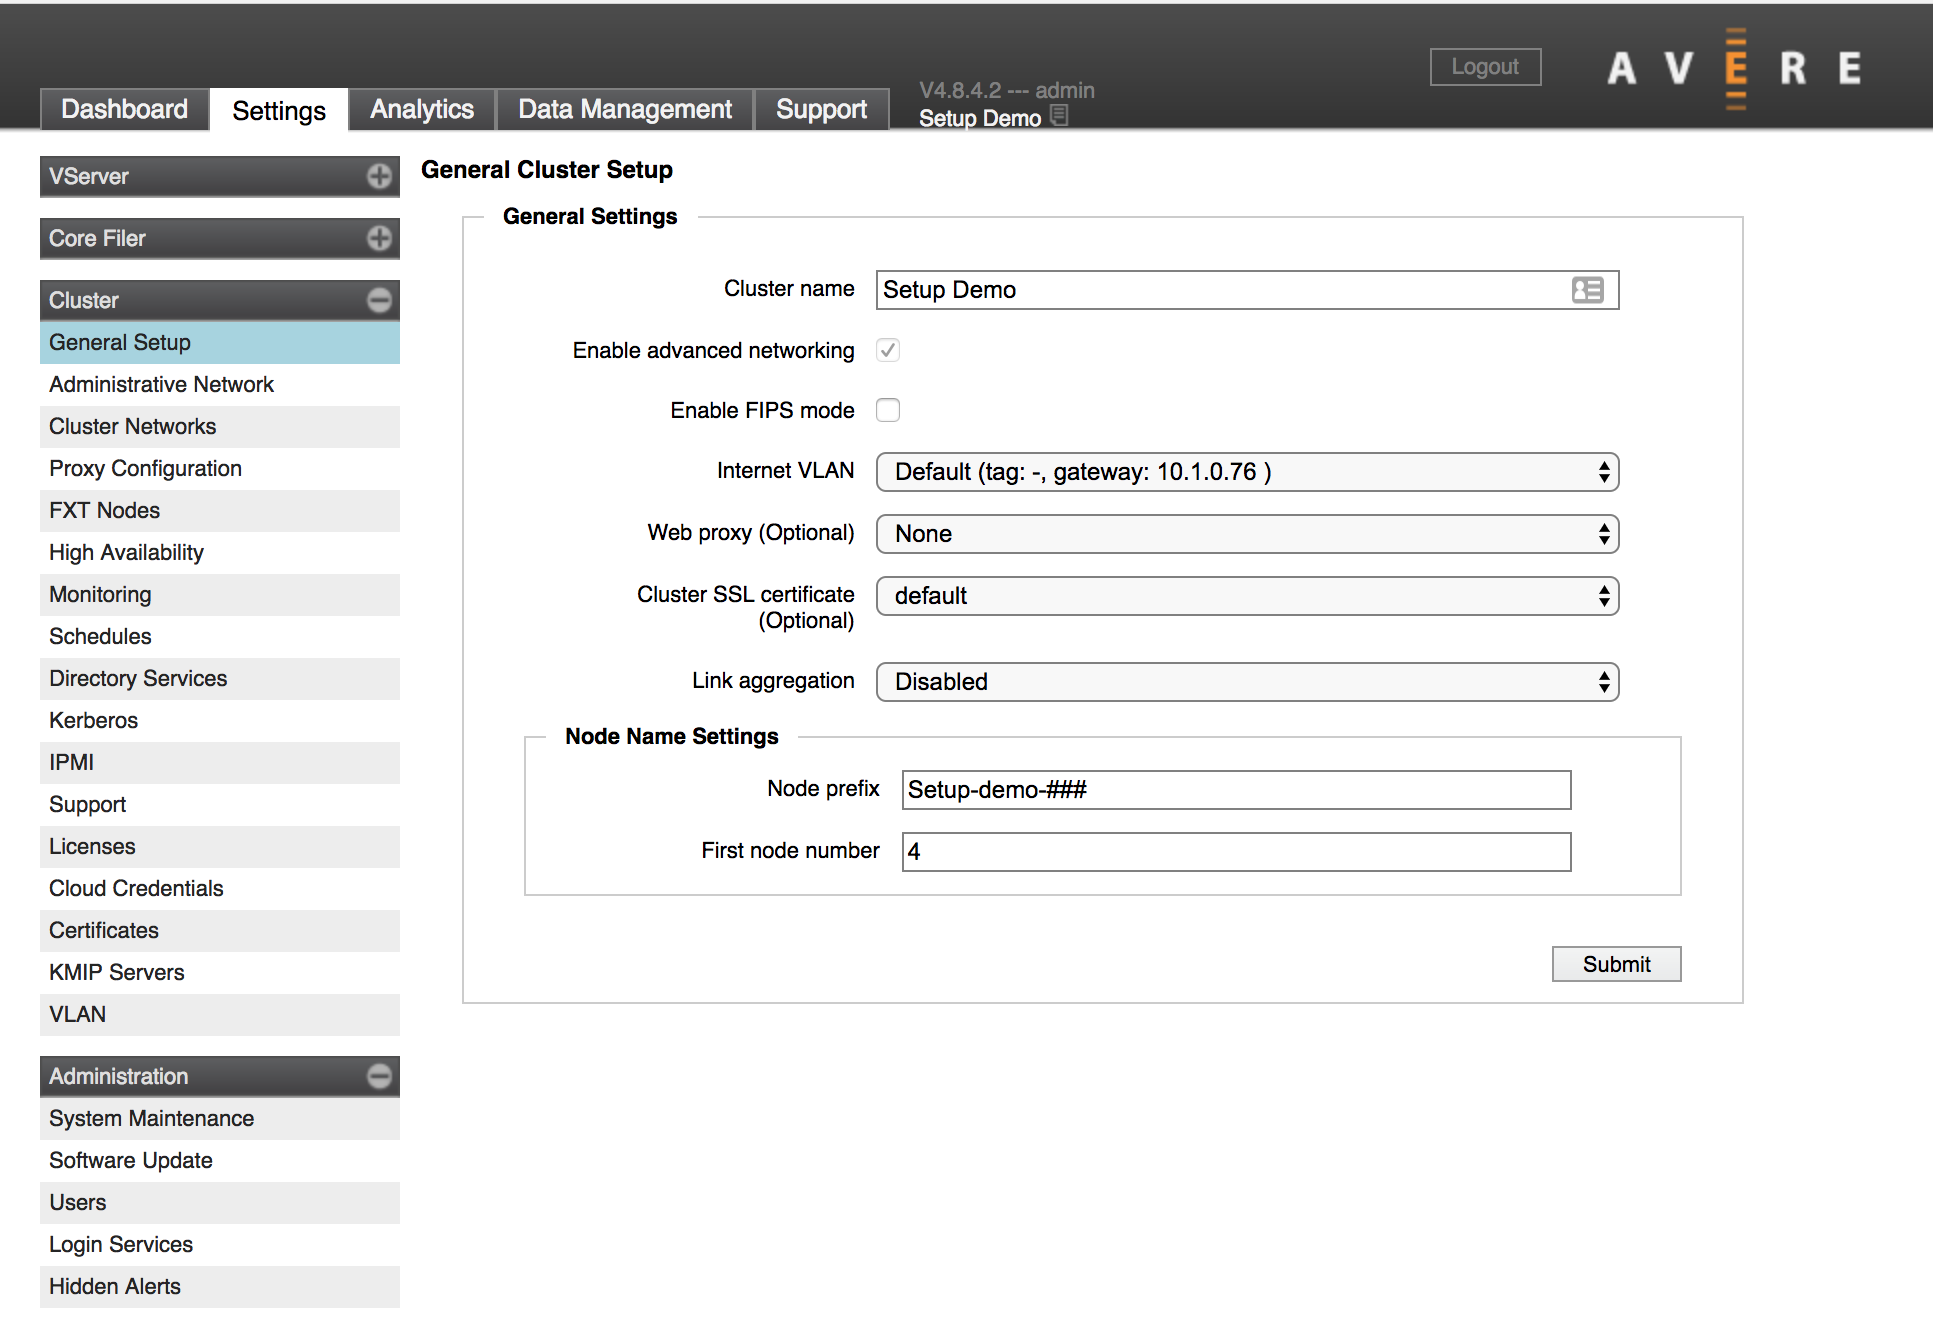
The next sections of this document give more specific instructions for using these configuration pages to finish setting up an Avere cluster.