Adding Nodes to the Cluster
The cluster is created with only the first node. You should add at least two more nodes and enable high availability before proceeding with additional configuration.
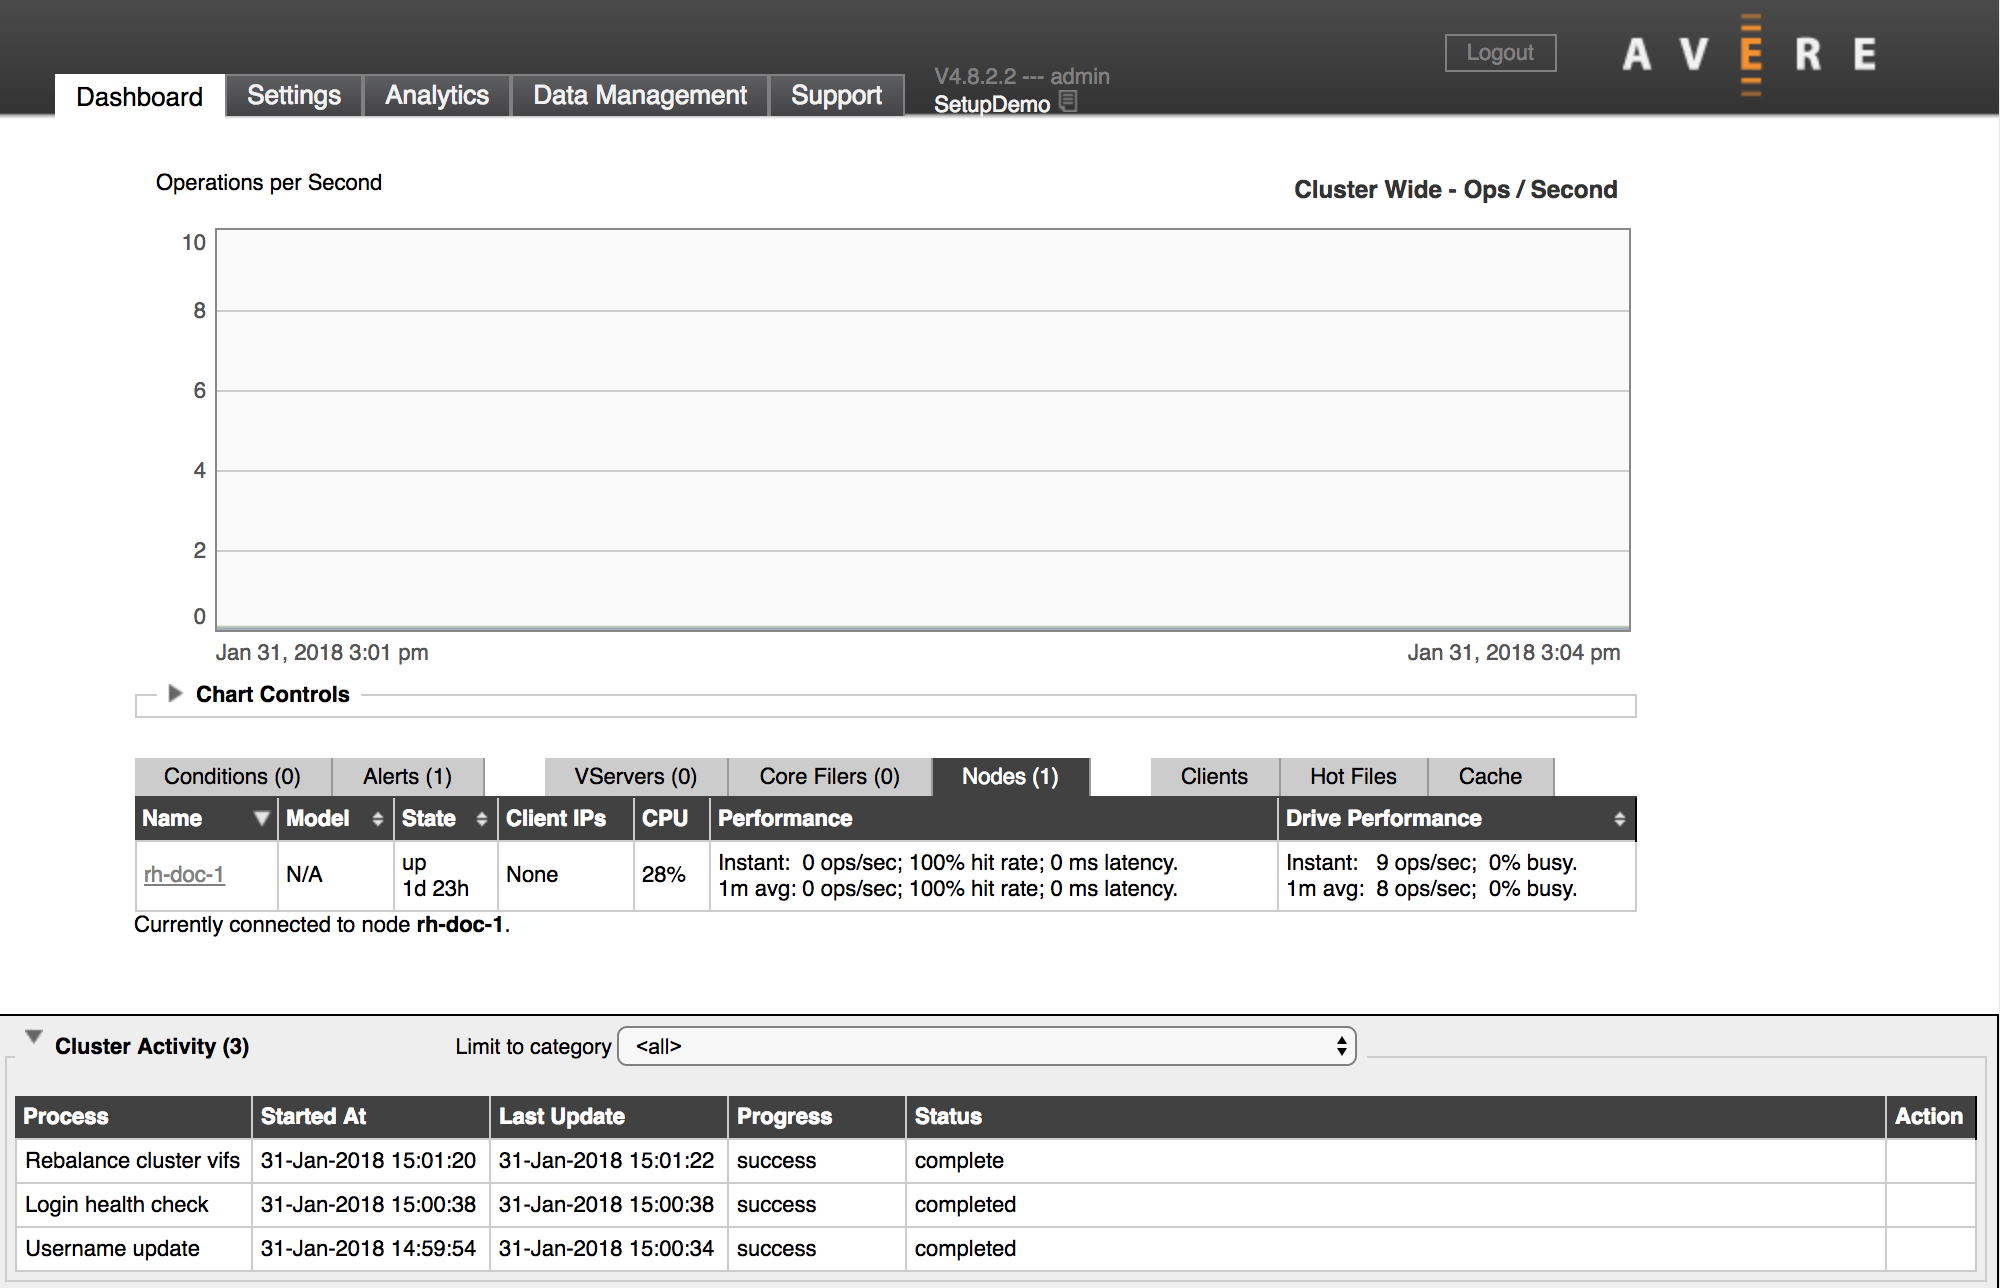
This image shows the Dashboard for a newly created cluster, with a single node.
To add nodes, click the Settings tab and choose the FXT Nodes page in the Cluster section.
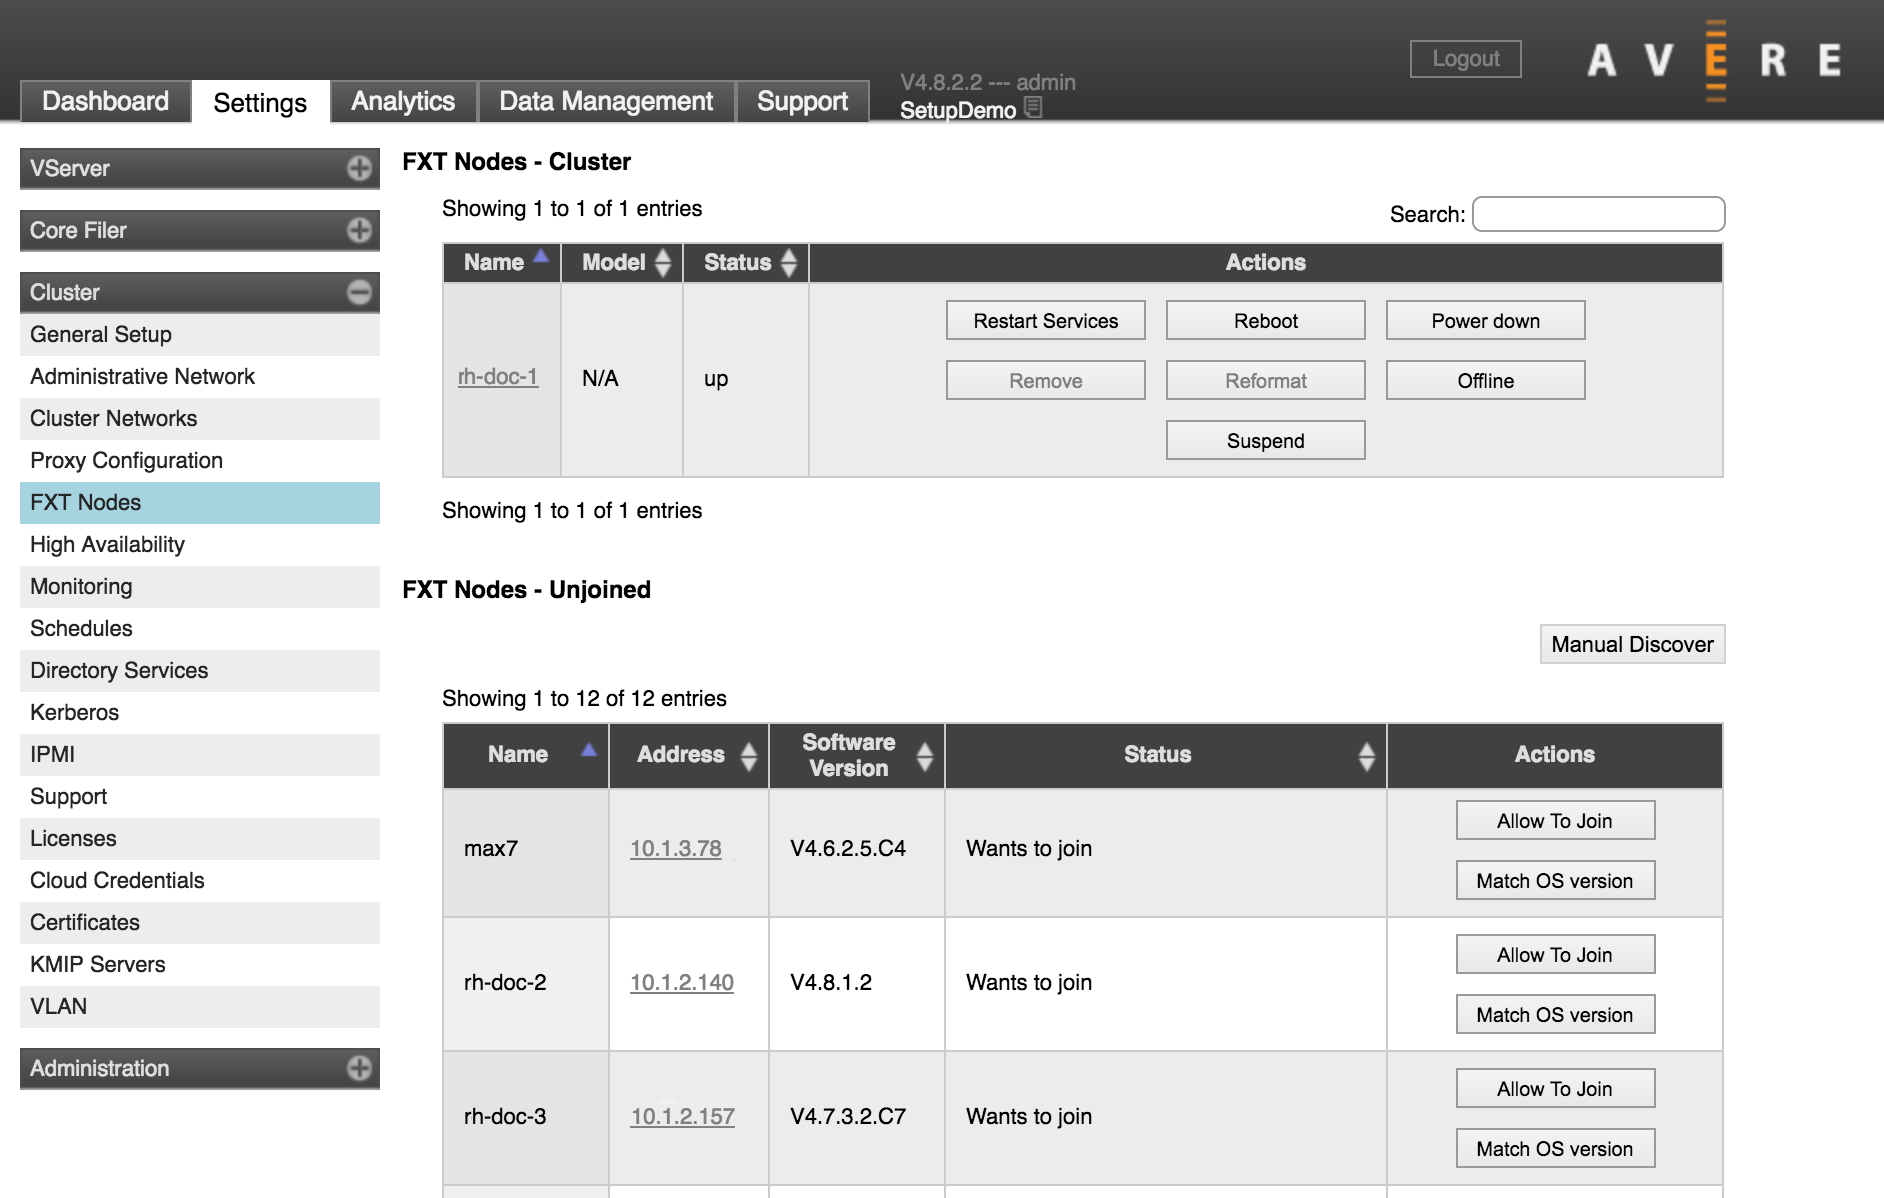
The FXT Nodes - Unjoined list shows all unassigned FXT nodes (most data centers have only a few). Find the FXT nodes that you want to add to the cluster.
Tip
Nodes that appear on the Unjoined list meet these requirements:
- They are powered on.
- They are connected to an accessible network. If VLANs are being used, they are on the same VLAN as the cluster.
- They can be detected with the Bonjour protocol. Some firewall settings block the TCP/UDP ports used by Bonjour, which prevents Avere OS from automatically detecting the nodes.
If the node that you want to add isn’t on the list, click the Manual Discover button to find it by IP address.
In some situations, you might need to manually assign temporary IP addresses to each node before you can add them to the cluster - for example:
- Your network uses tagged VLANs and the nodes are not on the correct network
- The nodes have self-assigned Bonjour IP addresses (169.254.*.*) and your network does not permit the use of such addresses
In those situations, follow the instructions in Appendix A: Setting a Static IP Address on an FXT Node to set IP addresses manually.
The node name, IP address, software version, and eligibility status are displayed in the list. Typically, the Status column either says “Wants to join” or describes a sytem or hardware problem that makes the node ineligible to join the cluster.
The Actions column has buttons for adding the node to the cluster or for updating the software to match the software version of the nodes already in the cluster.
All nodes in a cluster must use the same version of Avere OS, but you don’t need to update a node’s software before clicking the Allow To Join button. The cluster join process automatically checks and installs the Avere OS software that matches the version on the cluster.
To learn more about the options on this page, read Cluster > FXT Nodes in the Cluster Configuration Guide.
After you click the Allow To Join button, the node status might change as its software is updated in preparation for adding it to the cluster. The image below shows a node that is in the process of joining the cluster (most likely, it’s getting an Avere OS update before being added). No buttons appear in the Actions column for nodes that are in the process of being added to the cluster.

After a few moments the new node should appear in the cluster nodes list at the top of the FXT Nodes settings page.
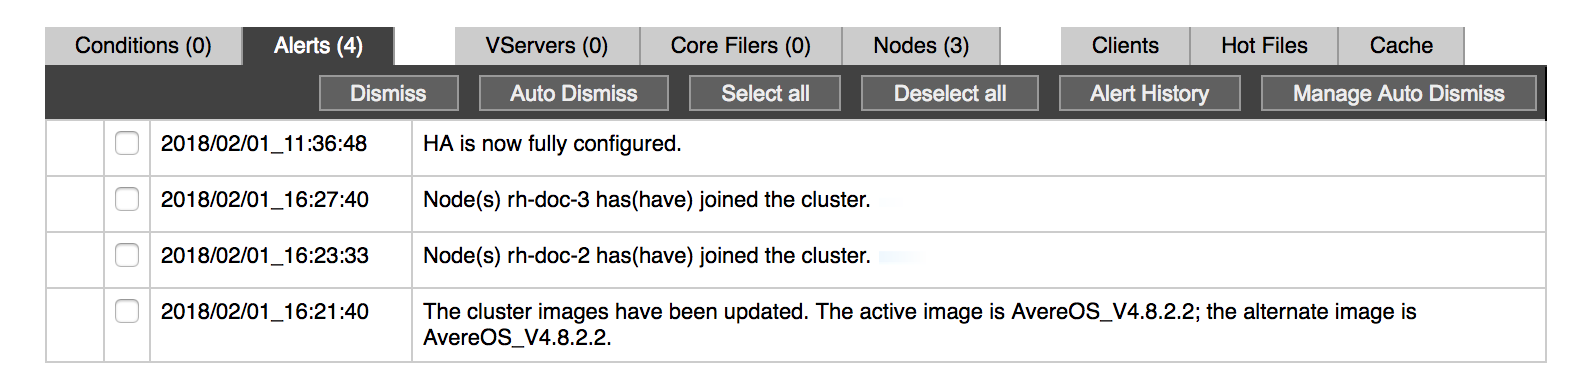
Repeat this process to add the other nodes to your cluster. You don’t need to wait for one node to finish joining the cluster before starting another.
Enabling High Availability
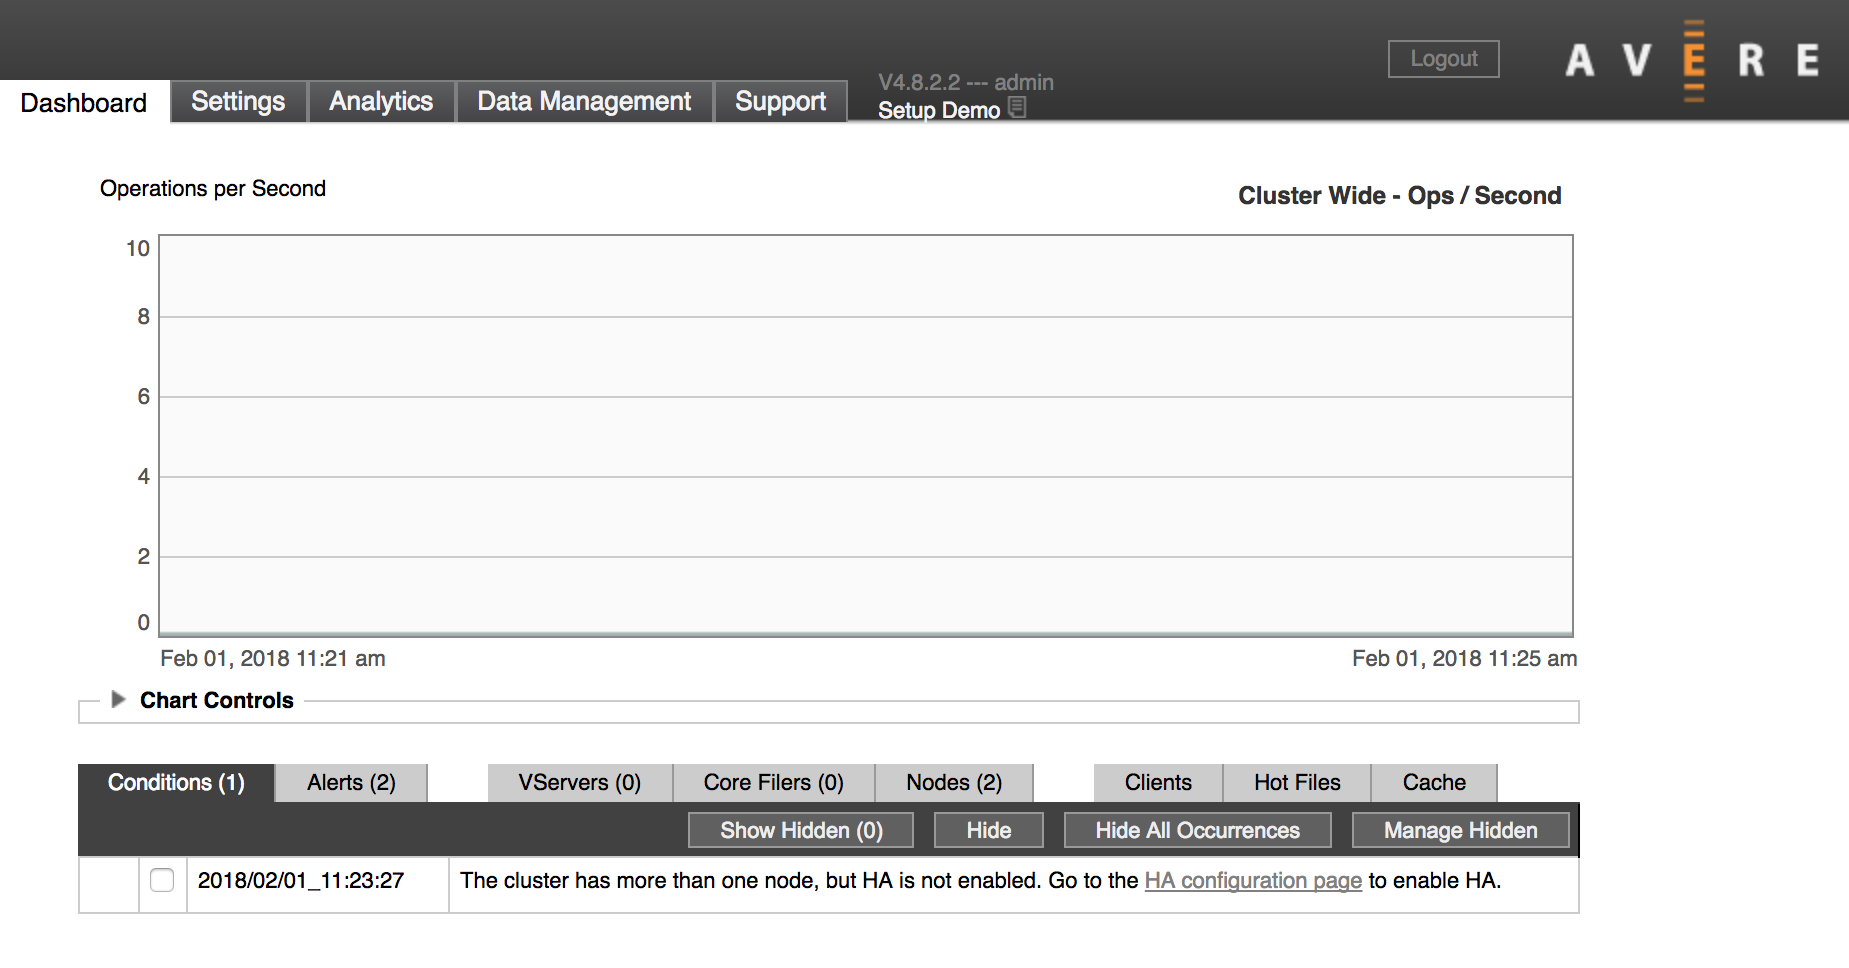
After you’ve added a second node to your cluster, you might see a warning message on the Avere Control Panel Dashboard that the high availability feature is not configured. High availability, or HA, is an important feature that allows the cluster nodes to compensate for each other if one goes down. HA is not enabled by default.
Note
Do not enable HA until you have at least three nodes in the cluster.
Use the High Availability page in the Cluster section on the Settings tab to turn on HA.
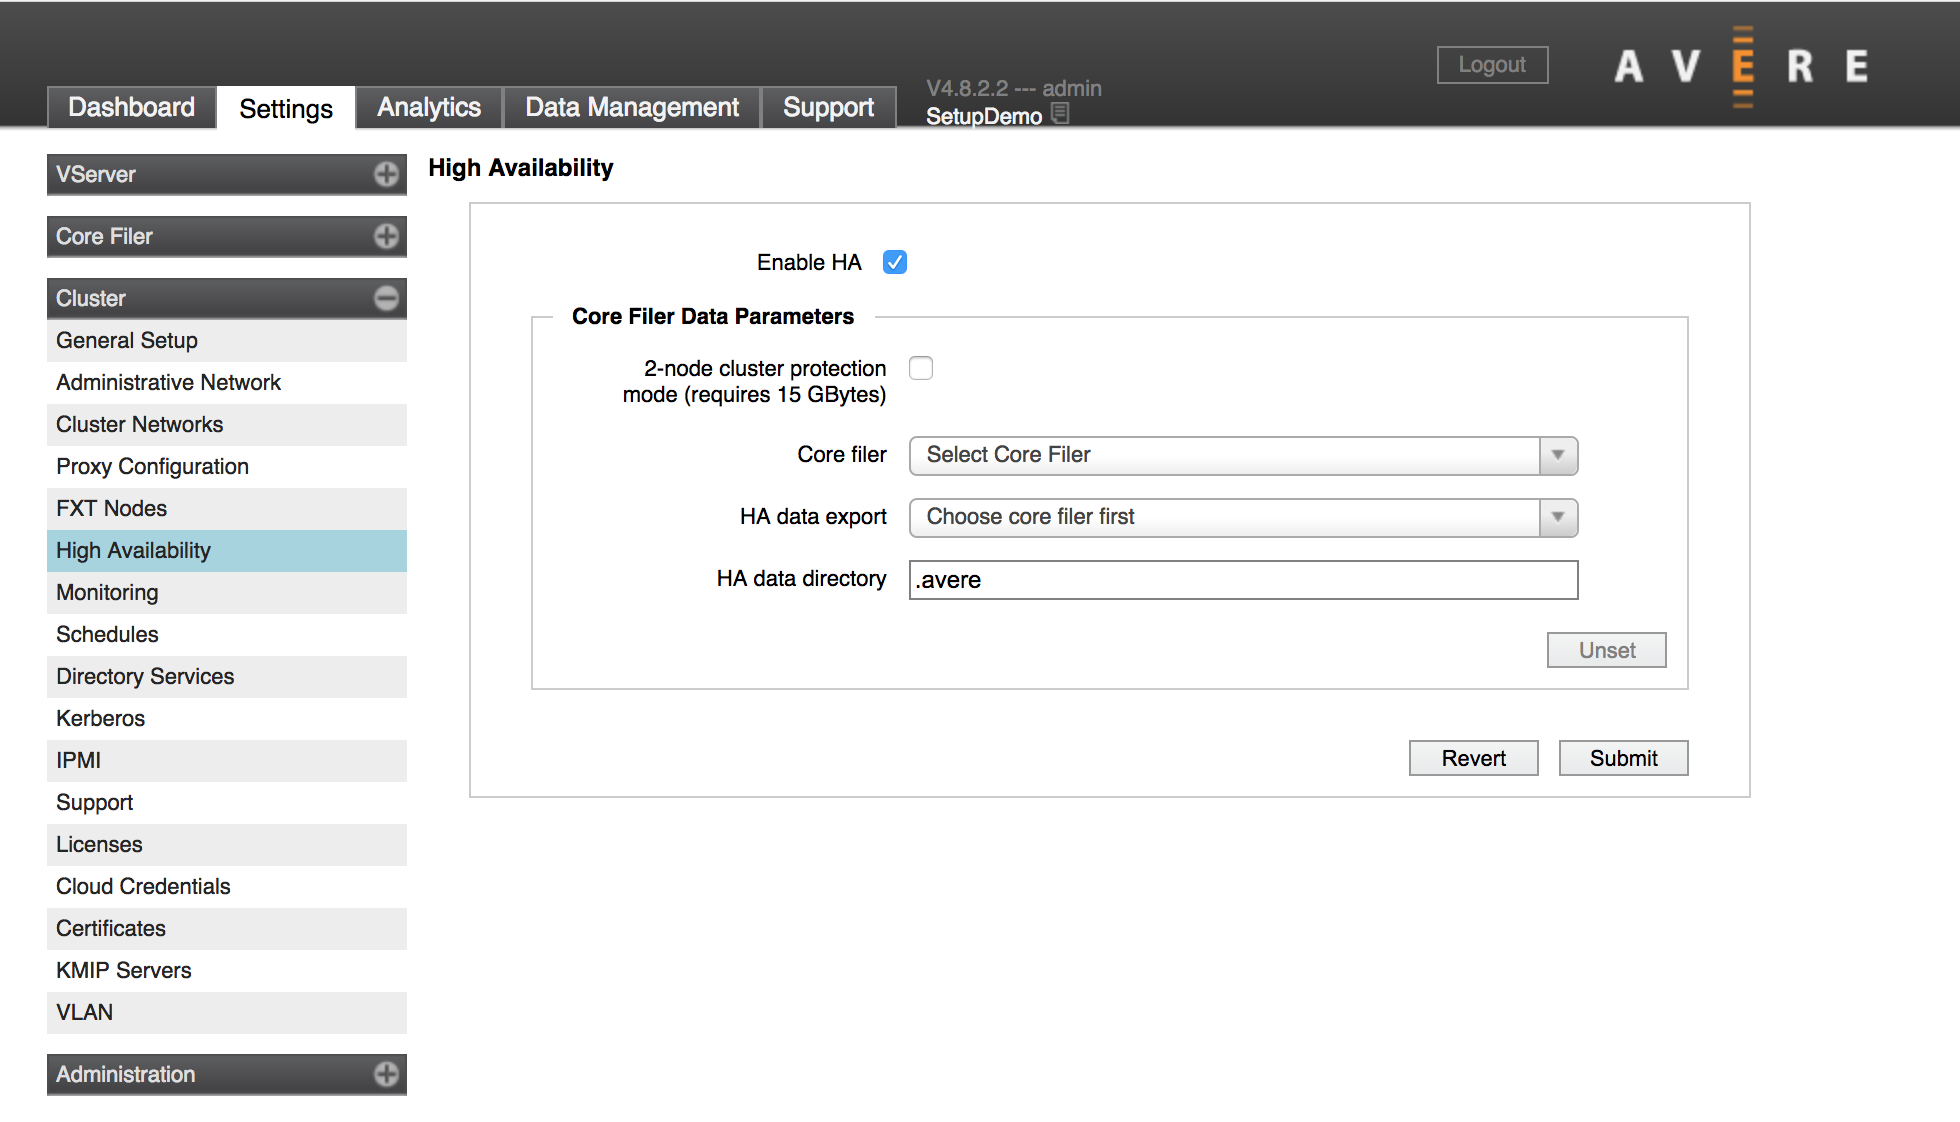
Click the box labeled Enable HA and click the Submit button.
An alert appears on the Dashboard to confirm that HA is enabled.