Clojure on App Service
Clojure is a dynamic, general-purpose programming language from the Lisp family that runs on the Java Virtual Machine. You can build web apps in Clojure and deploy them to Azure App Service as a JAR file.
This article uses an example web app written in Clojure based on the guestbook app from the Luminus framework, updated to use PostgreSQL and ready to deploy to Azure App Service in a few simple steps.
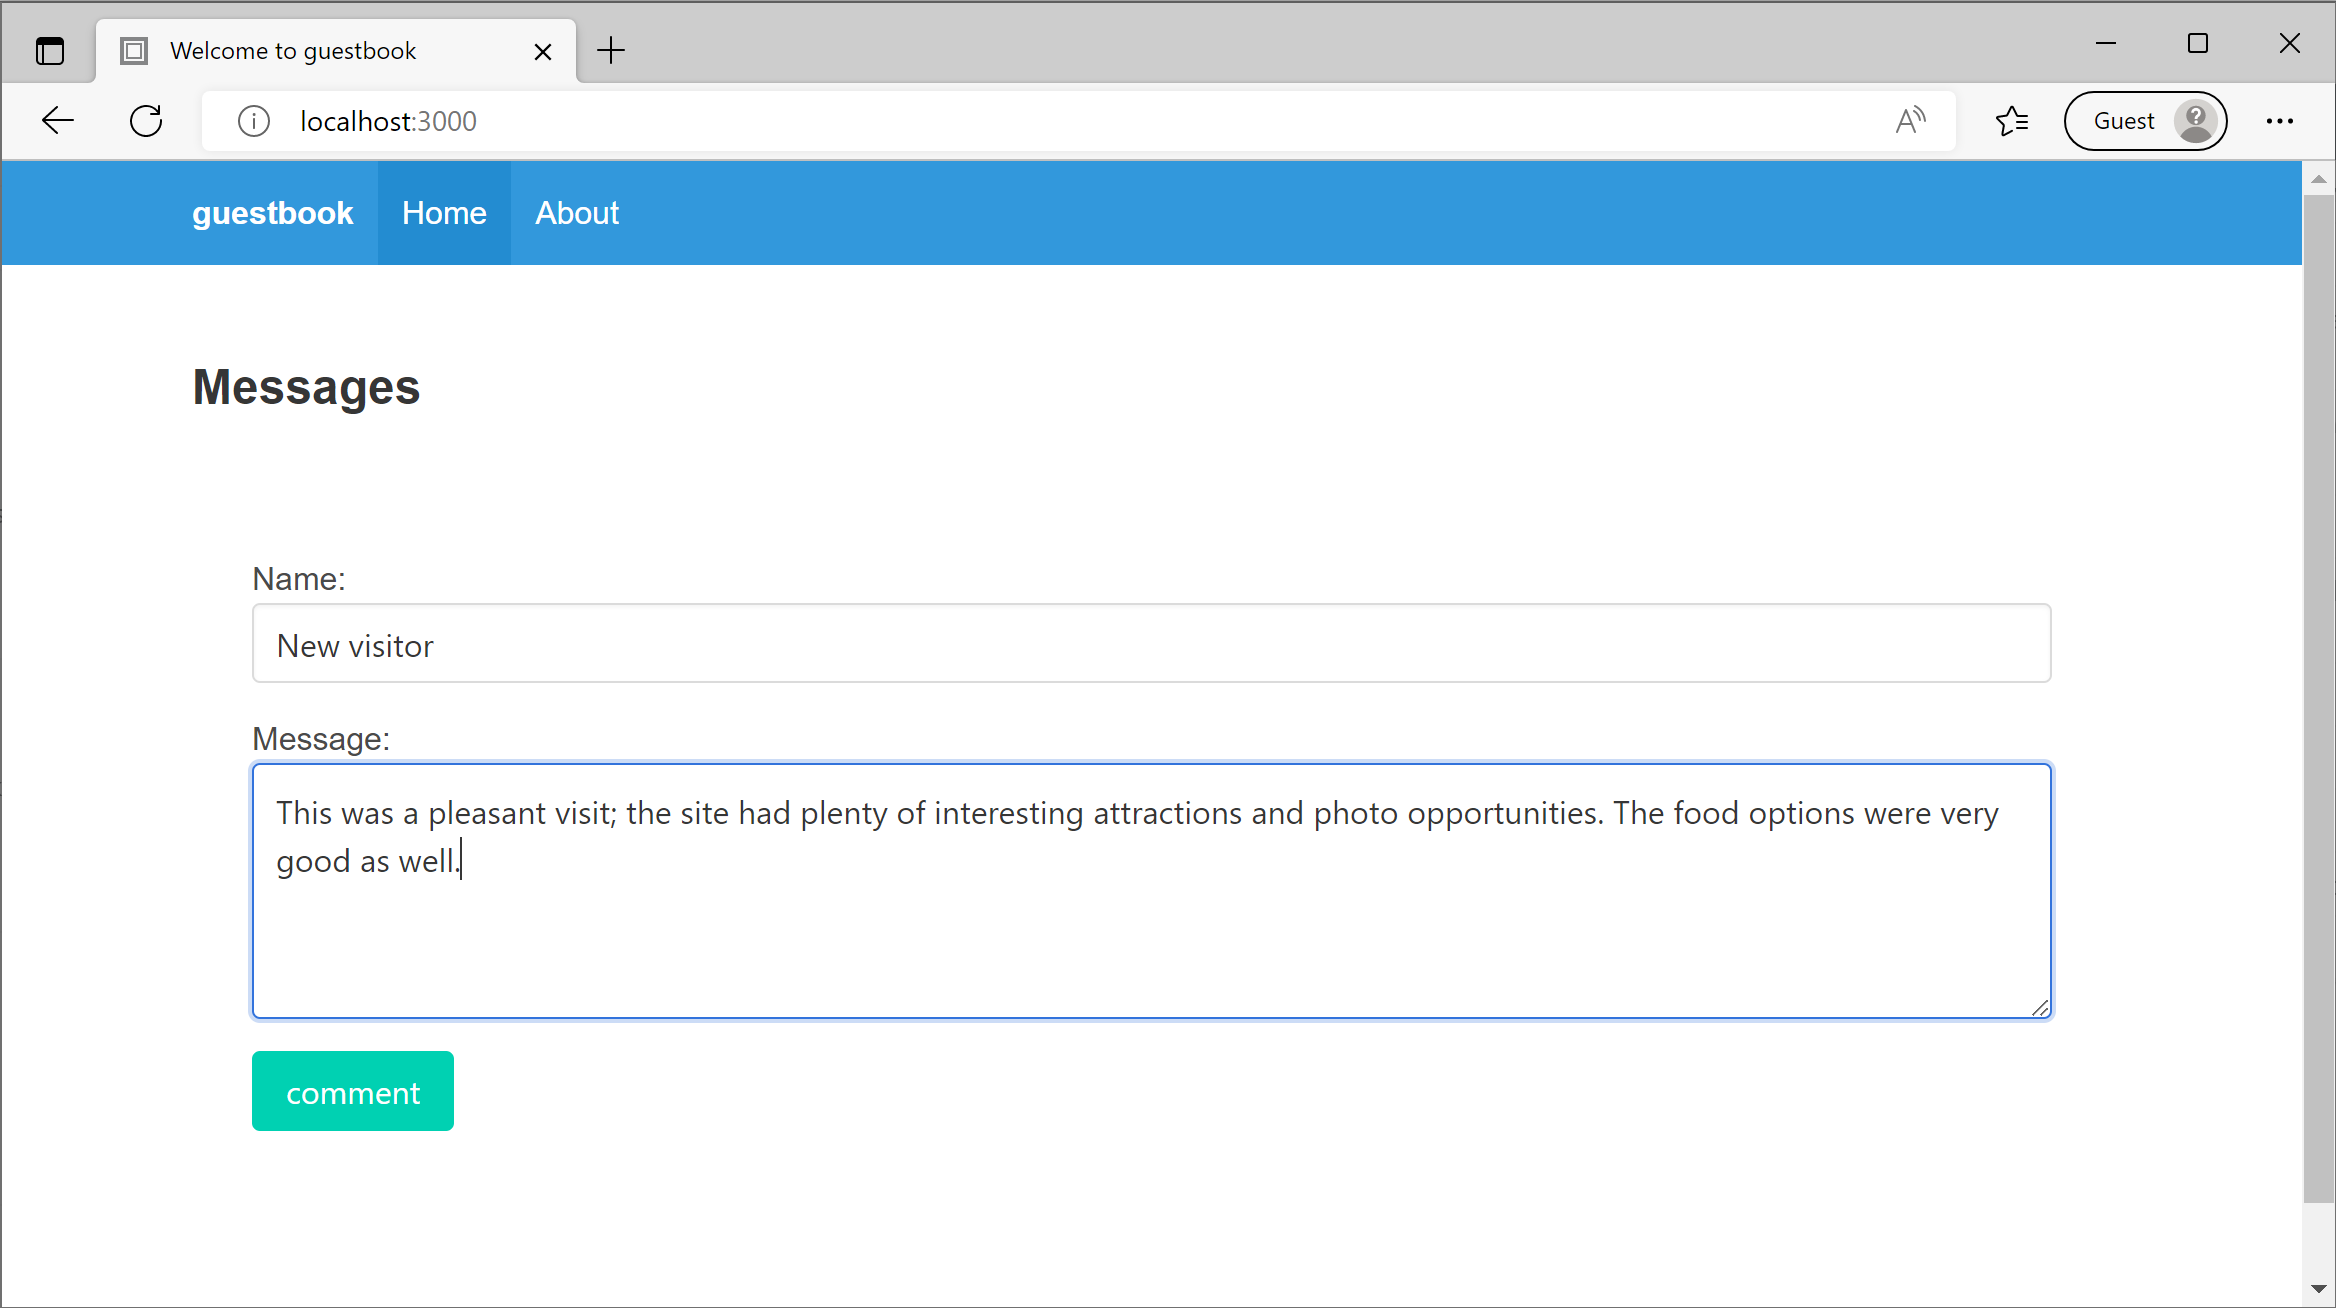
The guestbook application
The example application is a simple guestbook app where visitors can write messages about a site they visited. The data is stored and read from a PostgreSQL database on Azure which is created by a helper script.
Prerequisites
- Java 8 or Java 11 (Java 11 is used as the default in this project)
- Leinigen
- An Azure subscription (free trial)
- Azure CLI
- Apache Maven
Optional packages for local development
- Visual Studio Code with the Calva extension for Clojure
- Docker, used to run PostgreSQL locally in a Docker container
- GNU sed, used for text replacement on the command line before deploying (you can edit the file in a text/code editor though). Note that
sedcomes pre-installed by default in most Linux distributions, and also in Git for Windows
Differences with the original guestbook application
The following changes have been made from the original guestbook app:
-
The
start-appfunction fromcore.cljfile has been updated to run the database migrations on the application startup, as explained in the deployment documentation. -
The migration file has been renamed to reflect that the file creates the
guestbooktable, instead of anuserstable. -
The table definition (DDL) uses the PostgreSQL syntax instead of the original (H2). There are some minor differences on the definition of primary keys and timestamps, but this is expected.
Clone the repo
-
Clone the Clojure on App Service repository with:
git clone https://github.com/Azure-Samples/clojure-on-app-service.git -
Change directory with:
cd clojure-on-app-service
Build and run the application locally
If you want to test this application locally before deploying to App Service, follow the steps on this section, otherwise you can skip to the Deployment on Azure section.
Run a PostgreSQL database for development
you can also run a PostgreSQL instance with Docker:
docker run --name postgres -e POSTGRES_PASSWORD=pgpassword -d -p 5432:5432 postgres
Then connect to it from another container on the same network:
docker run -it --rm --network host postgres psql -h localhost -U postgres
You can create a database just for the guestbook application and grant all permissions to a new user specific for the guestbook application.
postgres=# create database guestbook;
postgres=# create user guestbookuser with encrypted password 'guestbookpass';
postgres=# grant all privileges on database guestbook to guestbookuser;
postgres=# \q
In order to tell our application where to access our database, you need to use the DATABASE_URL environment variable. In
our example from the previous section, we started a container running PostgreSQL, so you’ll set the environment variable
like this:
Using Bash:
export DATABASE_URL="jdbc:postgresql://localhost:5432/guestbook?user=guestbookuser&password=guestbookpass"
Using PowerShell:
$env:DATABASE_URL="jdbc:postgresql://localhost:5432/guestbook?user=guestbookuser&password=guestbookpass"
Now, let’s make sure the database’s tables are using the most recent definition by running the following command:
lein run migrate
This will apply any changes to the database definition that could be pending, such as creating or modifying tables.
You can use the psql utility to confirm the tables were created:
docker run -it --rm --network host postgres psql -h localhost -d guestbook -U guestbookuser
Password for user guestbookuser:
psql (14.5 (Debian 14.5-1.pgdg110+1))
Type "help" for help.

guestbook=> select * from guestbook;
 id | name | message | timestamp
----+------+---------+-----------
(0 rows)

guestbook=> select * from schema_migrations;
       id       |         applied         |     description
----------------+-------------------------+---------------------
 20190317085139 | 2022-08-24 16:28:02.528 | add-guestbook-table
(1 row)

guestbook=> \q
Launching the application
In order to run the application locally, you’ll need to provide some configuration for your dev environment. Since each developer
could have a different setup, this file is generally not checked-in with the rest of the source code. Copy the contents below
and save them in a file called dev-config.edn on the root of the project:
{
 :dev true
 :port 3000
}
Finally, you can run the application locally with:
lein run
The server will start and after a while you should be able to access the application on http://localhost:3000/ and see
guestbook form. If you need to use another port, you can use the PORT environment variable or pass it as a parameter
in the command line as shown below:
lein run -p 8000
This is just the beginning. Clojure leans towards an interactive development style, so it’s enjoyed best when using a live REPL console attached to the project. To learn more about it, see REPL Driven Development in the Luminus framework docs.
Deployment on Azure
Creating cloud resources
This step needs to be run only once to create the required resources in Azure.
If you haven’t logged in before, login into your Azure account with az login and follow the prompts.
The example application has a script, create-resources.sh. The beginning of the file contains a configuration section where you can adjust some parameters such as the deployment region, and the database username and password. Set enviornment variables for the keys in the script to your desired values, or edit the script.
The script will create the following resources for you:
- A resource group which will contain every other resource for this application
- A server to run a PostgreSQL instance
- A database in the PostgreSQL host
- A configuration entry to allow connections from services hosted in Azure to the database server
- An App Service Plan that can deploy Linux hosts
- A definition for the guestbook web application
- A configuration entry with the JDBC URL to connect from the guestbook web app to the database
Run the script from Bash:
./create-resources.sh
Once all the resources are created correctly, it should print All Azure resources created in the console.
Configure the deployment
Generate a Maven pom.xml file by running lein pom:
$ lein pom
Wrote .../guestbook/pom.xml
Run the following command line to use a Maven plugin which will detect and configure most of the parameters required for deployment:
mvn com.microsoft.azure:azure-webapp-maven-plugin:2.5.0:config
The command above will prompt you to create a new Web App or to use an existing one. Choose the option to use the existing Web App that you created using the script in the previous step:
$ mvn com.microsoft.azure:azure-webapp-maven-plugin:2.5.0:config
[INFO] Scanning for projects...
...
[INFO] Auth Type : AZURE_CLI, Auth Files : [/home/user/.azure/azureProfile.json, /home/user/.azure/accessTokens.json]
...
[INFO] It may take a few minutes to load all Java Web Apps, please be patient.
Java SE Web Apps in subscription My Subscription:
* 1: <create>
  2: guestbook-2048 (linux, java 11-java11)
Please choose a Java SE Web App [<create>]: 2 <== CHOOSE TO USE EXISTING APP
Please confirm webapp properties
Subscription Id : (...redacted...)
AppName : guestbook-2048
ResourceGroup : guestbook-2048-rg
Region : westus2
PricingTier : Free_F1
OS : Linux
Java : Java 11
Web server stack: Java SE
Deploy to slot : false
Confirm (Y/N) [Y]: Y <== CONFIRM THAT YOU WANT TO USE THE CURRENT SETTINGS
[INFO] Saving configuration to pom.
[INFO] ------------------------------------------------------------------------
[INFO] BUILD SUCCESS
[INFO] ------------------------------------------------------------------------
[INFO] Total time:  19.405 s
[INFO] Finished at: 2022-08-24T14:18:36-08:00
[INFO] ------------------------------------------------------------------------
Update the POM file
The file pom.xml generated by the azure-webapp-maven-plugin needs a minor tweak for deploying an Uberjar package.
You will need to edit the file pom.xml and replace the values in the following section:
  <deployment>
    <resources>
      <resource>
        <directory>${project.basedir}/target/uberjar</directory><!-- new path -->
        <includes>
          <include>guestbook.jar</include><!-- single file -->
        </includes>
      </resource>
    </resources>
  </deployment>
You can perform the text replacements described above from the command line using sed, using the following commands:
sed -i 's/\/target/\/target\/uberjar/' pom.xml

sed -i 's/\*\.jar/guestbook\.jar/' pom.xml
Now, generate the JAR file to be deployed:
lein uberjar
The output will look like the following:
$ lein uberjar
Compiling guestbook.config
Compiling guestbook.core
Compiling guestbook.db.core
Compiling guestbook.env
Compiling guestbook.handler
Compiling guestbook.layout
Compiling guestbook.middleware
Compiling guestbook.middleware.formats
Compiling guestbook.nrepl
Compiling guestbook.routes.home
Created /home/user/Projects/azure/guestbook/target/uberjar/guestbook-0.1.0-SNAPSHOT.jar
Created /home/user/Projects/azure/guestbook/target/uberjar/guestbook.jar
Finally, you can deploy your app to App Service:
mvn azure-webapp:deploy
After a few seconds, it will show the deployment status and the URL of the application
$ mvn azure-webapp:deploy
[INFO] Scanning for projects...
[INFO]
[INFO] ------------------------< guestbook:guestbook >-------------------------
[INFO] Building guestbook 0.1.0-SNAPSHOT
[INFO] --------------------------------[ jar ]---------------------------------
[INFO]
[INFO] --- azure-webapp-maven-plugin:2.5.0:deploy (default-cli) @ guestbook ---
...
[INFO] Trying to deploy artifact to guestbook-2048...
[INFO] Deploying (/.../guestbook/target/uberjar/guestbook.jar)[jar]  ...
[INFO] Successfully deployed the artifact to https://guestbook-2048.azurewebsites.net
[INFO] ------------------------------------------------------------------------
[INFO] BUILD SUCCESS
[INFO] ------------------------------------------------------------------------
[INFO] Total time:  27.655 s
[INFO] Finished at: 2022-08-24T23:49:22-07:00
[INFO] ------------------------------------------------------------------------
Give it a minute for the application to deploy and warm up. The first time you visit the application you may see an error 500 if the database migrations have not completed, but after refreshing the page it will work fine.
If you want to delete the application and all the related resources, go to your Resource Groups in the Azure Portal, then select the appropriate guestbook resource group and delete it.