Module 5: Lab 3 - Defender for Containers
Here, in this lab, as part of Module 5: Operate and Monitor, we will look at Defender for Containers.
Before attempting this lab, please be sure to complete the items described in our Getting Started Section.
Defender for Containers
Defender for Containers is a cloud-native solution that may be used to secure your containers, helping you to improve, monitor, and maintain the security of your clusters, containers, and their applications.
Defender for Containers assists you with the three core aspects of container security:
- Environment hardening - protects your Kubernetes clusters whether they’re running Azure Kubernetes Service, Kubernetes on-premises/IaaS, or Amazon EKS. Defender for Contaniners continuously assesses clusters to provide visibility into misconfigurations and guidelines to help mitigate identified threats.
- Vulnerability assessment - tools to manage and assess images stored in container registries and running in Azure Kubernetes Service
- Run-time theat protection for nodes and clusters - threat protection for clusters and Linux nodes generates security alerts for suspicious activities
You can learn more by reading the documentation, or watching this video from the Defender for Cloud in the Field video series: Microsoft Defender for Containers.
Enable Defender for Containers
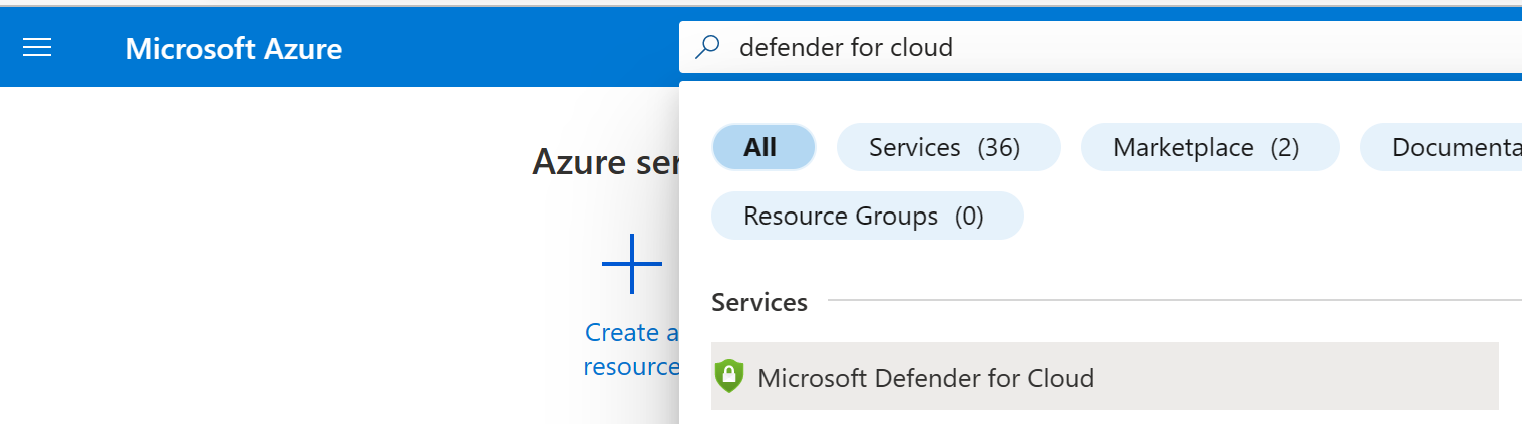
To begin, open the Azure Portal and navigate to Defender for Cloud - your Cloud Security Posture (CSPM) and Cloud Workload Protection Platform (CWPP).
The Defender for Cloud Overview tab will open and you’ll find a dashboard describing your security posture, regulatory compliance, and more. For now, turn your attention to the Management section of the navigation menu and click on Environment Settings.
From within the Environment Settings tab, you will be presented with an expandable list of your Azure Management Groups and their associated resources. Find and open your Azure Subscription in this list. You will be taken to a view that shows a list of all the Defender plans available to your subscription and their status.
If the Containers Plan is not enabled, enable it.

A Settings link will appear within the description of your Defender for Containers plan. Click it.
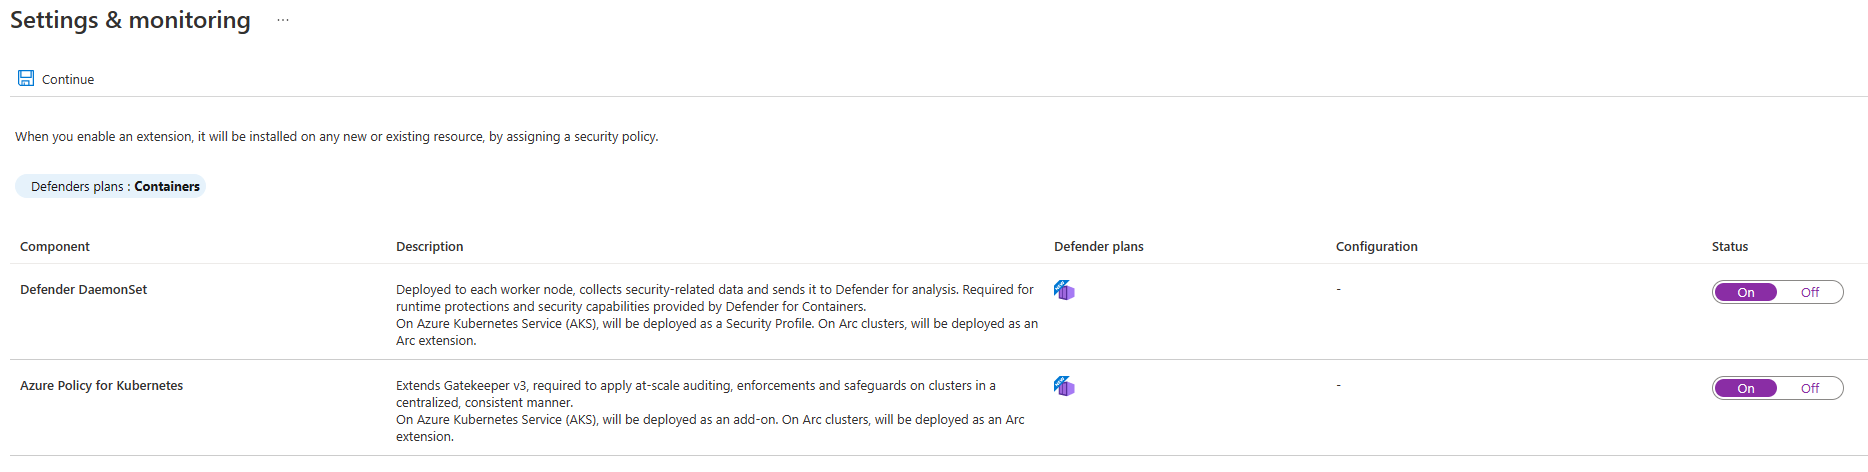
Here, you have the ability to toggle automatic installation/application of Defender for Cloud components, namely, the Defender DaemonSet and Azure Policy for Kubernetes. (We looked at Azure Policy for Kubernetes in the previous section.) If these items are disabled, enable them. This will ensure any clusters you create in the future are automatically enrolled in the service.
Note: the Defender profile uses a default Log Analytics workspace. If you don’t already have a default Log Analytics workspace, Defender for Cloud will create a new resource group and workspace for you when the profile is installed. The default workspace is created based on your region.
The naming convention for the default Log Analytics workspace and resource group is:
- Workspace: DefaultWorkspace-[Subscription-ID]-[geo]
- Resource Group: DefaultResourceGroup-[geo]
See Assign a custom workspace for instructions on how to change the workspace.
Now, let’s use the CLI in order to check and see if our cluster is enrolled in Defender for Containers. If not, we’ll take steps to fix it. Return to your command line and issue the following commands:
kubectl get pods -n kube-system
Check the output of this command. You should see two Defender profile components in the output:
- microsoft-defender-collector-ds-* - this is a set of containers that focus on collecting inventory and security events from the Kubernetes environment
- microsoft-defneder-publisher-ds-* - this set of containers publish the collected data to the Microsoft Defender for Containers backend service where the data will be processed and analyzed.
You may also be interested to see the associated deployment:
kubectl get deployment -n kube-system
The above should include:
- microsoft-defender-collector-misc-*
If, for some reason, the above components are not present on your cluster, you may install them by issuing the following command. Then, return to the previous verification steps to make sure everything is in order.
az aks update --resource-group $resourceGroupName --name $clusterName --enable-defender
Using Defender for Containers
Now that Defender for Containers is enabled in our cluster, let’s simulate a security alert. Run the following command:
kubectl get pods --namespace=asc-alerttest-662jfi039n
The above is a test command that is designed to trigger a test alert. The following output is expected:
No resources found in asc-alerttest-662jfi039n namespace.
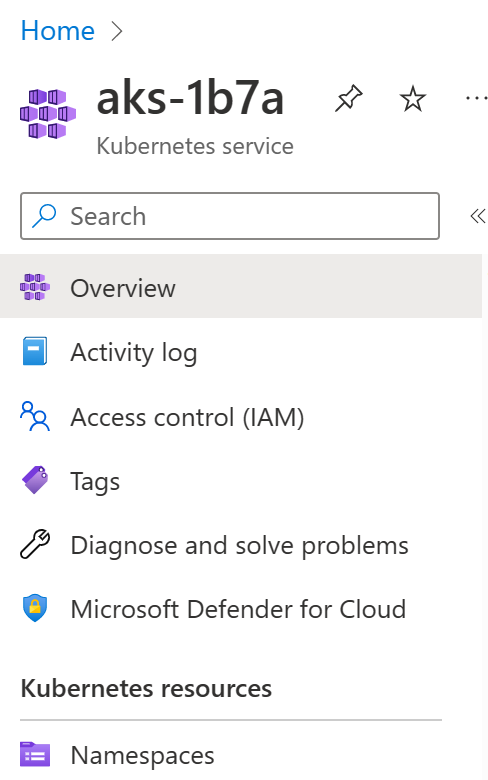
Next, return to the Azure Portal. Here, on the Defender for Cloud tab of our Cluster, we will check for a security alert that lines up with the above command.
Note: If your cluster is newly registered with Defender for Cloud, then it may take a substantial amount of time for this first alert to make it to the dashboard. Please be patient. If you would like, you can continue with the second set of pod-based Defender for Cloud Tests that appear after this visit to the Portal and then come back and check the status of your Cluster.
Inside Defender for Cloud you will see a summary of Recommendations and Security Alerts for the Cluster.
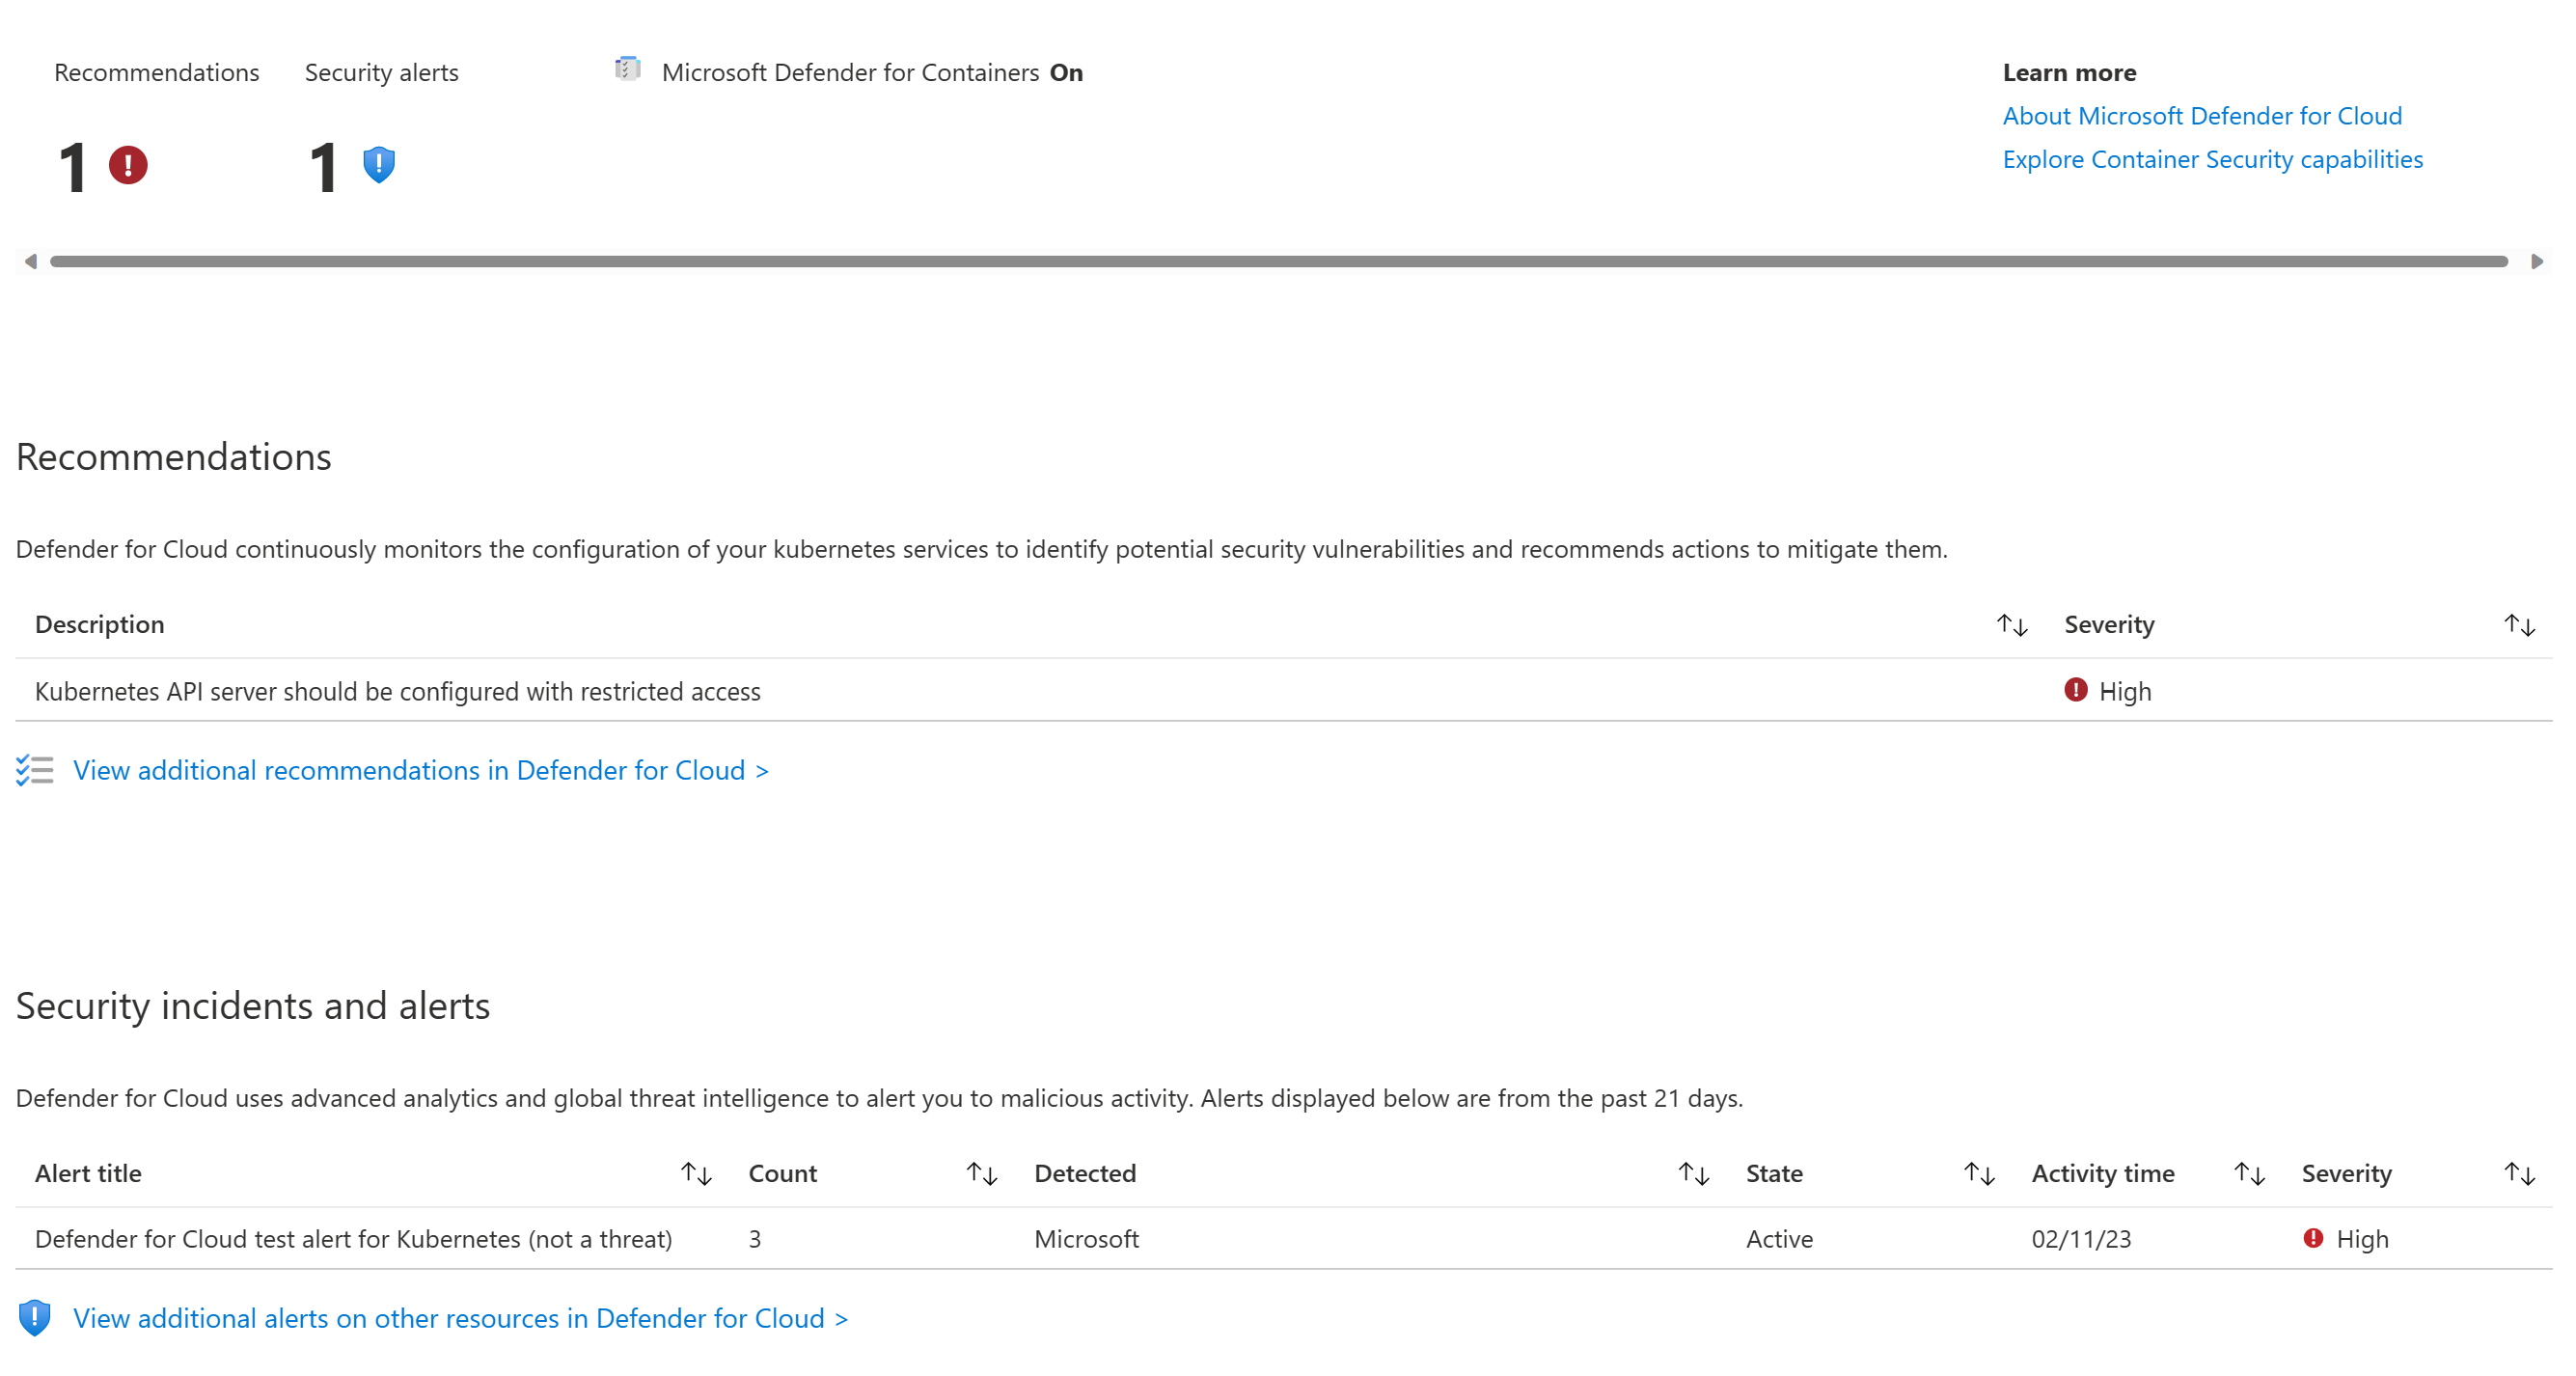
Near the top of the screen, you will see that there is at least one security alert. This alert will correspond to the kubectl get pods command we ran just a few steps ago.

We can also test the Security Alerting facility by executing a test command within a running pod on our cluster. Return to the command line and execute the following procedure to trigger another test alert:
kubectl create namespace defendertest
kubectl config set-context --current --namespace defendertest
kubectl run test-shell --rm -i --tty --image ubuntu -- bash
Within test-shell:
cp /bin/echo ./asc_alerttest_662jfi039n
./asc_alerttest_662jfi039n testing eicar pipe
exit
Original console:
kubectl delete namespace defendertest
kubectl config set-context --current --namespace default
Return to Defender for Cloud in the Azure Portal and monitor Security Alerts. Within ten minutes, you will find a second alert that corresponds to this most recent test.

Update Bicep Templates
Finally, let’s adjust the cluster’s Bicep template in order to reflect these changes:
// ...
// Enable defender for containers by adding the following to the cluster's properties
// you will need the resource id for the log analytics workspace
securityProfile: {
    defender: {
    logAnalyticsWorkspaceResourceId: '/subscriptions/[SUBSCRIPTION-ID]/resourcegroups/[RESOURCE-GROUP]/providers/microsoft.operationalinsights/workspaces/[WORKSPACE-NAME]'
    securityMonitoring: {
        enabled: true
    }
}
Conclusion
This completes Lab 3 - Defender for Containers. If you would like, you may return to Lab 1 - Container Insights, Lab 2 - Azure Policy for Kubernetes, or the Introduction.