01 - Build MCP Server in Azure Logic Apps
In this module, you will learn how to build your first MCP server using Azure Logic Apps by enabling MCP server features, adding MCP tools, and using them in an agent.
There are 2 ways to create MCP server.
- Manually by enabling the MCP Server Endpoints, creating Entra App Registration, configuring Easy Auth, and creating the tools you need. The offcial documentation can be found at MS Learn: Set up Standard logic apps as remote MCP servers (Preview)
- Automatically from the Azure API Center resource. The offcial documentation can be found at MS Learn: Create and register MCP servers in API Center based on Azure Logic Apps (preview)
In this lab, we will use the API Center approach so all the necessary resources are provisioned for us.
Prerequisites
- An Azure account and subscription. If you don't have a subscription, sign up for a free Azure account.
- Existing Logic Apps Standard workflow app (or create one): Create a single-tenant workflow app.
- Existing API Center (or create one): Create API center resource.
Create and Register an MCP Server
-
Start with a logic app with no workflows and no easy auth configured.
-
Follow the steps from 1 through 4.b mentioned in Create an MCP Server and tools.
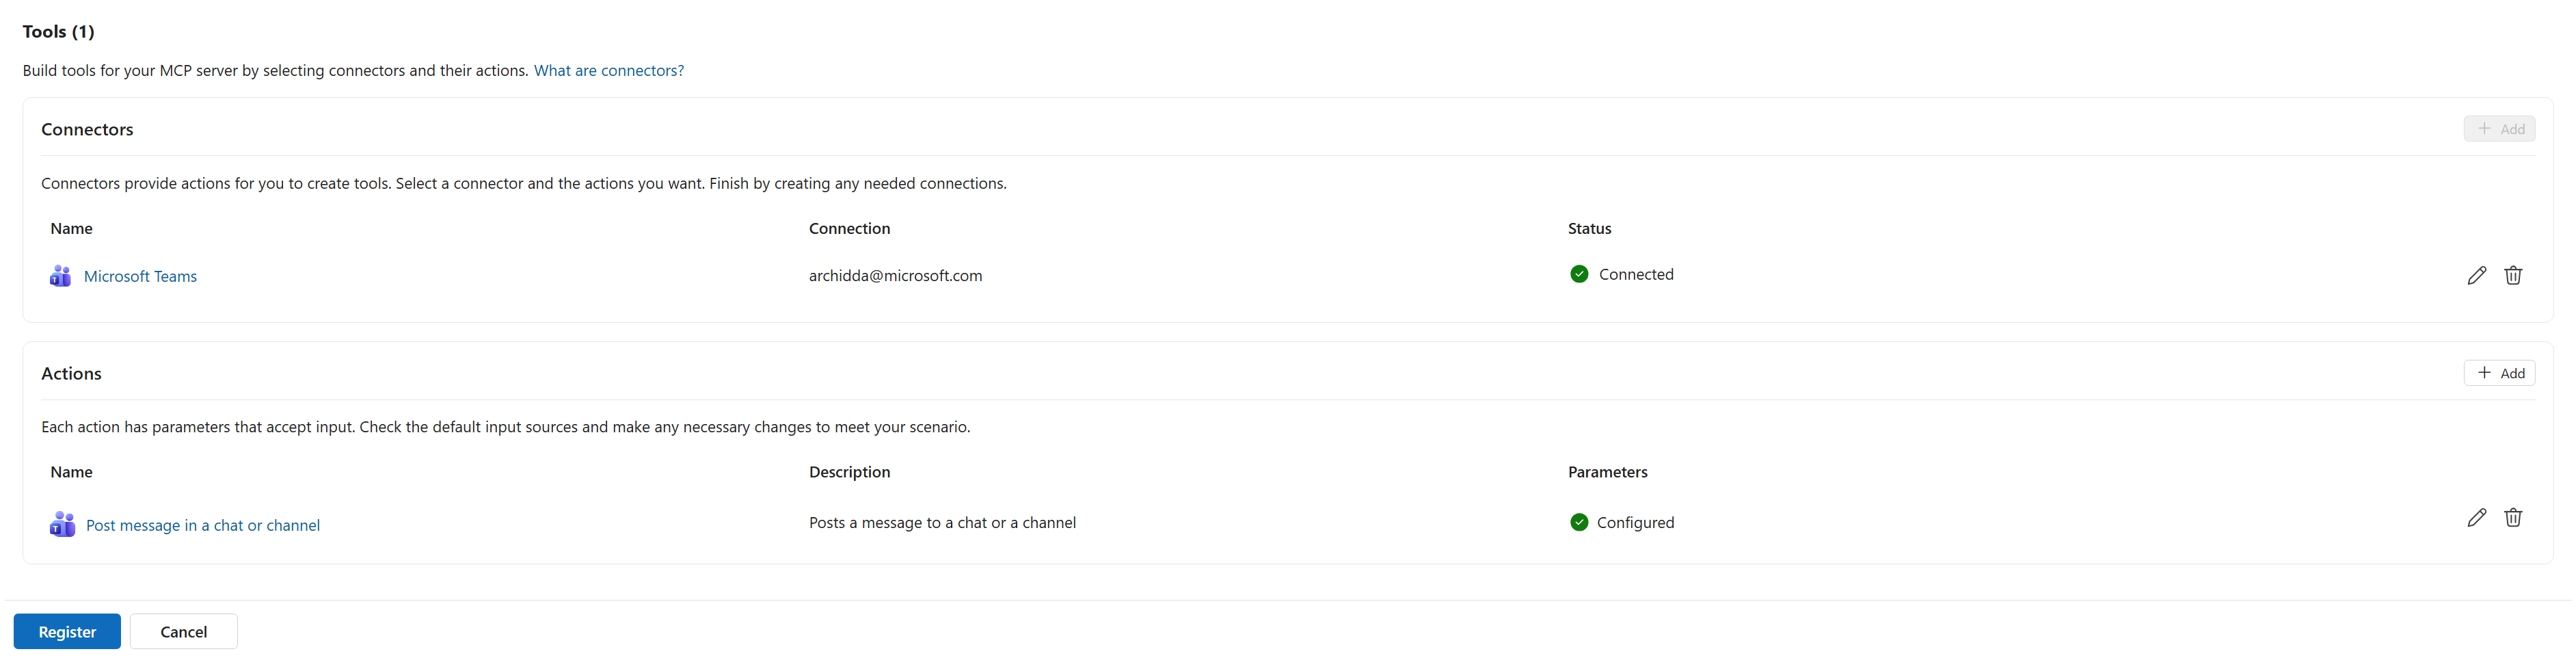
- Add MCP Server name and description as applicable.
-
For step 4.c, we will select Microsoft Teams connector and the action "Post message in a chat or channel".
-
Complete the parameters setup that needs user or model inputs. This will help send a message to either a group chat, channel from your user.
-
Select Register
-
In the notifications, you can confirm that the tools are saved, logic app setup is completed for auth configuration and MCP Server registered successfully in the APIC resource.
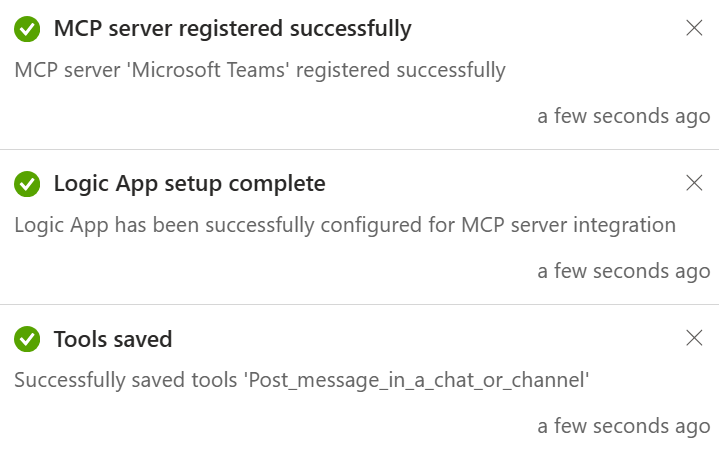
- Your MCP server is now created and registered.
Get MCP Server URL
To get the MCP Server URL, there are 2 ways-
-
Call the API manually from HTTP client like Bruno
-
Http Method: POST
-
Sample response
{
  "value": [
    {
      "url": "https://1029-mcpserver1.azurewebsites.net/api/mcpservers/teamsmcp/mcp",
      "name": "teamsmcp",
      "description": "This is an MCP Server to send message over Microsoft teams.",
      "tools": [
        {
          "name": "Post_message_in_a_chat_or_channel"
        }
      ]
    }
  ]
}
-
-
From API Center: Find and view your MCP server