
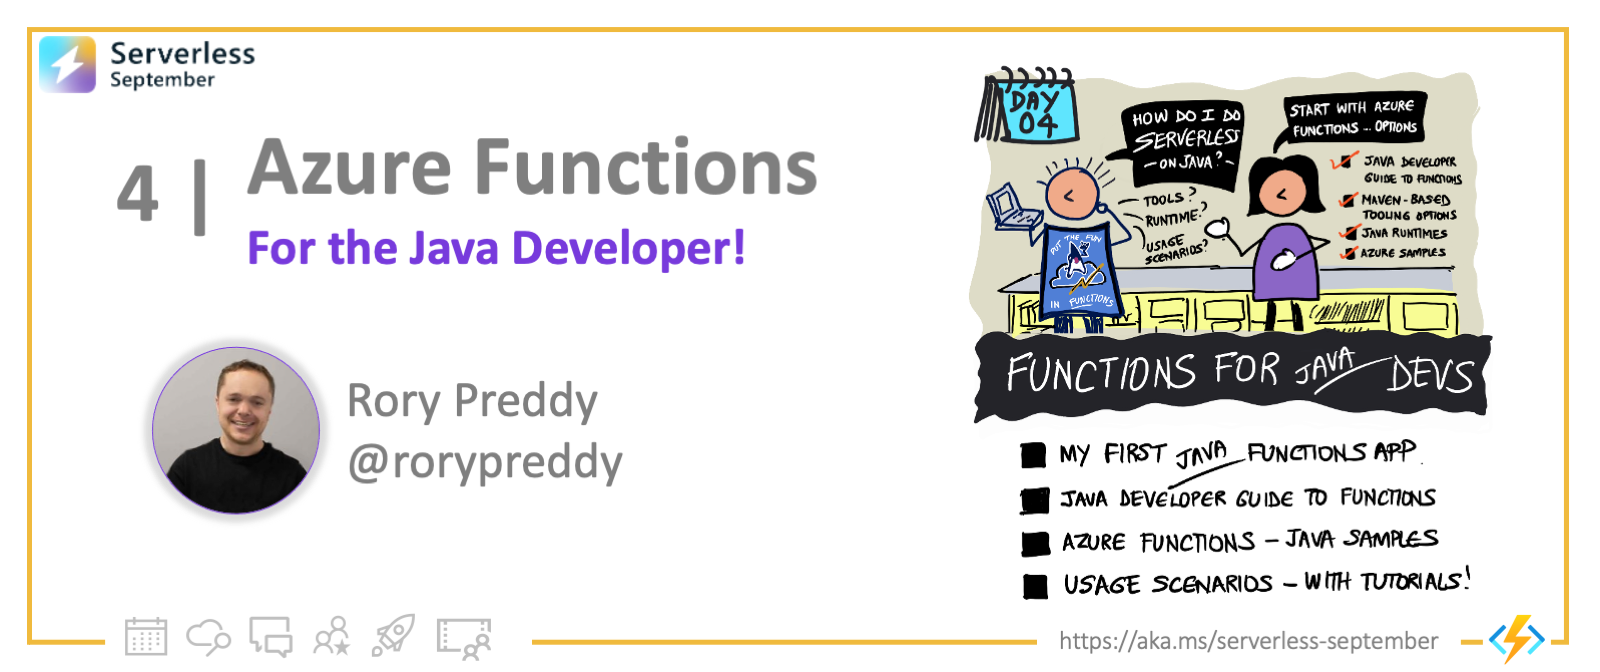
Welcome to Day 4 of #30DaysOfServerless!
Yesterday we walked through an Azure Functions Quickstart with JavaScript, and used it to understand the general Functions App structure, tooling and developer experience.
Today we'll look at developing Functions app with a different programming language - namely, Java - and explore developer guidance, tools and resources to build serverless Java solutions on Azure.
What We'll Cover
- Developer Guidance: For Azure Functions on Java
- Build & Deploy: Our First Java Functions App
- Usage Tutorials: Integrate App with other Azure Services
- Azure Samples: Explore samples for other triggers, bindings
- Exercise: Develop Java serverless Functions on Azure using Maven
- Resources: Check out Java at Microsoft and use Java Your Way!
Developer Guidance
If you're a Java developer new to serverless on Azure, start by exploring the Azure Functions Java Developer Guide. It covers:
- Quickstarts with Visual Studio Code and Azure CLI
- Building with Maven-based tooling for Gradle, Eclipse & IntelliJ IDEA
- Exploring project scaffolding & JDK runtimes (Java 8 and Java 11)
- Using Java annotations for Triggers, Bindings - with reference docs.
- Adopting best practices for hosting, reliability and efficiency.
- Java code samples and integration tutorials
In this blog post, we'll dive into one quickstart, and discuss other resources briefly, for awareness! Do check out the recommended exercises and resources for self-study!
My First Java Functions App
In today's post, we'll walk through the Quickstart: Azure Functions tutorial using Visual Studio Code. In the process, we'll setup our development environment with the relevant command-line tools and VS Code extensions to make building Functions app simpler.
Note: Completing this exercise may incur a a cost of a few USD cents based on your Azure subscription. Explore pricing details to learn more.
First, make sure you have your development environment setup and configured.
VS Code Setup
Start with the Java in Visual Studio Code tutorial to jumpstart your learning!
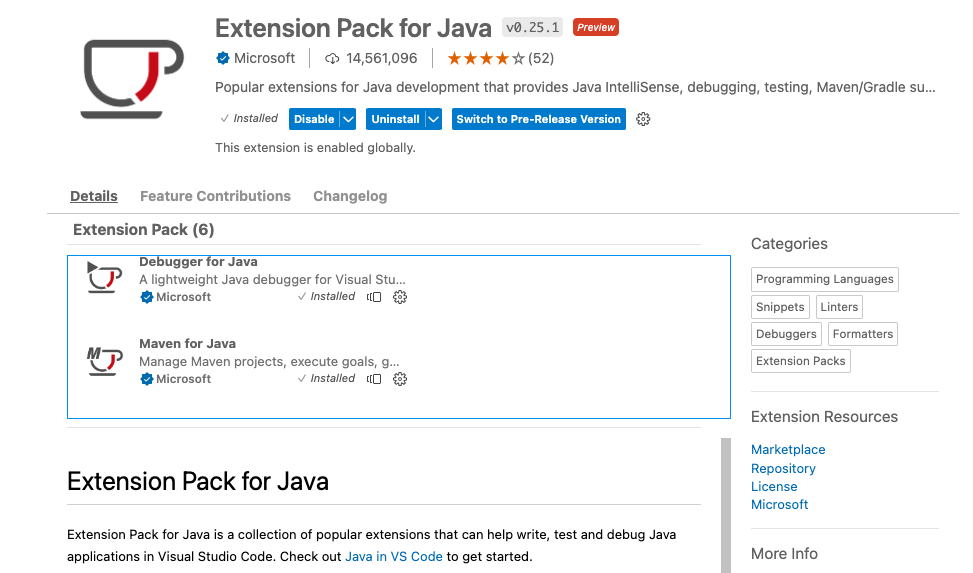
Install the Extension Pack for Java (shown below) to install 6 popular extensions to help development workflow from creation to testing, debugging, and deployment.
Now, it's time to get started on our first Java-based Functions app.
1. Create App
-
Open a command-line terminal and create a folder for your project. Use the
codecommand to launch Visual Studio Code from that directory as shown:$ mkdir java-function-resource-group-api
$ cd java-function-resource-group-api
$ code . -
Open the Visual Studio Command Palette (Ctrl + Shift + p) and select
Azure Functions: create new projectto kickstart the create workflow. Alternatively, you can click the Azure icon (on activity sidebar), to get theWorkspacewindow, click "+" and pick the "Create Function" option as shown below.
-
This triggers a multi-step workflow. Fill in the information for each step as shown in the following prompts. Important: Start this process from an empty folder - the workflow will populate it with the scaffold for your Java-based Functions app.
Prompt Value Choose the directory location. You should either create a new folder or choose an empty folder for the project workspace. Don't choose a project folder that is already part of a workspace. Select a language Choose Java.Select a version of Java Choose Java 11orJava 8, the Java version on which your functions run in Azure. Choose a Java version that you've verified locally.Provide a group ID Choose com.function.Provide an artifact ID Enter myFunction.Provide a version Choose 1.0-SNAPSHOT.Provide a package name Choose com.function.Provide an app name Enter HttpExample.Select the build tool for Java project Choose Maven.
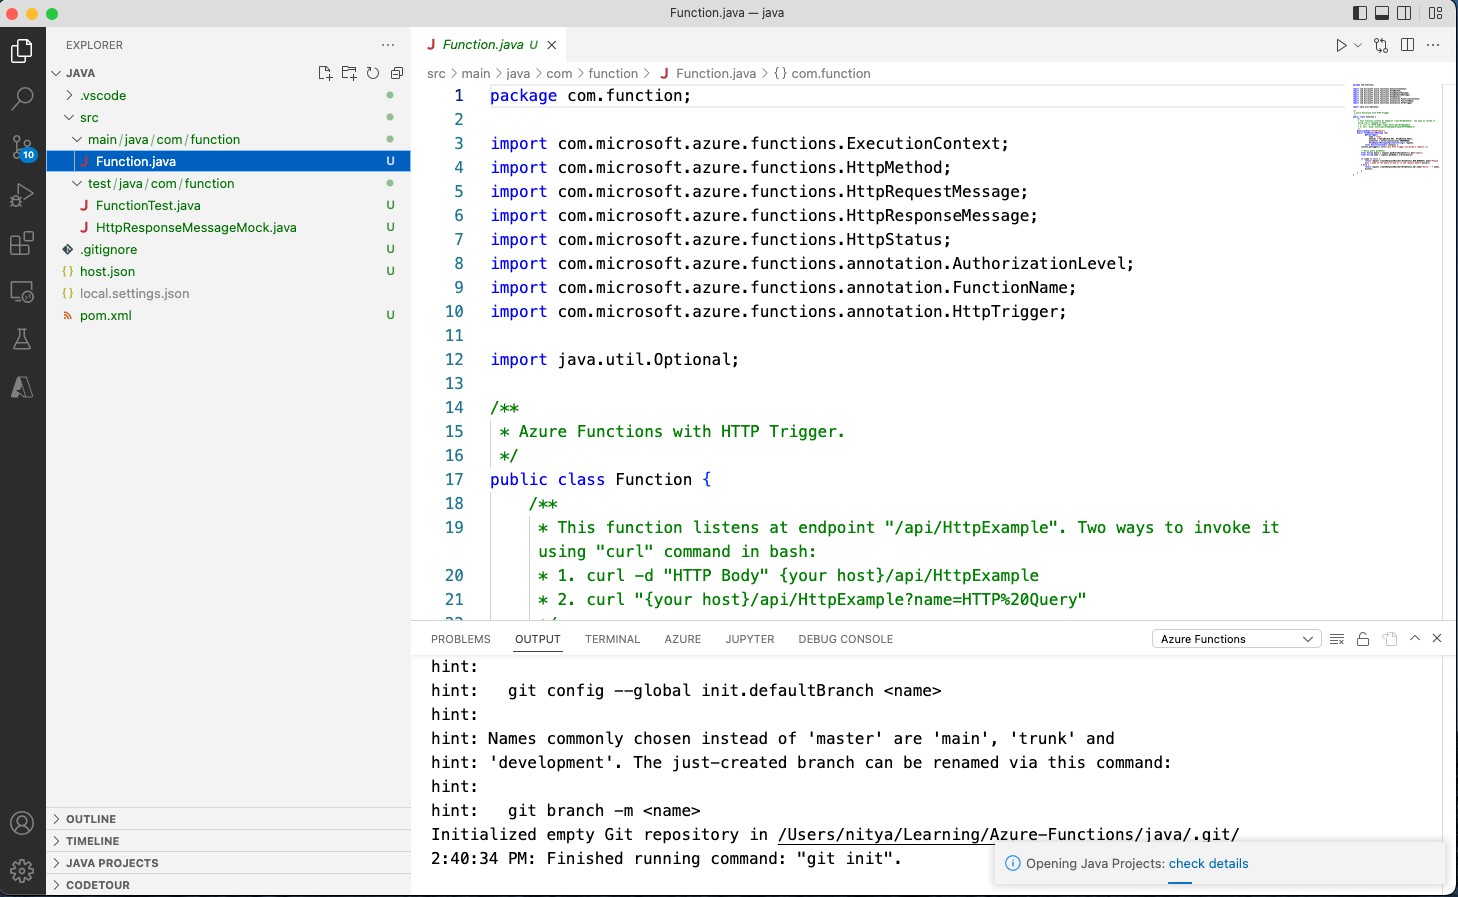
Visual Studio Code uses the provided information and generates an Azure Functions project. You can view the local project files in the Explorer - it should look like this:
2. Preview App
Visual Studio Code integrates with the Azure Functions Core tools to let you run this project on your local development computer before you publish to Azure.
- To build and run the application, use the following Maven command. You should see output similar to that shown below.
$ mvn clean package azure-functions:run
..
..
Now listening on: http://0.0.0.0:7071
Application started. Press Ctrl+C to shut down.

Http Functions:

  HttpExample: [GET,POST] http://localhost:7071/api/HttpExample
...
- Copy the URL of your HttpExample function from this output to a browser and append the query string ?name=<YOUR_NAME<, making the full URL something like
http://localhost:7071/api/HttpExample?name=Functions. The browser should display a message that echoes back your query string value. The terminal in which you started your project also shows log output as you make requests.
You created and ran a function app locally!
With the Terminal panel focused, press Ctrl + C to stop Core Tools and disconnect the debugger. After you've verified that the function runs correctly on your local computer, it's time to use Visual Studio Code and Maven to publish and test the project on Azure.
3. Sign into Azure
Before you can deploy, sign in to your Azure subscription.
az login
The az login command signs you into your Azure account.
Use the following command to deploy your project to a new function app.
mvn clean package azure-functions:deploy
When the creation is complete, the following Azure resources are created in your subscription:
- Resource group. Named as java-functions-group.
- Storage account. Required by Functions. The name is generated randomly based on Storage account name requirements.
- Hosting plan. Serverless hosting for your function app.The name is java-functions-app-service-plan.
- Function app. A function app is the deployment and execution unit for your functions. The name is randomly generated based on your artifactId, appended with a randomly generated number.
4. Deploy App
-
Back in the Resources area in the side bar, expand your subscription, your new function app, and Functions. Right-click (Windows) or Ctrl - click (macOS) the
HttpExamplefunction and choose Execute Function Now....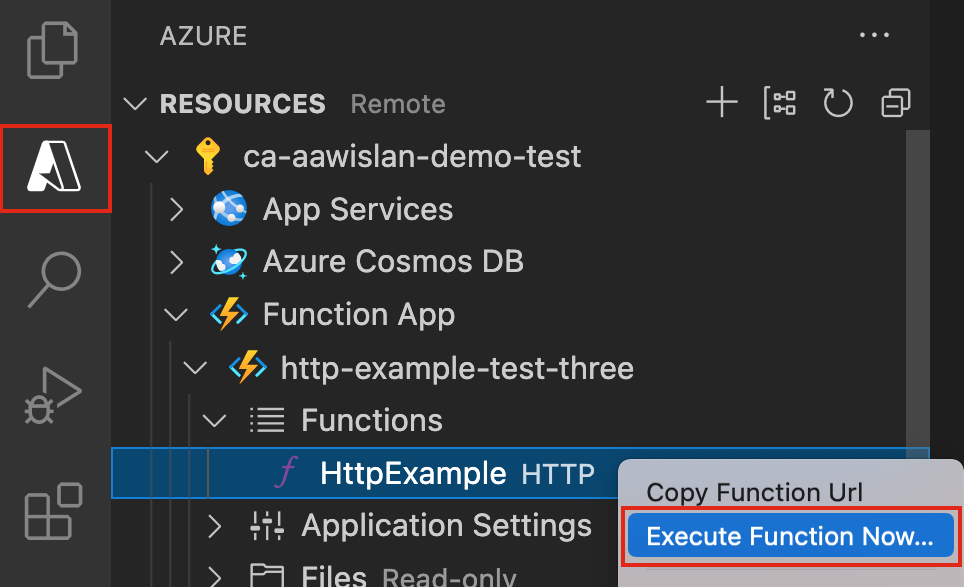
-
In Enter request body you see the request message body value of
{ "name": "Azure" }. Press Enter to send this request message to your function. -
When the function executes in Azure and returns a response, a notification is raised in Visual Studio Code.
You can also copy the complete Invoke URL shown in the output of the publish command into a browser address bar, appending the query parameter ?name=Functions. The browser should display similar output as when you ran the function locally.
You deployed your function app to Azure, and invoked it!
5. Clean up
Use the following command to delete the resource group and all its contained resources to avoid incurring further costs.
az group delete --name java-functions-group
Next Steps
So, where can you go from here? The example above used a familiar HTTP Trigger scenario with a single Azure service (Azure Functions). Now, think about how you can build richer workflows by using other triggers and integrating with other Azure or third-party services.
Other Triggers, Bindings
Check out Azure Functions Samples In Java for samples (and short use cases) that highlight other triggers - with code! This includes triggers to integrate with CosmosDB, Blob Storage, Event Grid, Event Hub, Kafka and more.
Scenario with Integrations
Once you've tried out the samples, try building an end-to-end scenario by using these triggers to integrate seamlessly with other Services. Here are a couple of useful tutorials:
- Azure Functions with Event Hub trigger and CosmosDB output binding
- GitHub Star Count app with SignalR trigger
Exercise
Time to put this into action and validate your development workflow:
- Walk through this tutorial yourself, and deploy your first function!
- Complete the Develop Java serverless Functions on Azure using Maven module