Part 1: Setting Up CI/CD Pipelines for Azure App Service Using Azure DevOps
In this application development, Continuous Integration and Continuous Deployment (CI/CD) play a vital role in streamlining workflows and ensuring rapid delivery of software. In this blog, we will explore how to set up CI/CD pipelines for three applications—a Java Spring Boot backend, a Java Spring Boot middleware, and a ReactJS frontend—using Azure DevOps. We will deploy these applications to Azure App Service in parallel.
Prerequisites
Before we start, ensure you have:
- An Azure DevOps account.
- A GitHub repository with your application code, specifically structured with three folders:
backend,middleware, andfrontend. - An Azure subscription with access to Azure App Service.
- The GitHub URL for the project we will be using is: Java-AI-Based-Content-Generator.
Overview of the Pipeline
The CI/CD pipeline will consist of the following key stages:
- Build Stage: Each application is built in parallel, producing artifacts for deployment.
- Deploy Stage: The built artifacts are deployed to Azure App Service and AKS.
Integrating GitHub Repository into Azure DevOps
To connect your GitHub repository to Azure DevOps, follow these steps:
-
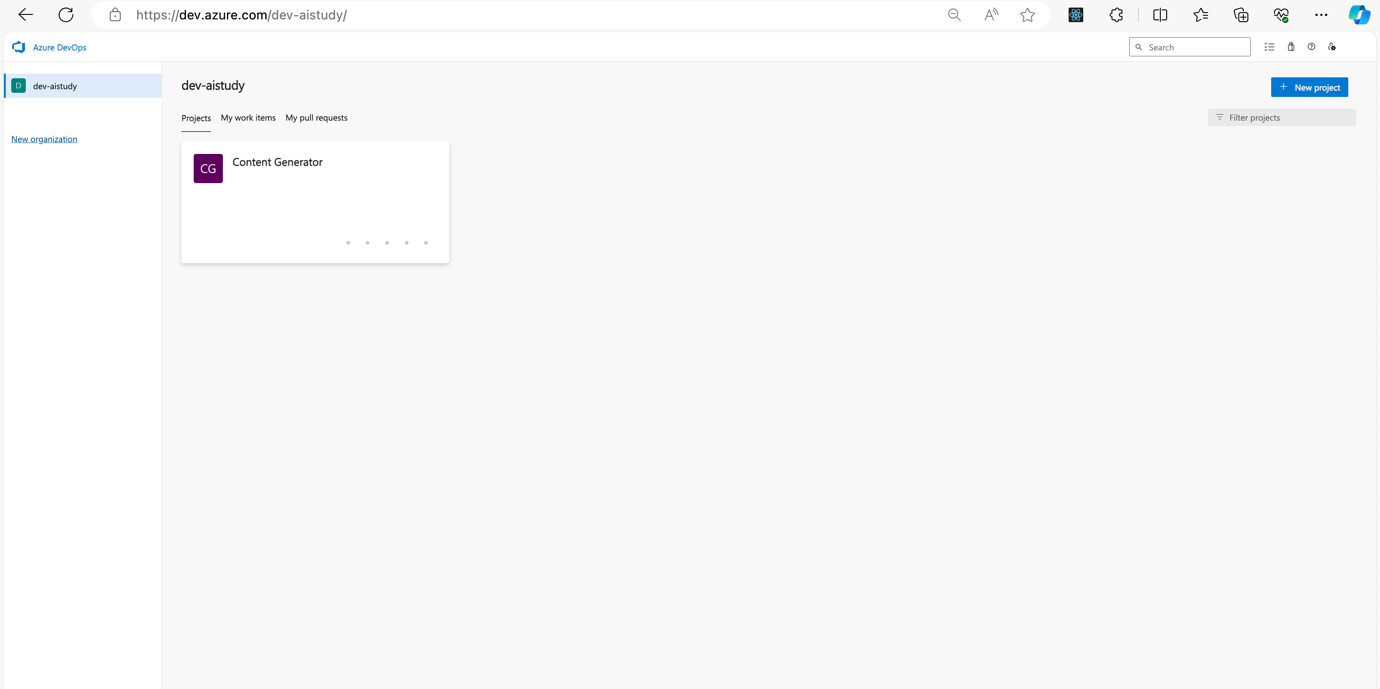
Navigate to Your Azure DevOps Project: Go to the Azure DevOps portal and select your project.
-
Select Project Settings: At the bottom left corner, click on the Project settings gear icon.
-
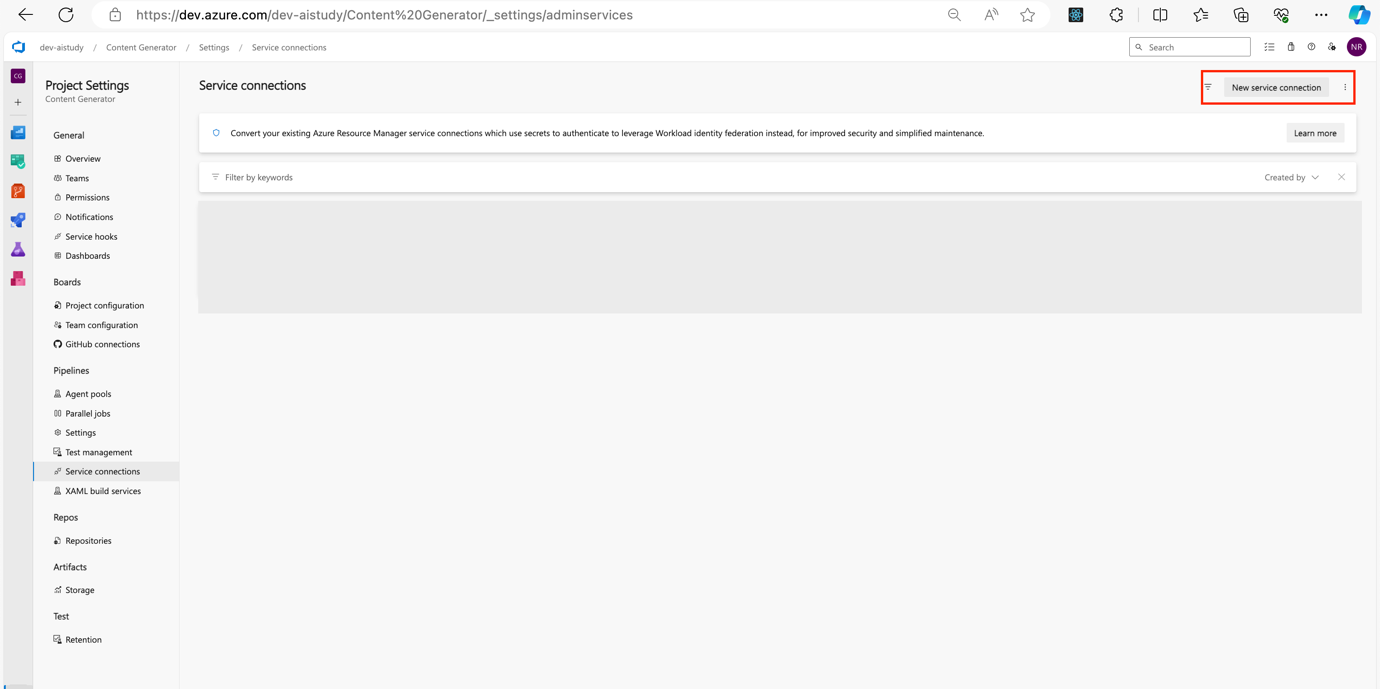
Service Connections: Under the Pipelines section, select Service connections.
-
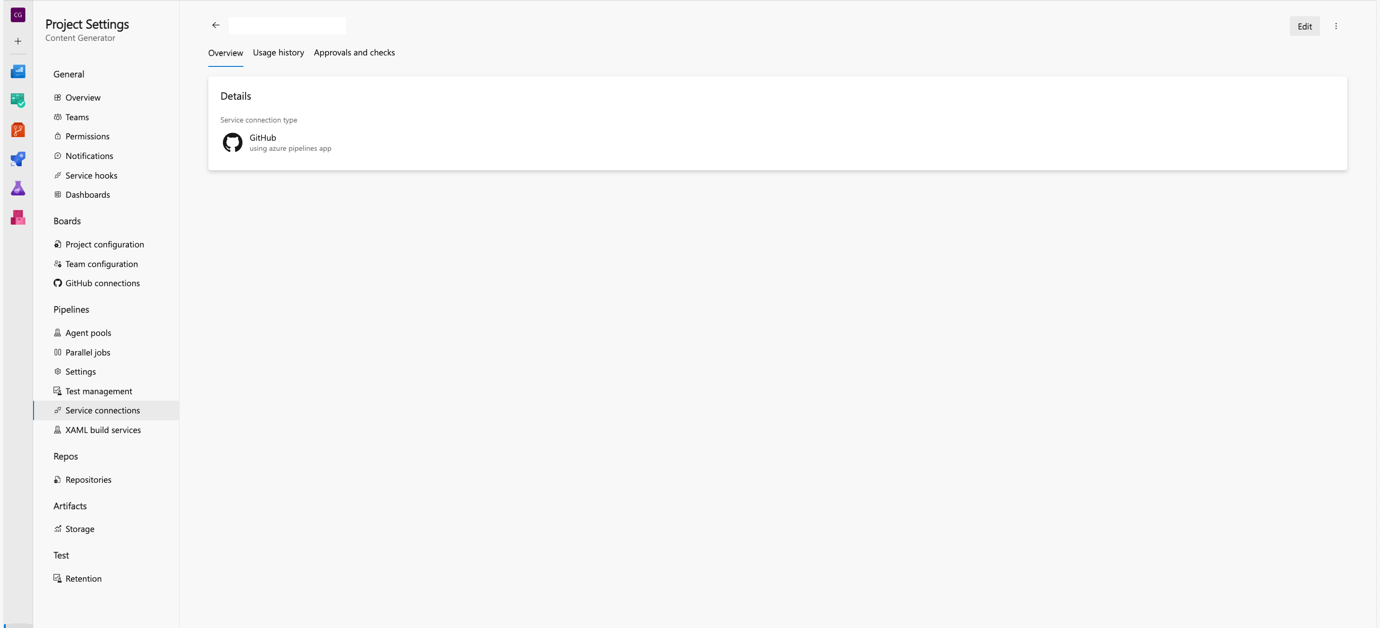
Create a New Service Connection: Click on New service connection and select GitHub from the list.
-
Authorize Azure DevOps: Follow the prompts to authorize Azure DevOps to access your GitHub account.
-
Select Repository: Choose the repository you want to integrate and complete the setup.
Creating Variable Groups
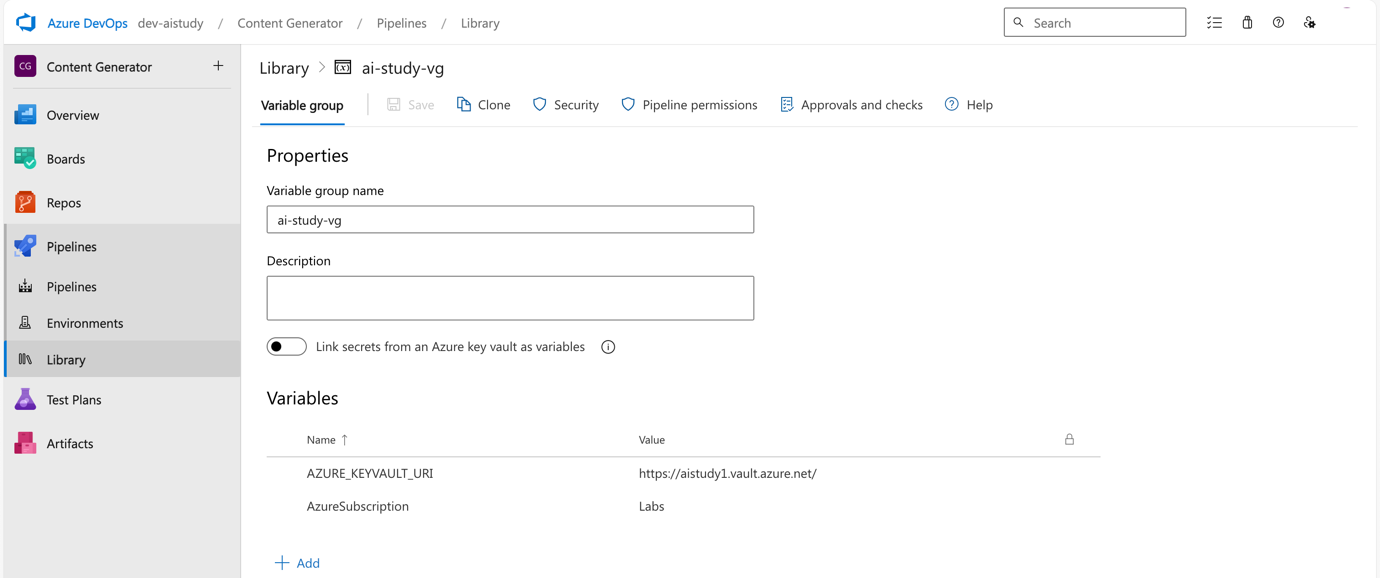
Variable groups in Azure DevOps help centralize configuration management by allowing you to store and reuse variables across multiple pipelines. Here's how to create and configure a variable group:
-
Navigate to Pipelines: Open the Pipelines section in your Azure DevOps project.
-
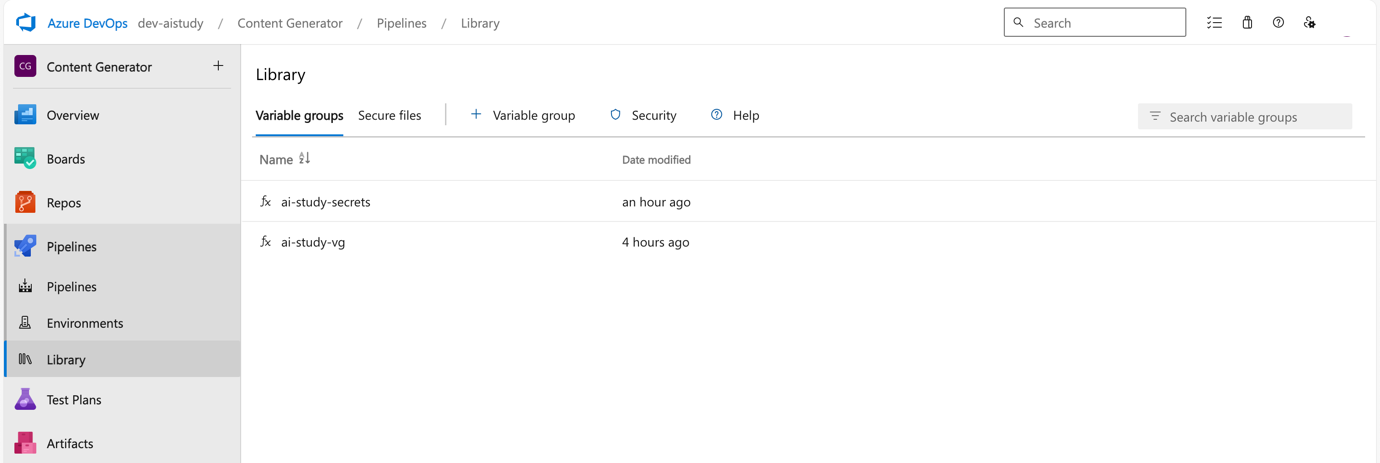
Library: Click on Library under Pipelines.
-
Add Variable Group: Select + Variable group.
-
Define Variables: Add the necessary variables (e.g.,
AcrName,BackendAppServiceName,MiddlewareAppServiceName, andFrontendAppServiceName). Optionally, mark sensitive values as secrets.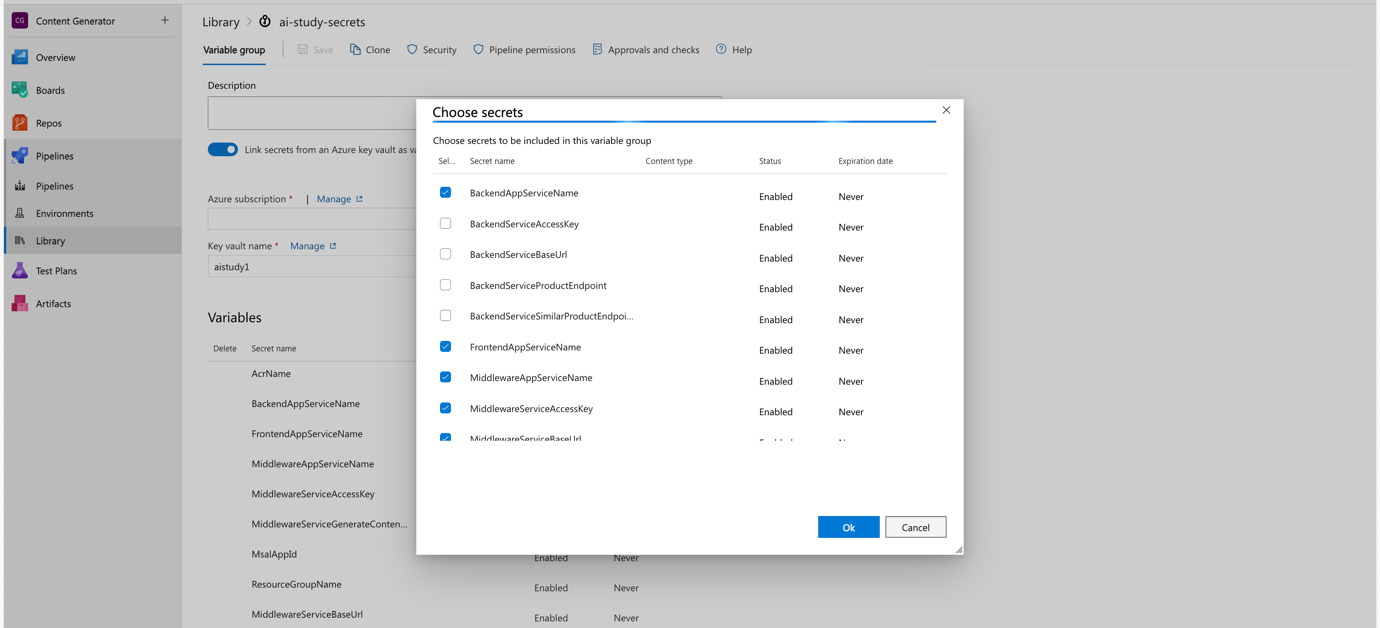
-
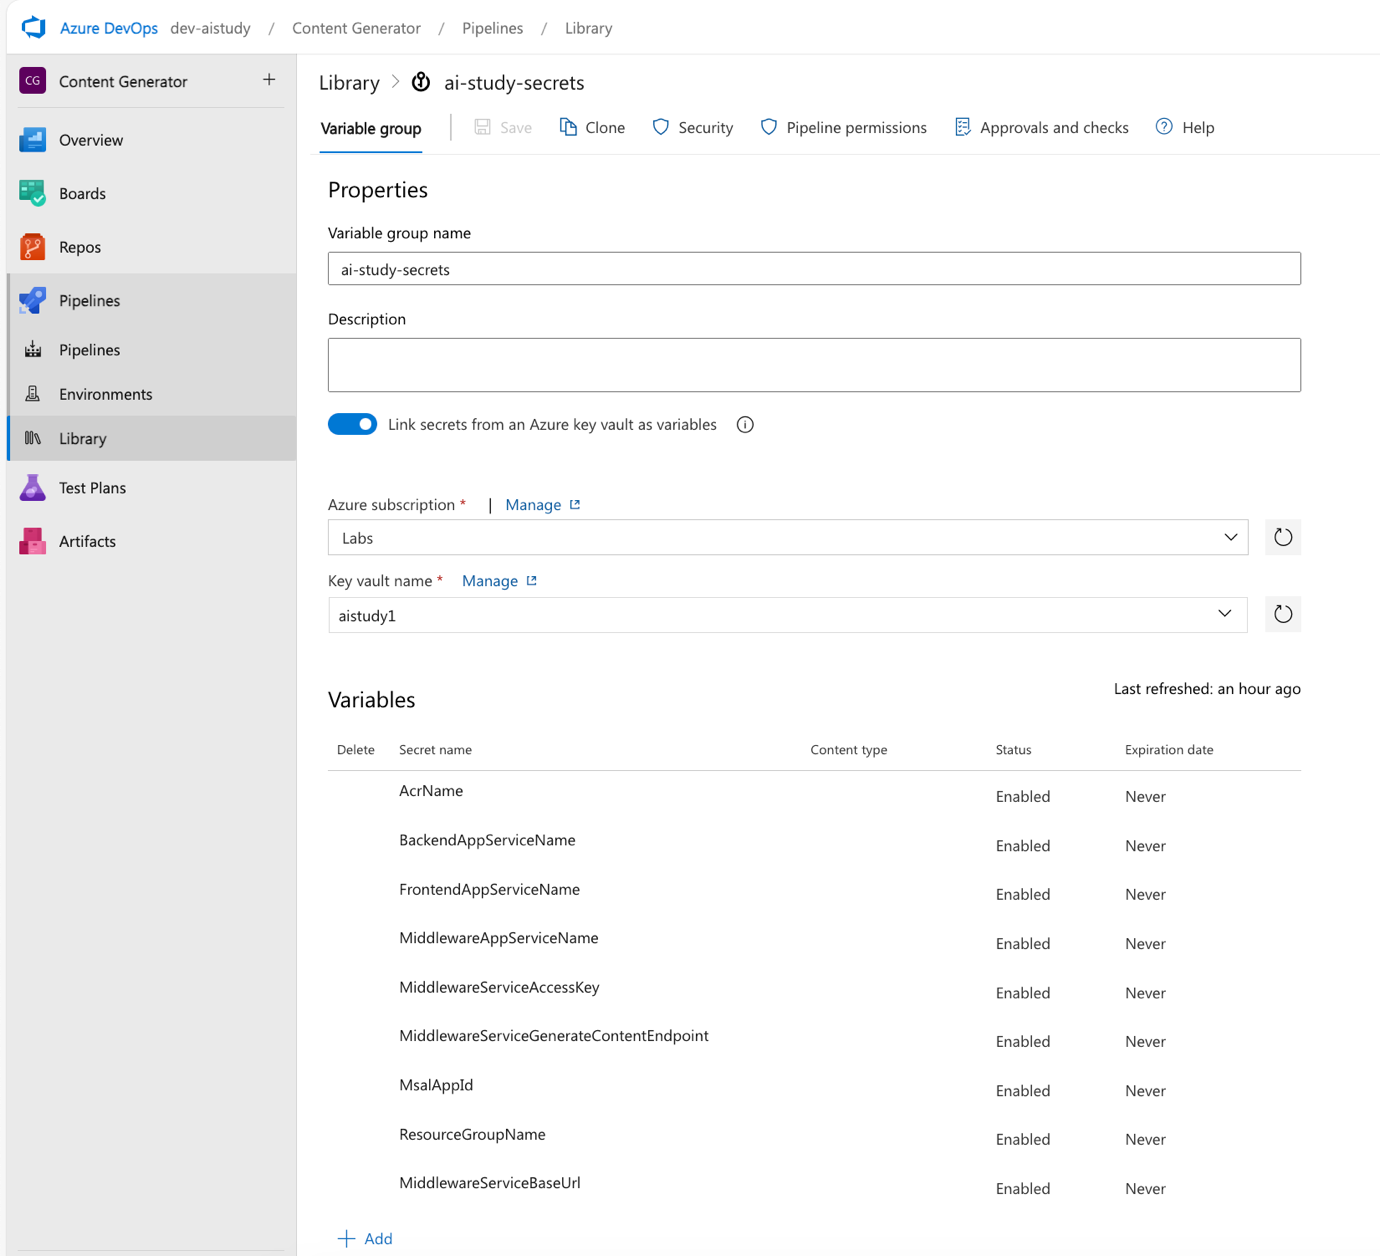
Link to Azure Key Vault: If needed, link your variable group to an Azure Key Vault to manage secrets.
-
Save the Variable Group: Click Save to confirm your variable group configuration.
-
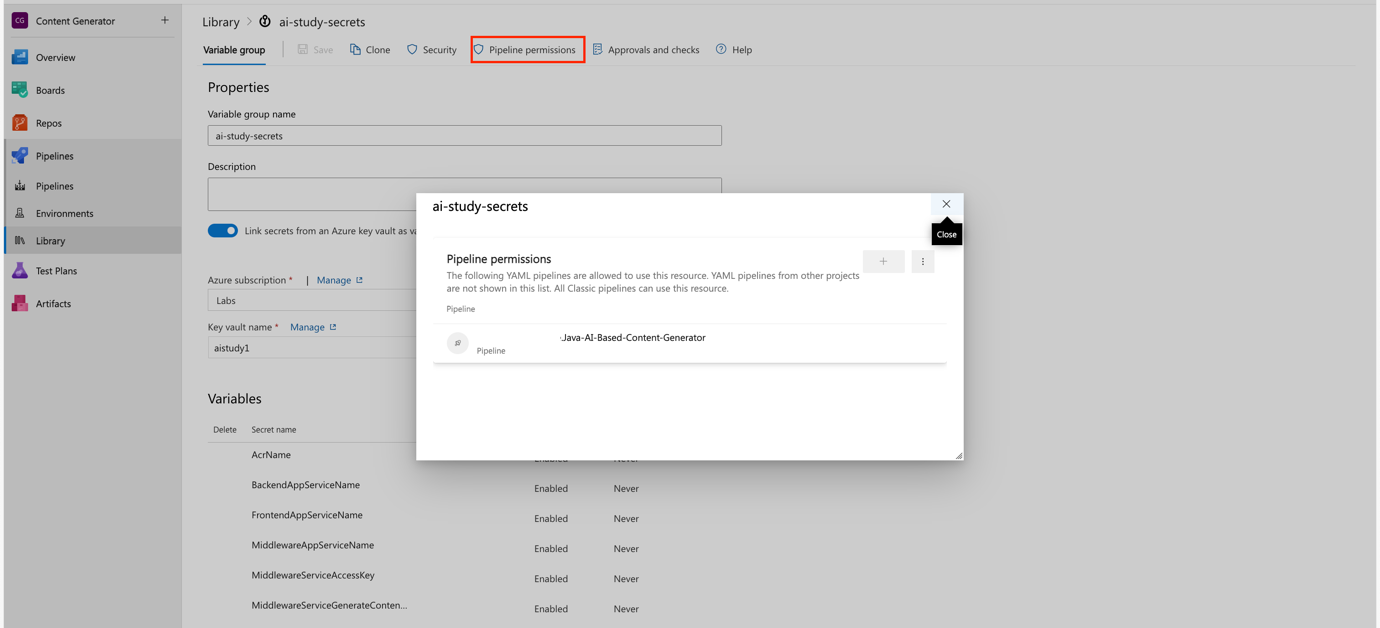
Add Pipeline Permission
Pipeline YAML Configuration
Below is the YAML configuration for the Azure DevOps pipeline, followed by a detailed explanation of each block.
azure-pipeline.yml
trigger:
  branches:
    include:
      - main
      - feature/ci

pool:
  vmImage: 'ubuntu-latest'

variables:
  - group: ai-study-vg
  - group: ai-study-secrets

stages:
  - stage: Build
    displayName: 'Build Stage'
    jobs:
      - job: Build_Backend
        displayName: 'Build Backend Service'
        pool:
          vmImage: 'ubuntu-latest'
        steps:
          - checkout: self
          - task: Maven@4
            inputs:
              mavenPomFile: 'backend/pom.xml'
              mavenOptions: '-Xmx3072m'
              javaHomeOption: 'JDKVersion'
              jdkVersionOption: '1.17' # JDK Version set to 17
              jdkArchitectureOption: 'x64'
              publishJUnitResults: true
              testResultsFiles: '**/TEST-*.xml'
              goals: 'clean package'
          - publish: '$(System.DefaultWorkingDirectory)/backend/target/backend.war'
            artifact: backend

      - job: Build_Middleware
        displayName: 'Build Middleware Service'
        pool:
          vmImage: 'ubuntu-latest'
        steps:
          - checkout: self
          - task: Maven@4
            inputs:
              mavenPomFile: 'middleware/pom.xml'
              mavenOptions: '-Xmx3072m'
              javaHomeOption: 'JDKVersion'
              jdkVersionOption: '1.17' # JDK Version set to 17
              jdkArchitectureOption: 'x64'
              publishJUnitResults: true
              testResultsFiles: '**/TEST-*.xml'
              goals: 'clean package'
          - publish: '$(System.DefaultWorkingDirectory)/middleware/target/middleware.war'
            artifact: middleware

      - job: Build_Frontend
        displayName: 'Build Frontend Service'
        pool:
          vmImage: 'ubuntu-latest'
        steps:
          - checkout: self
          - script: |
              cd frontend
              npm install
              npm run build
          - publish: '$(System.DefaultWorkingDirectory)/frontend/build'
            artifact: frontend

  - stage: Deploy
    displayName: 'Deploy Stage'
    dependsOn: Build
    jobs:
      - job: Deploy_Backend_AppService
        displayName: 'Deploy Backend to Azure App Service'
        pool:
          vmImage: 'ubuntu-latest'
        steps:
          - download: current
            artifact: backend
          - task: AzureWebApp@1
            inputs:
              azureSubscription: '$(AzureSubscription)' # This will be set from Variable Group
              appName: '$(BackendAppServiceName)' # This will be set from Key Vault - Variable Group
              package: '$(Pipeline.Workspace)/backend/backend.war'
              appType: 'webAppLinux'
              appSettings: |
                -AZURE_KEYVAULT_URI "$(AZURE_KEYVAULT_URI)"

      - job: Deploy_Middleware_AppService
        displayName: 'Deploy Middleware to Azure App Service'
        pool:
          vmImage: 'ubuntu-latest'
        steps:
          - download: current
            artifact: middleware
          - task: AzureWebApp@1
            inputs:
              azureSubscription: '$(AzureSubscription)' # This will be set from Variable Group
              appName: '$(MiddlewareAppServiceName)' # This will be set from Key Vault - Variable Group
              package: '$(Pipeline.Workspace)/middleware/middleware.war'
              appType: 'webAppLinux'
              appSettings: |
                -AZURE_KEYVAULT_URI "$(AZURE_KEYVAULT_URI)"

      - job: Deploy_Frontend_AppService
        displayName: 'Deploy Frontend to Azure App Service'
        pool:
          vmImage: 'ubuntu-latest'
        steps:
          - download: current
            artifact: frontend
          - task: AzureWebApp@1
            inputs:
              azureSubscription: '$(AzureSubscription)' # This will be set from Variable Group
              appName: '$(FrontendAppServiceName)' # This will be set from Key Vault - Variable Group
              package: '$(Pipeline.Workspace)/frontend'
              startUpCommand: 'pm2 serve /home/site/wwwroot/build --no-daemon --spa'
              appType: 'webAppLinux'
              # These secrets will be retrieved from Key Vault - Variable Group
              appSettings: |
                -REACT_APP_SERVICE_BASE_URL "$(MiddlewareServiceBaseUrl)"
                -REACT_APP_CLIENT_ID "$(MsalAppId)"
                -REACT_APP_CONTENT_GENERATOR_ENDPOINT "$(MiddlewareServiceGenerateContentEndpoint)"
                -REACT_APP_SERVICE_ACCESS_KEY "$(MiddlewareServiceAccessKey)"
Testing the CI/CD Pipeline
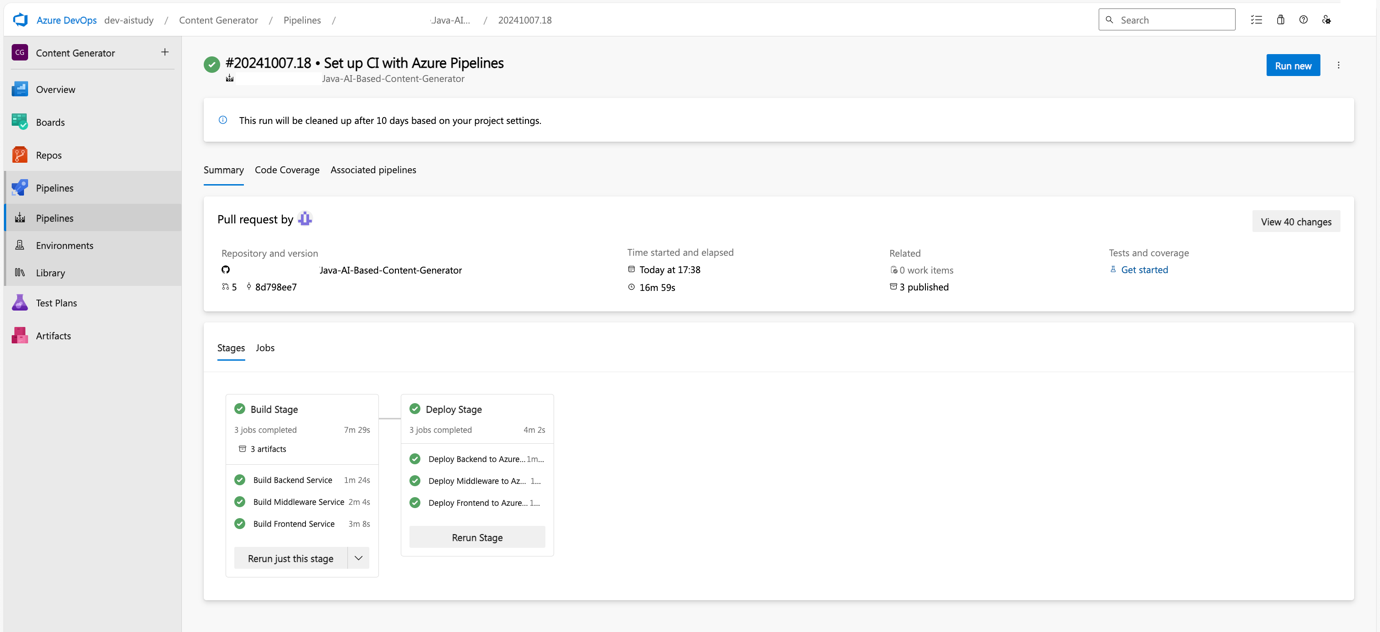
After setting up the pipeline, navigate to the Pipelines section in Azure DevOps and manually trigger a run to test your configuration.
-
Navigate to Pipelines: Open the Pipelines section.

-
Select the Pipeline: Choose the pipeline you configured.

-
Run Pipeline: Click on Run Pipeline and monitor the execution.
-
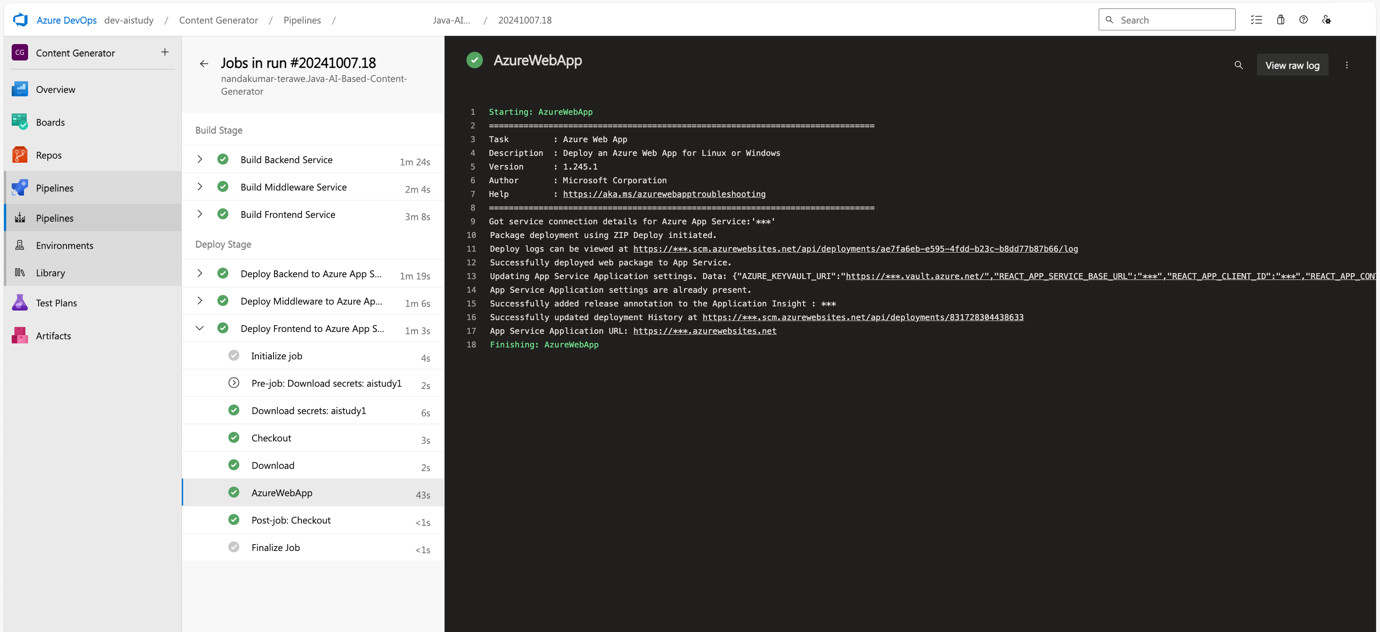
Monitor Job Logs: View the logs for each stage to ensure there are no errors.
Join live experts to dive into operational excellence with AKS.
Conclusion
In this blog, we explored how to set up a CI/CD pipeline for Java and ReactJS applications using Azure DevOps. We integrated GitHub, configured variable groups, and deployed to Azure App Service. Testing the pipeline ensures that the setup works end-to-end.
Next
In the next blog, we’ll cover advanced topics such as monitoring and scaling these deployments.
