Note The instructions on this page pertain to new and simplified setup which was introduced with release v3.0.0
The older setup can be found here.
Note Starting with release v4.0.0 both windows and linux build agents are supported. Thus you will notice that starting with v4.0.0 there are separate binaries (extractor and publisher) get generated for each OS.
Configure APIM tools in Azure DevOps
- Create a new project in Azure DevOps. We will refer to it as apiops in this tutorial
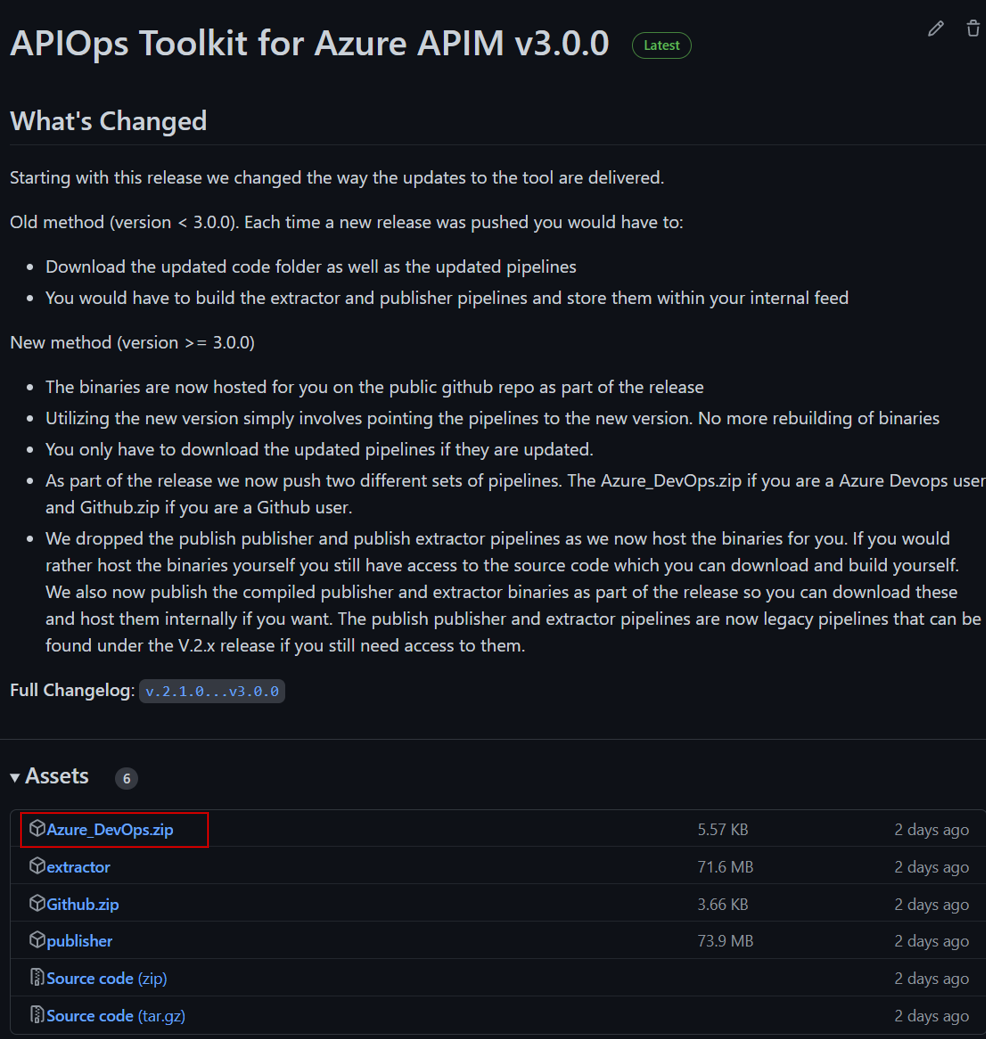
- Head to the release you are targeting on the Gihub page. The list of releases can be found here. For this example we will assume you are trying to start with release v.3.0.0. As you can see in the image below under the “Assets” section you have a file called Azure_DevOps.zip. Download that file and then extract the content into your repository. Your folder structure should look like:
- your-repo-name
- tools
- pipelines
- …
- utils
- pipelines
- tools
In order to update the pipelines in the future you will follow the same steps documented in step 2.
- your-repo-name
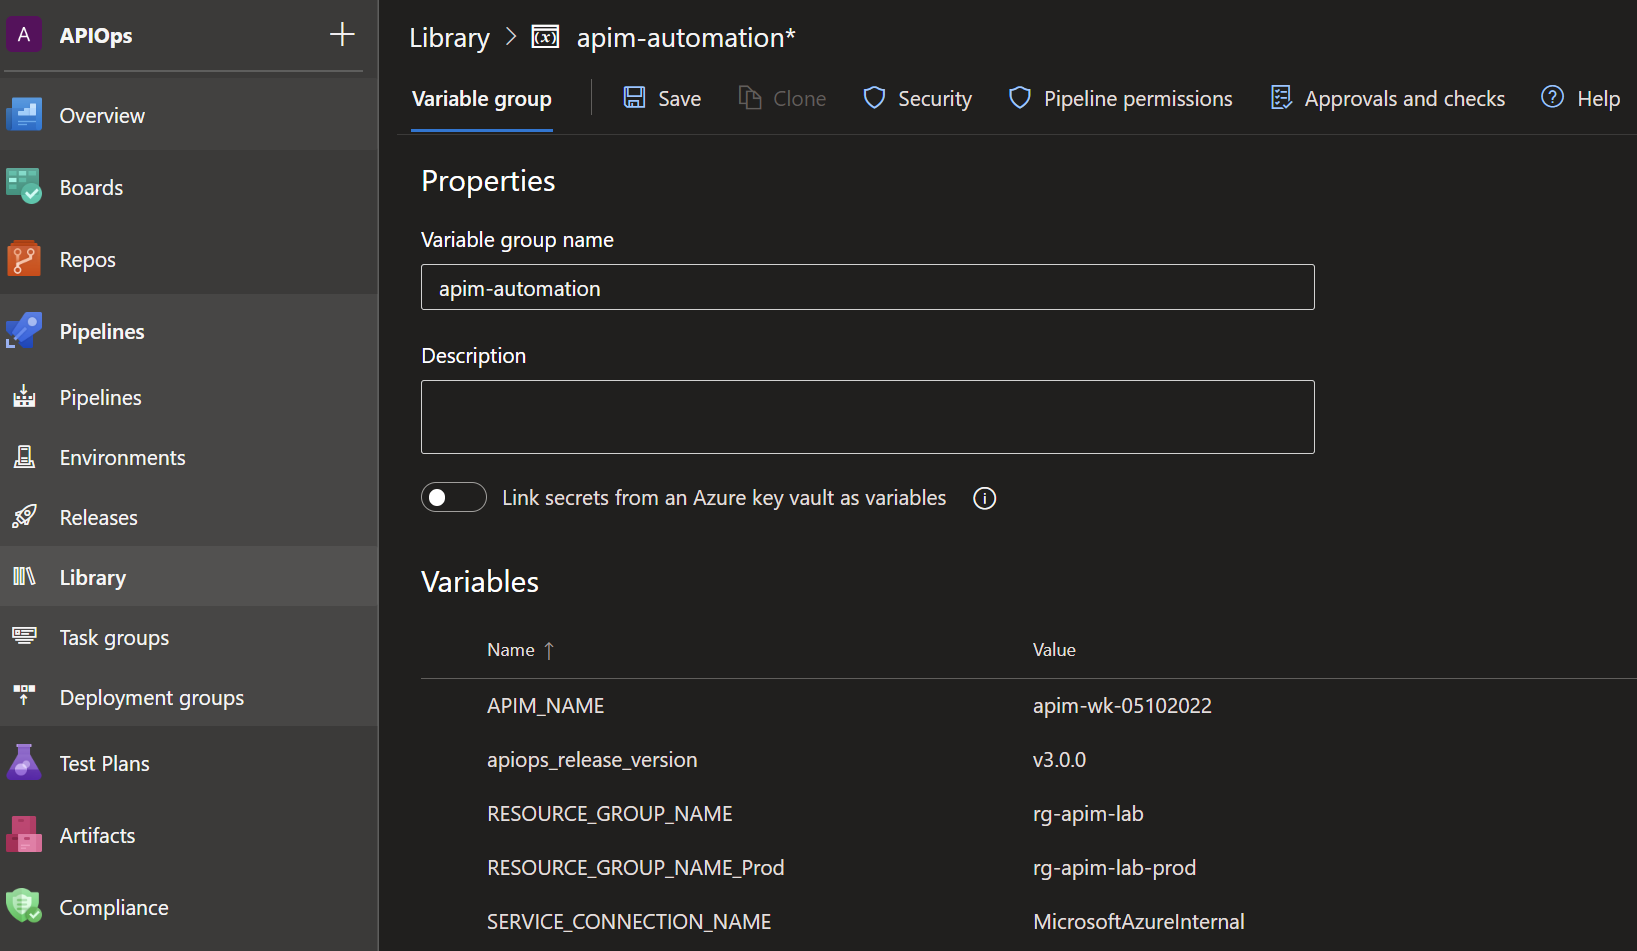
- Create a pipeline variable group called apim-automation. In that group, add these variables:
- SERVICE_CONNECTION_NAME and for its value, enter the name of your Azure service connection.
- APIM_NAME and for its value, enter the name of lower environment apim instance name. You can optionally enter the APIM_NAME the higher environment if you have that information ready or you can enter it at a later point.
- RESOURCE_GROUP_NAME and for its value, enter the resource group name of your Azure APIM instance. In this example we have two apim instances representing both the dev and prod environments so make sure you have two resource group entries representing both as shown in the image below.
- apiops_release_version and for its value, enter the release number you would like to utilize. For example if you would like to utilize version 3 then you would set the value to “v3.0.0”. Its always recommended to utilize the latest release when possible as it usually includes new features and bug fixes.
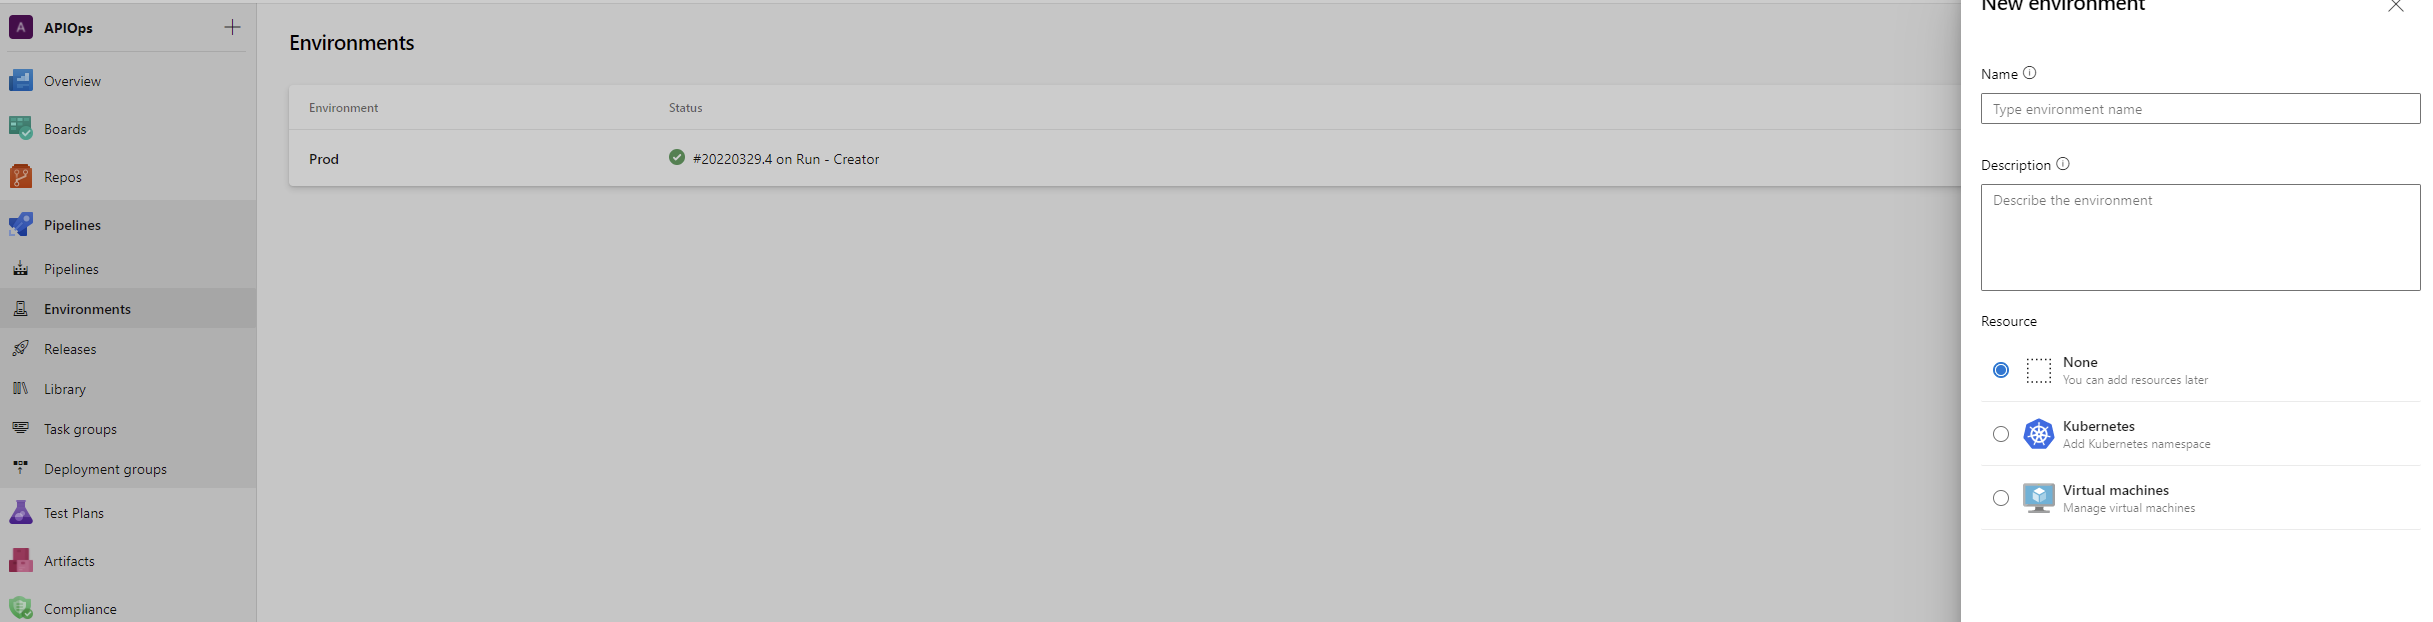
- Create a target environment called prod as shown below. The environment will allow us to require a manual approval between stages in a yaml based release pipeline. Choose Prod as the name and for the resource type choose None.
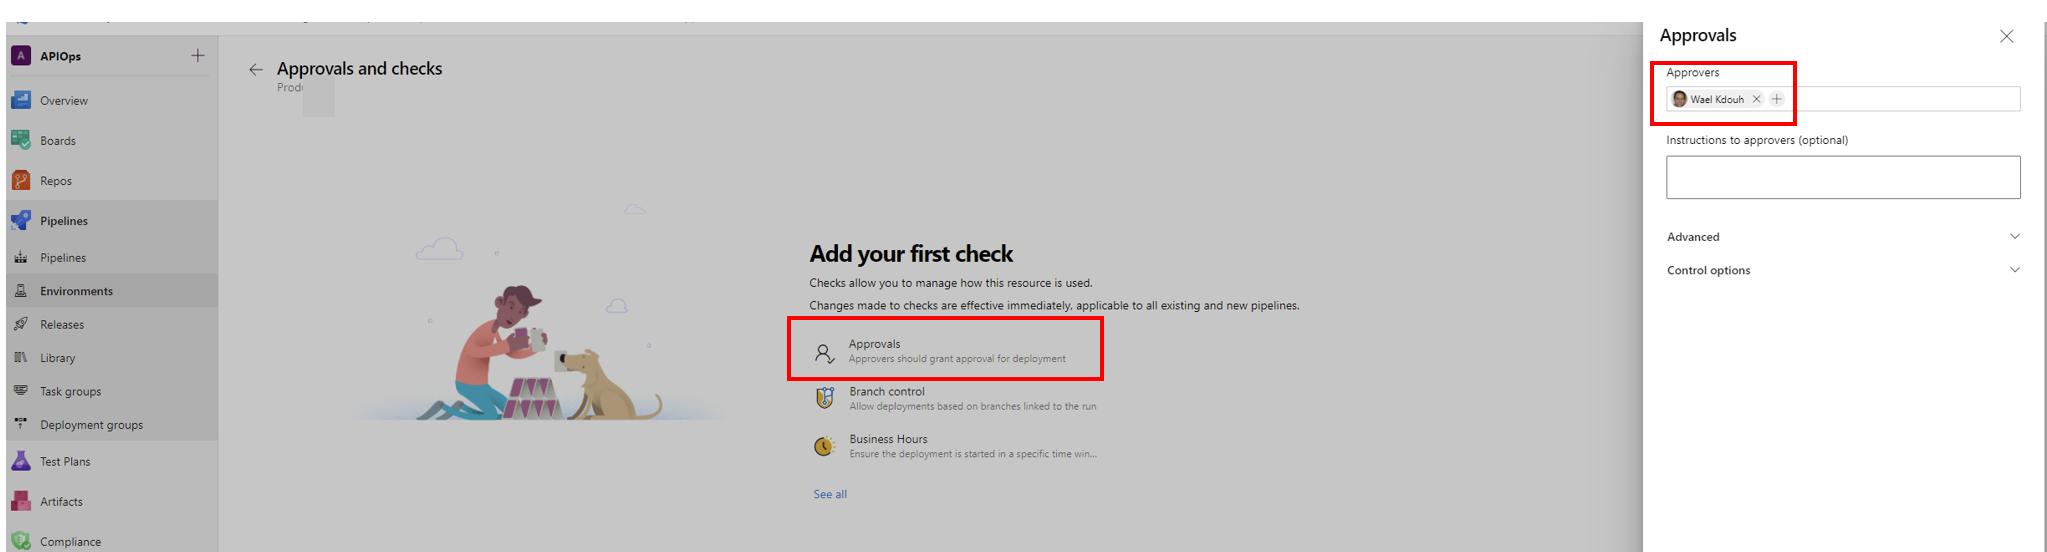
- After creating the environment add one ore more approvers by heading to the ellipses menu and click on “Approvals and checks”

- Here we are adding a single approver but in an enterprise setting its recommended that you add two or more approvers.
- Quick note about running a pipeline.
By default Azure DevOps build pipeline agents don’t have enough permissions to perform some actions that are required for our pipeline.
- Thats it. You are now ready to extract and publish your Azure APIM instance artifacts. Refer to the extract and publish APIM artifacts sections for more information. For a list of supported artifacts refer to this section .