
Welcome to Day #1 of Week 2 of #CloudNativeNewYear!
The theme for this week is Kubernetes fundamentals. Last week we talked about Cloud Native architectures and the Cloud Native landscape. Today we'll explore the topic of Pods and Deployments in Kubernetes.
Watch the recorded demo and conversation about this week's topics.
We were live on YouTube walking through today's (and the rest of this week's) demos.
What We'll Cover
- Setting Up A Kubernetes Environment in Azure
- Running Containers in Kubernetes Pods
- Making the Pods Resilient with Deployments
- Exercise
- Resources
Setting Up A Kubernetes Environment in Azure
For this week, we'll be working with a simple app - the Azure Voting App. My teammate Paul Yu ported the app to Rust and we tweaked it a bit to let us highlight some of the basic features of Kubernetes.
You should be able to replicate this in just about any Kubernetes environment, but we'll use Azure Kubernetes Service (AKS) as our working environment for this week.
To make it easier to get started, there's a Bicep template to deploy an AKS cluster, an Azure Container Registry (ACR) (to host our container image), and connect the two so that we can easily deploy our application.
Step 0 - Prerequisites
There are a few things you'll need if you want to work through this and the following examples this week.
Required:
- Git (and probably a GitHub account if you want to persist your work outside of your computer)
- Azure CLI
- An Azure subscription (if you want to follow along with the Azure steps)
- Kubectl (the command line tool for managing Kubernetes)
Helpful:
- Visual Studio Code (or equivalent editor)
Step 1 - Clone the application repository
First, I forked the source repository to my account.
$GitHubOrg = 'smurawski' # Replace this with your GitHub account name or org name
git clone "https://github.com/$GitHubOrg/azure-voting-app-rust"
cd azure-voting-app-rust
Leave your shell opened with your current location inside the application repository.
Step 2 - Set up AKS
Running the template deployment from the demo script (I'm using the PowerShell example in cnny23-week2-day1.ps1, but there's a Bash variant at cnny23-week2-day1.sh) stands up the environment. The second, third, and fourth commands take some of the output from the Bicep deployment to set up for later commands, so don't close out your shell after you run these commands.
az deployment sub create --template-file ./deploy/main.bicep --location eastus --parameters 'resourceGroup=cnny-week2'
$AcrName = az deployment sub show --name main --query 'properties.outputs.acr_name.value' -o tsv
$AksName = az deployment sub show --name main --query 'properties.outputs.aks_name.value' -o tsv
$ResourceGroup = az deployment sub show --name main --query 'properties.outputs.resource_group_name.value' -o tsv

az aks get-credentials --resource-group $ResourceGroup --name $AksName
Step 3 - Build our application container
Since we have an Azure Container Registry set up, I'll use ACR Build Tasks to build and store my container image.
az acr build --registry $AcrName --% --image cnny2023/azure-voting-app-rust:{{.Run.ID}} .
$BuildTag = az acr repository show-tags `
                              --name $AcrName `
                              --repository cnny2023/azure-voting-app-rust `
                              --orderby time_desc `
                              --query '[0]' -o tsv
Wondering what the --% is in the first command line? That tells the PowerShell interpreter to pass the input after it "as is" to the command without parsing/evaluating it. Otherwise, PowerShell messes a bit with the templated {{.Run.ID}} bit.
Running Containers in Kubernetes Pods
Now that we have our AKS cluster and application image ready to go, let's look into how Kubernetes runs containers.
If you've been in tech for any length of time, you've seen that every framework, runtime, orchestrator, etc.. can have their own naming scheme for their concepts. So let's get into some of what Kubernetes calls things.
The Pod
A container running in Kubernetes is called a Pod. A Pod is basically a running container on a Node or VM. It can be more. For example you can run multiple containers and specify some funky configuration, but we'll keep it simple for now - add the complexity when you need it.
Our Pod definition can be created via the kubectl command imperatively from arguments or declaratively from a configuration file. We'll do a little of both. We'll use the kubectl command to help us write our configuration files. Kubernetes configuration files are YAML, so having an editor that supports and can help you syntax check YAML is really helpful.
Creating a Pod Definition
Let's create a few Pod definitions. Our application requires two containers to get working - the application and a database.
Let's create the database Pod first. And before you comment, the configuration isn't secure nor best practice. We'll fix that later this week. For now, let's focus on getting up and running.
This is a trick I learned from one of my teammates - Paul. By using the --output yaml and --dry-run=client options, we can have the command help us write our YAML. And with a bit of output redirection, we can stash it safely in a file for later use.
kubectl run azure-voting-db `
            --image "postgres:15.0-alpine" `
            --env "POSTGRES_PASSWORD=mypassword" `
            --output yaml `
            --dry-run=client > manifests/pod-db.yaml
This creates a file that looks like:
apiVersion: v1
kind: Pod
metadata:
  creationTimestamp: null
  labels:
    run: azure-voting-db
  name: azure-voting-db
spec:
  containers:
  - env:
    - name: POSTGRES_PASSWORD
      value: mypassword
    image: postgres:15.0-alpine
    name: azure-voting-db
    resources: {}
  dnsPolicy: ClusterFirst
  restartPolicy: Always
status: {}
The file, when supplied to the Kubernetes API, will identify what kind of resource to create, the API version to use, and the details of the container (as well as an environment variable to be supplied).
We'll get that container image started with the kubectl command. Because the details of what to create are in the file, we don't need to specify much else to the kubectl command but the path to the file.
kubectl apply -f ./manifests/pod-db.yaml
I'm going to need the IP address of the Pod, so that my application can connect to it, so we can use kubectl to get some information about our pod. By default, kubectl get pod only displays certain information but it retrieves a lot more. We can use the JSONPath syntax to index into the response and get the information you want.
To see what you can get, I usually run the kubectl command with the output type (-o JSON) of JSON and then I can find where the data I want is and create my JSONPath query to get it.
$DB_IP = kubectl get pod azure-voting-db -o jsonpath='{.status.podIP}'
Now, let's create our Pod definition for our application. We'll use the same technique as before.
kubectl run azure-voting-app `
            --image "$AcrName.azurecr.io/cnny2023/azure-voting-app-rust:$BuildTag" `
            --env "DATABASE_SERVER=$DB_IP" `
            --env "DATABASE_PASSWORD=mypassword`
            --output yaml `
            --dry-run=client > manifests/pod-app.yaml
That command gets us a similar YAML file to the database container - you can see the full file here
Let's get our application container running.
kubectl apply -f ./manifests/pod-app.yaml
Now that the Application is Running
We can check the status of our Pods with:
kubectl get pods
And we should see something like:
azure-voting-app-rust ❯  kubectl get pods
NAME               READY   STATUS    RESTARTS   AGE
azure-voting-app   1/1     Running   0          36s
azure-voting-db    1/1     Running   0          84s
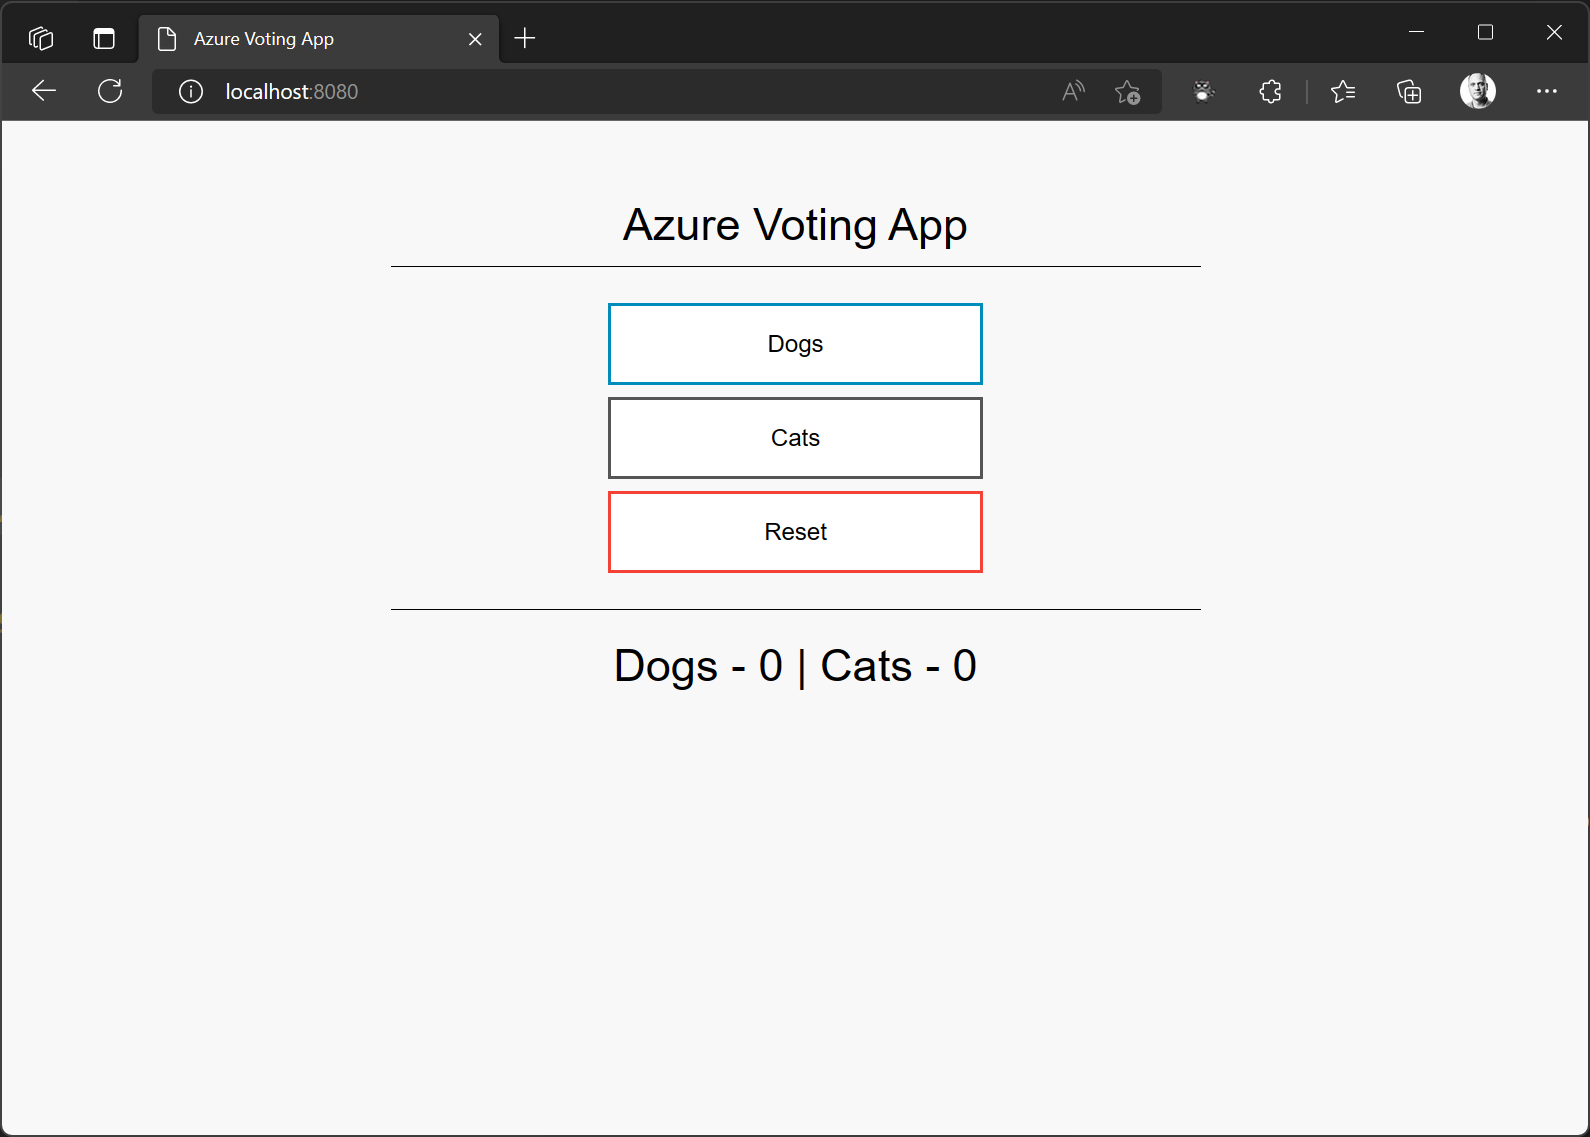
Once our pod is running, we can check to make sure everything is working by letting kubectl proxy network connections to our Pod running the application. If we get the voting web page, we'll know the application found the database and we can start voting!
kubectl port-forward pod/azure-voting-app 8080:8080
When you are done voting, you can stop the port forwarding by using Control-C to break the command.
Clean Up
Let's clean up after ourselves and see if we can't get Kubernetes to help us keep our application running. We can use the same configuration files to ensure that Kubernetes only removes what we want removed.
kubectl delete -f ./manifests/pod-app.yaml
kubectl delete -f ./manifests/pod-db.yaml
Summary - Pods
A Pod is the most basic unit of work inside Kubernetes. Once the Pod is deleted, it's gone. That leads us to our next topic (and final topic for today.)
Making the Pods Resilient with Deployments
We've seen how easy it is to deploy a Pod and get our containers running on Nodes in our Kubernetes cluster. But there's a problem with that. Let's illustrate it.
Breaking Stuff
Setting Back Up
First, let's redeploy our application environment. We'll start with our application container.
kubectl apply -f ./manifests/pod-db.yaml
kubectl get pod azure-voting-db -o jsonpath='{.status.podIP}'
The second command will report out the new IP Address for our database container. Let's open ./manifests/pod-app.yaml and update the container IP to our new one.
- name: DATABASE_SERVER
  value: YOUR_NEW_IP_HERE
Then we can deploy the application with the information it needs to find its database. We'll also list out our pods to see what is running.
kubectl apply -f ./manifests/pod-app.yaml
kubectl get pods
Feel free to look back and use the port forwarding trick to make sure your app is running if you'd like.
Knocking It Down
The first thing we'll try to break is our application pod. Let's delete it.
kubectl delete pod azure-voting-app
Then, we'll check our pod's status:
kubectl get pods
Which should show something like:
azure-voting-app-rust ❯  kubectl get pods
NAME              READY   STATUS    RESTARTS   AGE
azure-voting-db   1/1     Running   0          50s
We should be able to recreate our application pod deployment with no problem, since it has the current database IP address and nothing else depends on it.
kubectl apply -f ./manifests/pod-app.yaml
Again, feel free to do some fun port forwarding and check your site is running.
Uncomfortable Truths
Here's where it gets a bit stickier, what if we delete the database container?
If we delete our database container and recreate it, it'll likely have a new IP address, which would force us to update our application configuration. We'll look at some solutions for these problems in the next three posts this week.
Because our database problem is a bit tricky, we'll primarily focus on making our application layer more resilient and prepare our database layer for those other techniques over the next few days.
Let's clean back up and look into making things more resilient.
kubectl delete -f ./manifests/pod-app.yaml
kubectl delete -f ./manifests/pod-db.yaml
The Deployment��
One of the reasons you may want to use Kubernetes is it's ability to orchestrate workloads. Part of that orchestration includes being able to ensure that certain workloads are running (regardless of what Node they might be on).
We saw that we could delete our application pod and then restart it from the manifest with little problem. It just meant that we had to run a command to restart it. We can use the Deployment in Kubernetes to tell the orchestrator to ensure we have our application pod running.
The Deployment also can encompass a lot of extra configuration - controlling how many containers of a particular type should be running, how upgrades of container images should proceed, and more.
Creating the Deployment
First, we'll create a Deployment for our database. We'll use a technique similar to what we did for the Pod, with just a bit of difference.
kubectl create deployment azure-voting-db `
                            --image "postgres:15.0-alpine" `
                            --port 5432 `
                            --output yaml `
                            --dry-run=client > manifests/deployment-db.yaml
Unlike our Pod definition creation, we can't pass in environment variable configuration from the command line. We'll have to edit the YAML file to add that.
So, let's open ./manifests/deployment-db.yaml in our editor and add the following in the spec/containers configuration.
        env:
        - name: POSTGRES_PASSWORD
          value: "mypassword"
Your file should look like this deployment-db.yaml.
Once we have our configuration file updated, we can deploy our database container image.
kubectl apply -f ./manifests/deployment-db.yaml
For our application, we'll use the same technique.
kubectl create deployment azure-voting-app `
                        --image "$AcrName.azurecr.io/cnny2023/azure-voting-app-rust:$BuildTag" `
                        --port 8080 `
                        --output yaml `
                        --dry-run=client > manifests/deployment-app.yaml
Next, we'll need to add an environment variable to the generated configuration. We'll also need the new IP address for the database deployment.
Previously, we named the pod and were able to ask for the IP address with kubectl and a bit of JSONPath. Now, the deployment created the pod for us, so there's a bit of random in the naming. Check out:
kubectl get pods
Should return something like:
azure-voting-app-rust ❯  kubectl get pods
NAME                               READY   STATUS    RESTARTS   AGE
azure-voting-db-686d758fbf-8jnq8   1/1     Running   0          7s
We can either ask for the IP with the new pod name, or we can use a selector to find our desired pod.
kubectl get pod --selector app=azure-voting-db -o jsonpath='{.items[0].status.podIP}'
Now, we can update our application deployment configuration file with:
        env:
        - name: DATABASE_SERVER
          value: YOUR_NEW_IP_HERE
        - name: DATABASE_PASSWORD
          value: mypassword
Your file should look like this deployment-app.yaml (but with IPs and image names matching your environment).
After we save those changes, we can deploy our application.
kubectl apply -f ./manifests/deployment-app.yaml
Let's test the resilience of our app now. First, we'll delete the pod running our application, then we'll check to make sure Kubernetes restarted our application pod.
kubectl get pods
azure-voting-app-rust ❯  kubectl get pods
NAME                                READY   STATUS    RESTARTS   AGE
azure-voting-app-56c9ccc89d-skv7x   1/1     Running   0          71s
azure-voting-db-686d758fbf-8jnq8    1/1     Running   0          12m
kubectl delete pod azure-voting-app-56c9ccc89d-skv7x
kubectl get pods
azure-voting-app-rust ❯  kubectl delete pod azure-voting-app-56c9ccc89d-skv7x
>> kubectl get pods
pod "azure-voting-app-56c9ccc89d-skv7x" deleted
NAME                                READY   STATUS    RESTARTS   AGE
azure-voting-app-56c9ccc89d-2b5mx   1/1     Running   0          2s
azure-voting-db-686d758fbf-8jnq8    1/1     Running   0          14m
Your Pods will likely have different identifiers at the end, so adjust your commands to match the names in your environment.
As you can see, by the time the kubectl get pods command was run, Kubernetes had already spun up a new pod for the application container image. Thanks Kubernetes!
Clean up
Since we can't just delete the pods, we have to delete the deployments.
kubectl delete -f ./manifests/deployment-app.yaml
kubectl delete -f ./manifests/deployment-db.yaml
Summary - Deployments
Deployments allow us to create more durable configuration for the workloads we deploy into Kubernetes. As we dig deeper, we'll discover more capabilities the deployments offer. Check out the Resources below for more.
Exercise
If you want to try these steps, head over to the source repository, fork it, clone it locally, and give it a spin!
You can check your manifests against the manifests in the week2/day1 branch of the source repository.
Resources
Enroll in the Cloud Skills Challenge!
Don't miss out on this opportunity to level up your skills and stay ahead of the curve in the world of cloud native.
Documentation
- Azure Kubernetes Service
- Bicep
- Azure Voting App in Rust
- Pods.
- Nodes
- kubectl
- JSONPath syntax
- Deployment
- Labels and Selectors