Setup environment and run
Setup python
Setup build env
- For Linux users, setup python3 build tools would avoid other unseen installation issues
  apt install python3-dev build-essential # Ubuntu, Debian
  yum install python3-devel # Centos
Install python
This tool is compatible with python versions >=3.10 and <=3.14. You can use an existing python or install a new one by the following ways:
- For Windows users: You can download and run full installer from Python Download.
- For Linux users: You can install python from Package Manager or build a stable release from source code
After installation, you can run the following commands to check the version:
- For Windows users:
You can run:
C:\Users\{xxxx}\AppData\Local\Programs\Python\Python3{xxxx}\python --versionC:\Users{xxxx}\AppData\Local\Programs\Python\Python3{xxxx} is the python installation path.
- For Linux users:
python --versionYou can also specify the version number when you have multiple versions installed like this:
python3.12 --version
Setup a virtual environment
Please create a new virtual environment for Azure CLI development to isolate from the system environment.
You can run the following command to create a new virtual environment:
- For Windows users:
C:\Users\{xxxx}\AppData\Local\Programs\Python\Python3{xxxx}\python -m venv {some path}\{venv name} - For Linux users:
python3.12 -m venv {some path}/{venv name}
Active existing virtual environment
You should always activate the virtual environment for azure-cli development. When a virtual environment is activated, the python command will always be the python that created this virtual environment.
- For Windows users:
- Powershell
{some path}\{venv name}\Scripts\Activate.ps1 - Command Prompt
Command Prompt
  {some path}\{venv name}\Scripts\activate.bat
- Powershell
- For Linux users:
source {some path}/{venv name}/bin/activate
Install tools for azure-cli development
Install aaz-dev-tools
pip install aaz-dev
Code repos setup
Fork and clone repos
aaz-dev-tools relies on the following repos, Please Fork these repos in your GitHub account and Clone them in your local disk. After clone, you can add upstream for every repo in your local clone by using git remote add upstream.
- Azure CLI code repos:
-
Azure CLI: Before start to the development task, you should always sync the code in the
devbranch ofupstream(Azure/Azure-cli). If your commands will be generated to azure-cli repo, you should checkout a new branch withfeature-prefix. -
Azure CLI Extension: If your commands will be generated to azure-cli-extension repo, you should sync the code in the
mainbranch ofupstream(Azure/Azure-cli-extensions), and checkout a new branch withfeature-prefix.
-
- AAZ command models repo:
- AAZ: This repo is used to upload the command models generated. Before start to the development task, you should always sync the change in the
mainbranch ofupstream, and checkout a new branch withfeature-prefix.
- AAZ: This repo is used to upload the command models generated. Before start to the development task, you should always sync the change in the
- Azure OpenAPI Specs repos:
Use azdev setup to setup azure-cli development environment
You should always run the following command every time you sync azure-cli code of upstream.
azdev setup --cli {path to azure-cli} --repo {path to azure-cli-extensions}
Run aaz-dev-tools
Quick start
The following command will start a backend service and open a web page in the browser.
aaz-dev run --cli-path {path to azure-cli} --cli-extension-path {path to azure-cli-extensions} --swagger-path {path to azure-rest-api-specs or azure-rest-api-specs-pr} --aaz-path {path to aaz}
Other arguments
-p, --port: This argument can specify the port to bind.-w, --workspaces-path: This argument can specify the folder to save workspaces.
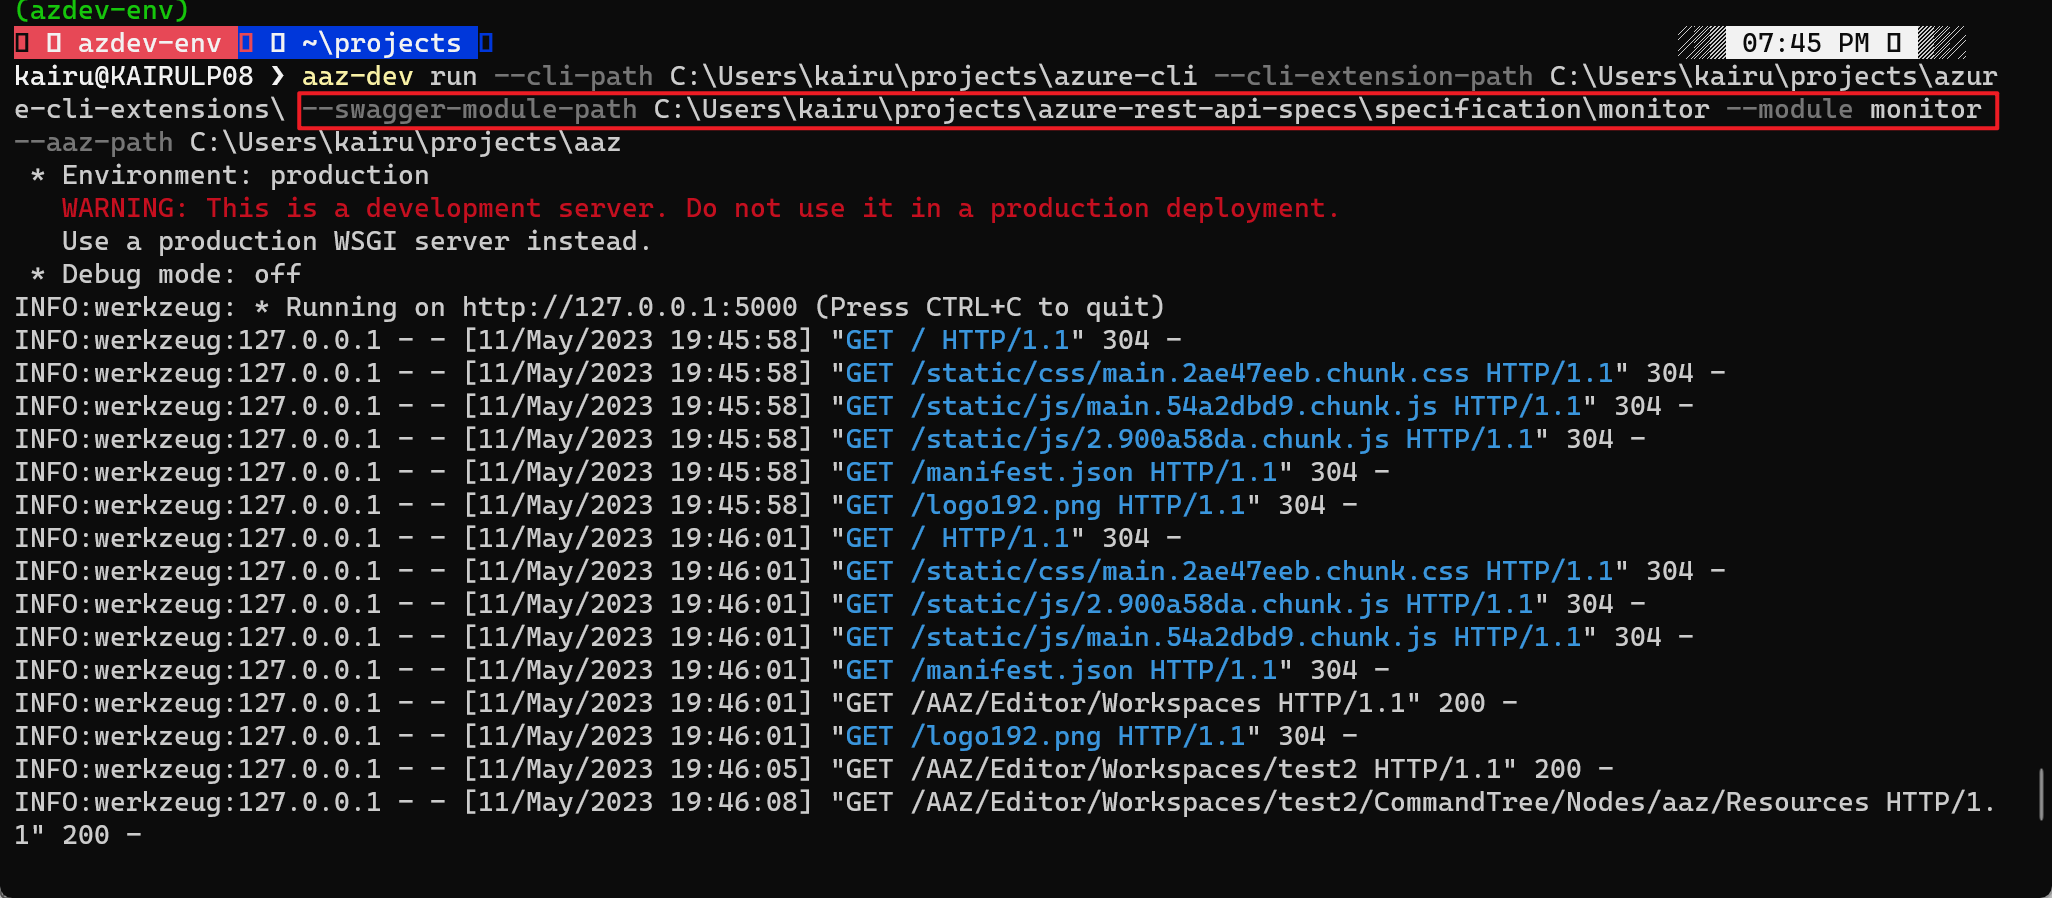
Use swagger files which is not in azure-rest-api-specs repos
You can use the following arguments to specify swagger files for a specific resource provider:
--swagger-module-path, --sm-m, --module
aaz-dev run --cli-path {path to azure-cli} --cli-extension-path {path to azure-cli-extensions} --aaz-path {path to aaz} --swagger-module-path {path to swagger files in module level} --module {the name of module}
Generate Azure CLI module in seconds!
E.g.,
aaz-dev cli generate --spec chaos --module chaos
It will convert the specification from https://github.com/Azure/azure-rest-api-specs/tree/main/specification/chaos into an Azure CLI module named chaos.
Generate code effortlessly. If the result isn’t what you expected, use the UI to fine-tune it.